Do you need an application that can handle various multimedia formats on your PC? QuickTime should do the job and this guide teaches you how to install QuickTime for Windows 11.
Steps to Installing QuickTime
Before you can install and use QuickTime on your Windows devices, your computer needs to be connected to the internet. Follow the steps below to install QuickTime on your computer:
Step 1: Download QuickTime
- Open the QuickTime download link from a web browser on the computer.
https://support.apple.com/downloads/quicktime
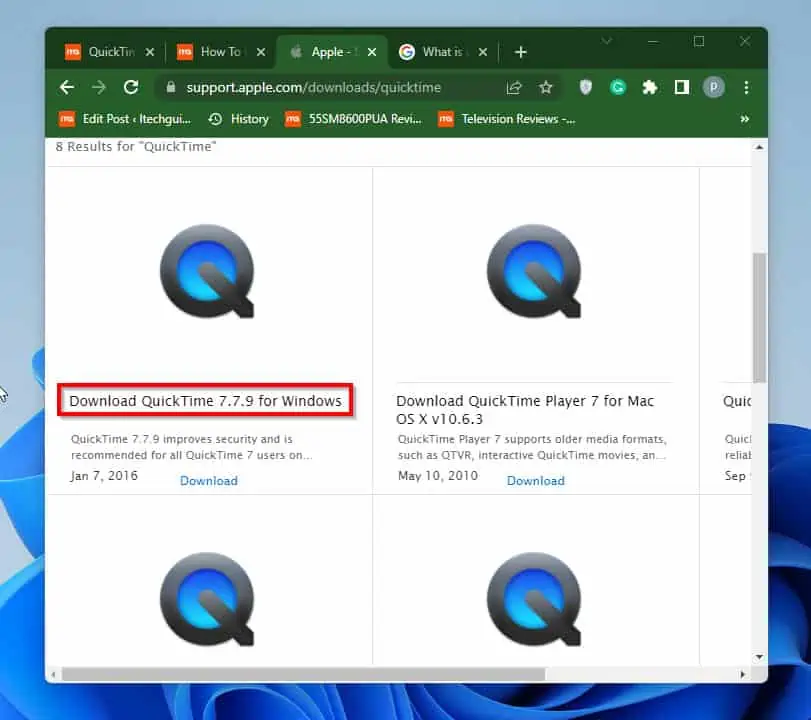
- When the page opens, scroll down and locate Download QuickTime 7.7.9 for Windows link and click on it.
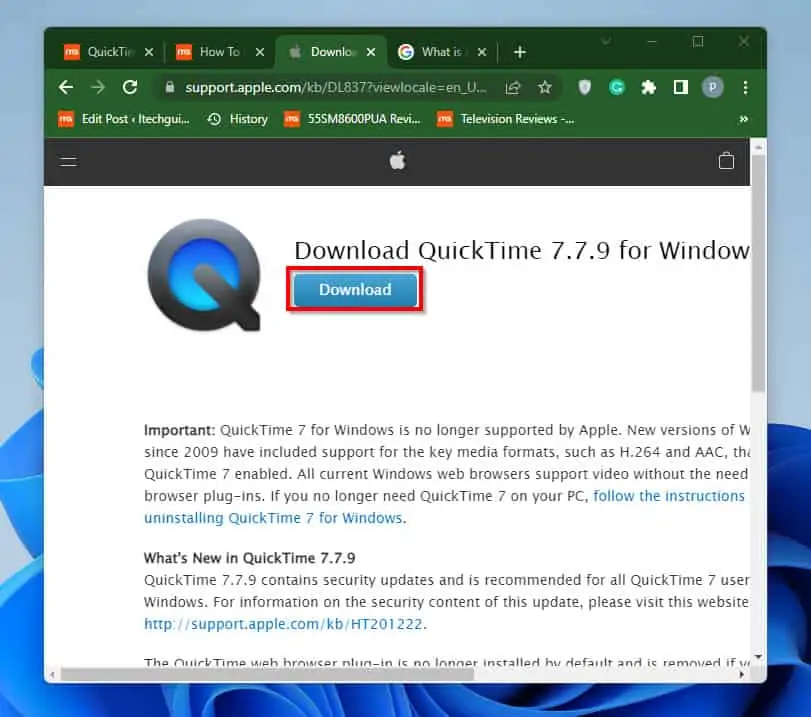
- This link will take you to the QuickTime download page for Windows. On the page, click on the download button to download the file into your system.
Step 2: Install QuickTime
The second step involves installing the downloaded QuickTime file on your PC. Here are the steps:
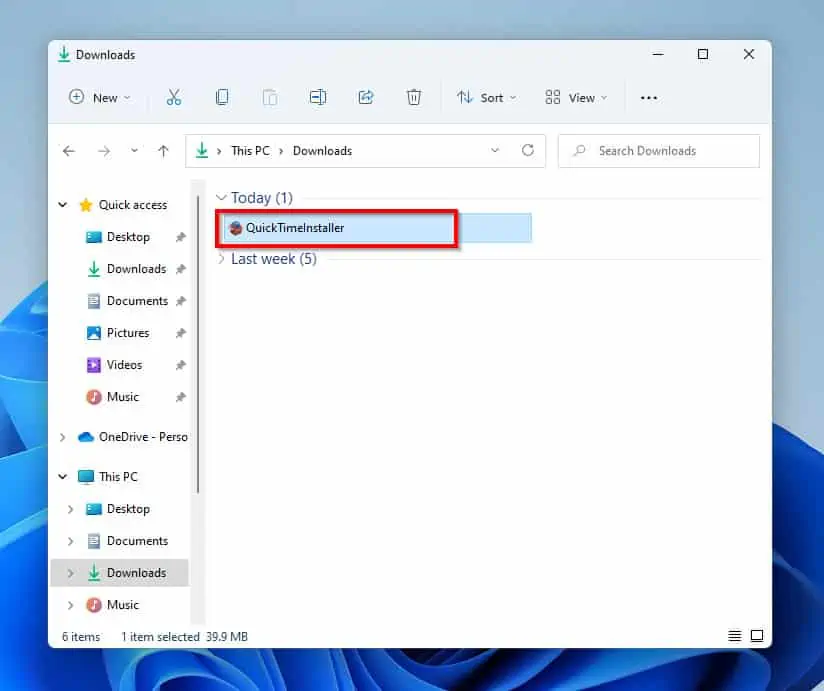
- Open the default download folder on your computer and double-click on the QuickTime installation file. For Windows 11 computers, the default download folder is usually the Download folder on your File Explorer.
- When the installation begins, on the first page of the installation wizard, click Next to proceed.

- Then, on the License Agreement page, click Yes to continue with the installation.

- Next, on the QuickTime 7 setup page, click on Typical installation.

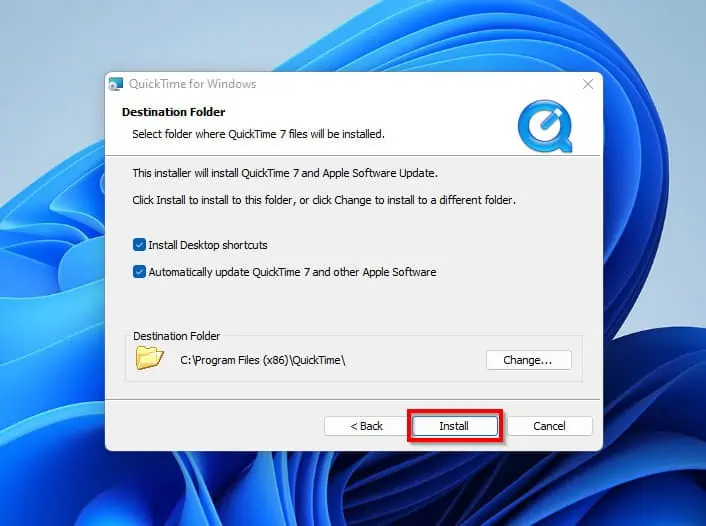
- Finally, you will be directed to the Destination Folder screen. On this screen, click Install.
- You will receive a User Account Control prompt requesting permission to allow QuickTime to make changes to your PC. Click Yes to proceed.
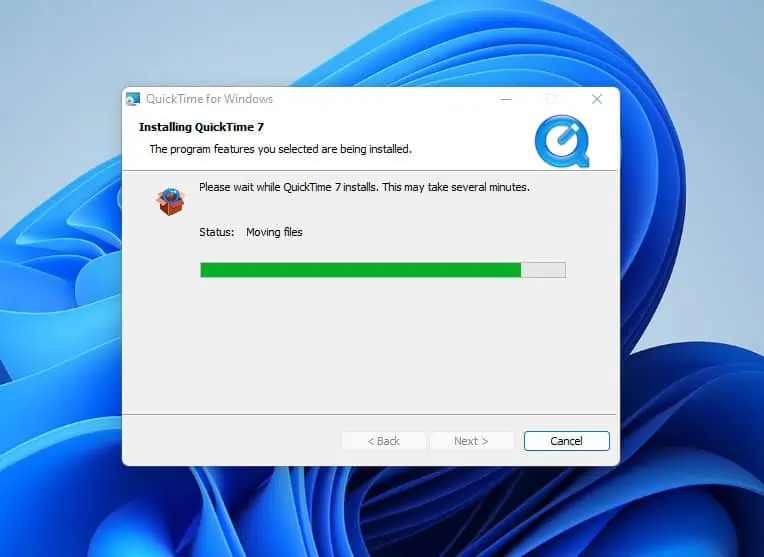
- When you click Yes, the installation will start.
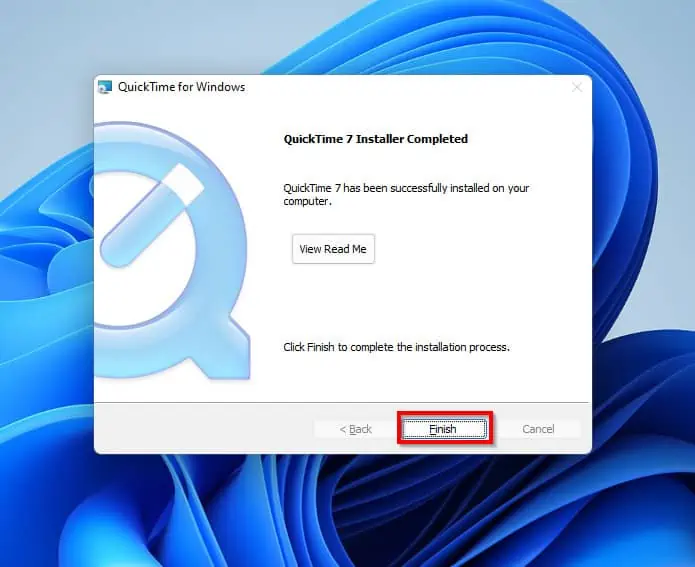
- When the installation is completed, click Finish.
- Finally, to launch the application, double-click the QuickTime Player shortcut on your desktop.

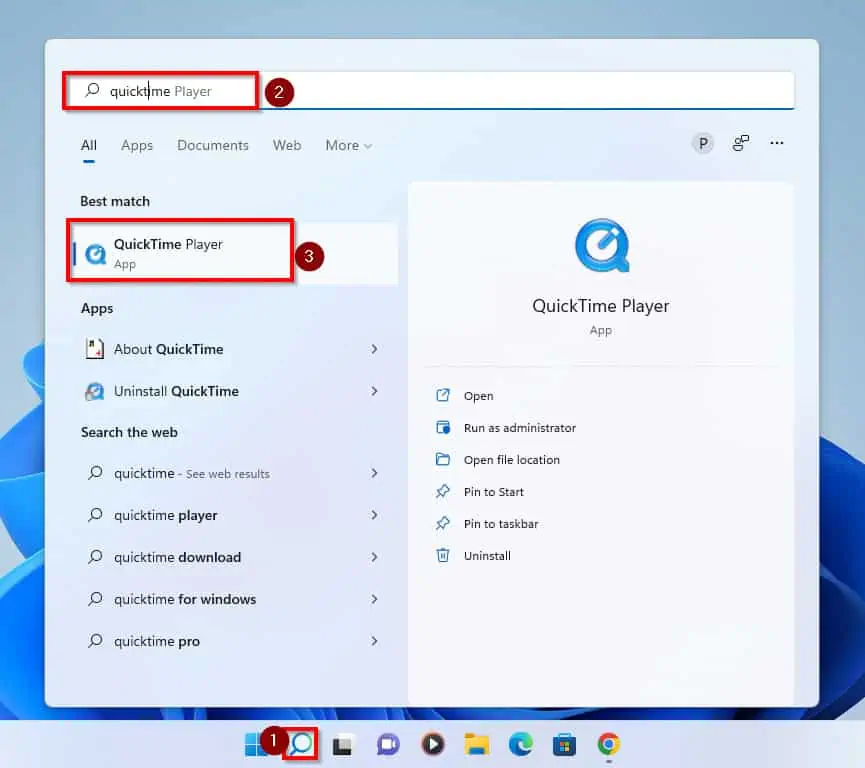
- Alternatively, click on the search icon and type Quicktime on the search field. Then, from the result of your search double-click QuickTime Player.

Frequently Asked Questions
No, it isn’t. QuickTime can also be installed on the Windows operating system.
QuickTime is capable of playing both audio and video formats. For audio, it can play AAC, PCM, AIFF, MP3, and Qualcomm.
On the other hand, it is capable of playing the following video formats: AVI, DV, FLAC, Pixlet, ProRes, H, 3GP as well as Cinepak.
There are several alternatives for QuickTime Player on different platforms. However, the best most popular alternative for QuickTime for Windows 11 is VLC Media Player.
Yes, it is. QuickTime can be installed on Windows operating systems for free.
Yes, you can. You can Trim videos easily with QuickTime.
Conclusion
QuickTime is a multimedia player developed by Apple Incorporation. This multimedia player gives room for the development, storage, and playback of media files.
To give more details, these files include sound, text, animations, and video in one single player. As a result of its vast scope in the multimedia environment, this article showed you two steps to install it on your Windows 11 computer.
Specifically, this guide showed you steps to download and walked you through the installation process of QuickTime on your Windows 11 PC.
I hope you found this Itechguide helpful. If it was helpful, click on “Yes” beside the “Was this page helpful” question below.
You may also express your thoughts and opinions by using the “Leave a Comment” form at the bottom of this page.
Finally, visit our Windows 11 How-To page for more Windows 11 guides.