This Itechguide teaches you how to change public network to private network in Windows 10. The guide covers steps for 2 methods to change public network to private network in Windows 10.
Option 1: Change Public Network to Private Network from Network Settings
The easiest way to change network from public to private is from the properties of the network interface card. Here are the detailed steps:
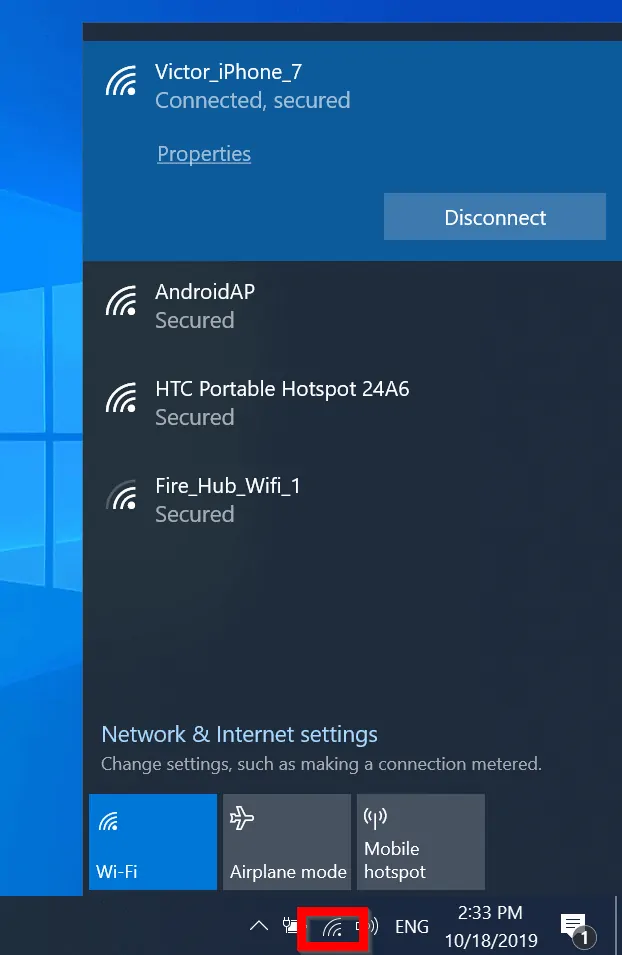
- From your taskbar, click the network icon (In my example, I clicked on my Wifi).
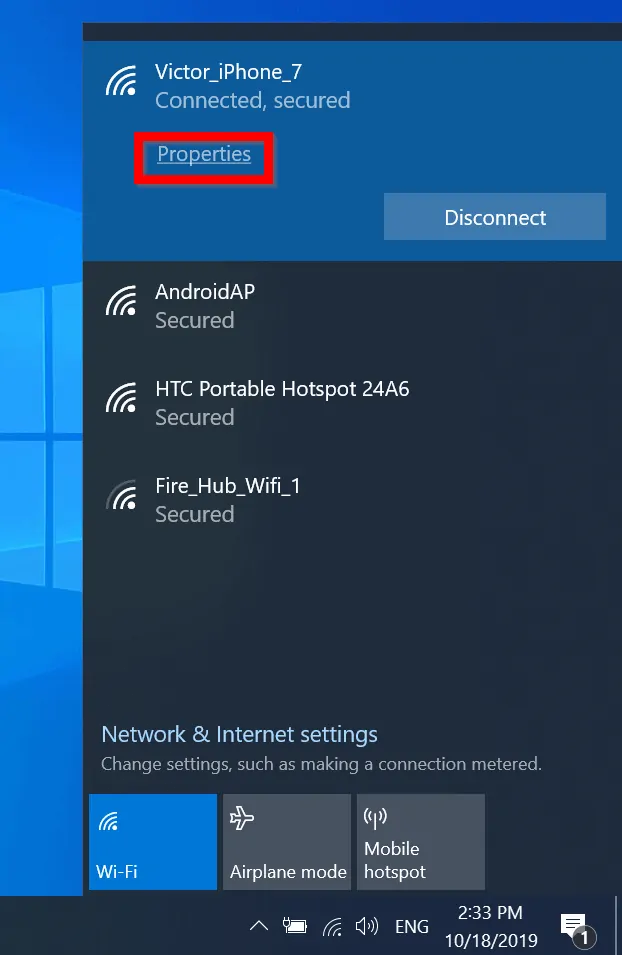
- When available network connections opens, beneath the interface of the connected network, click Properties.
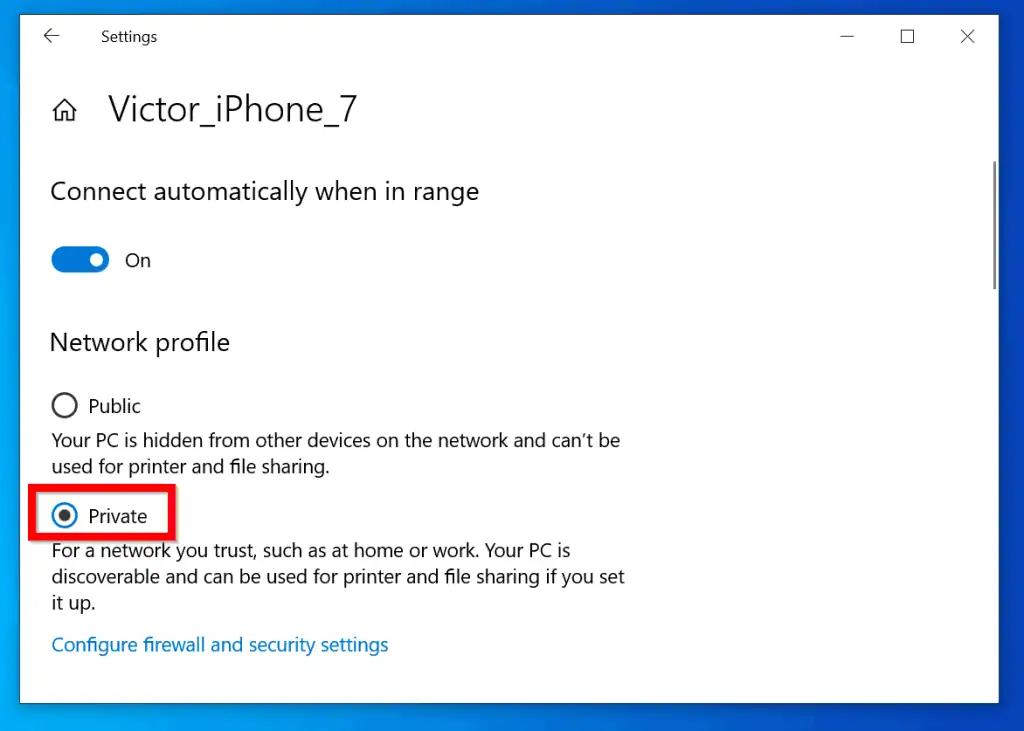
- Finally, beneath Network profile, select Private.
Option 2: Change Public Network to Private Network with PowerShell
As you would expect you can also modify network connection profile with PowerShell.
Here are the steps:
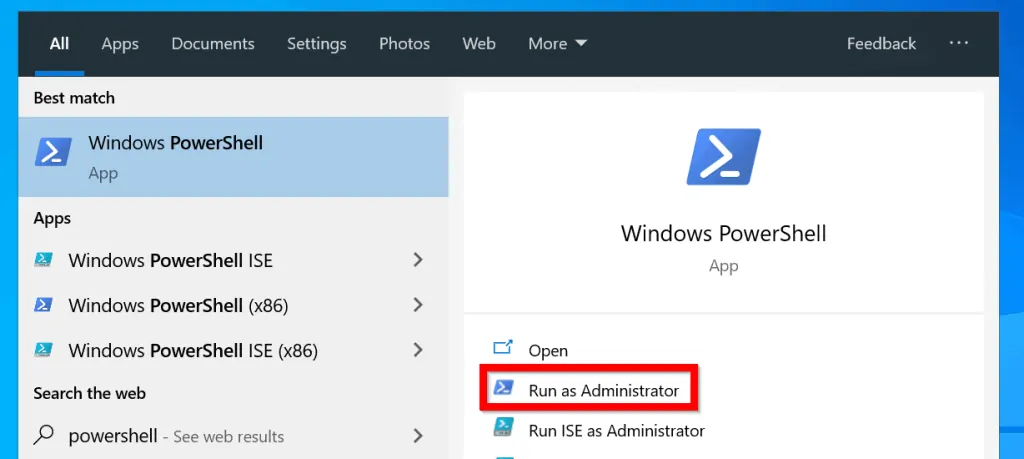
- Type powershell in search bar. Then select Windows PowerShell from the search results.
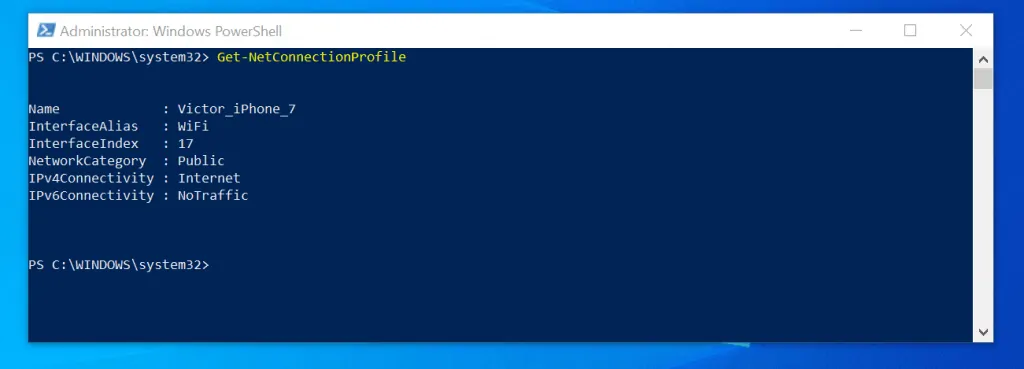
- At PowerShell command prompt, type this command. Then press enter.
Get-NetConnectionProfile
The command displays profile details of all network interfaces in your Windows 10 PC.
Note the InterfaceIndex of the network adapter you wish to modify. For this example, I will change the adapter with InterfaceIndex of 17.
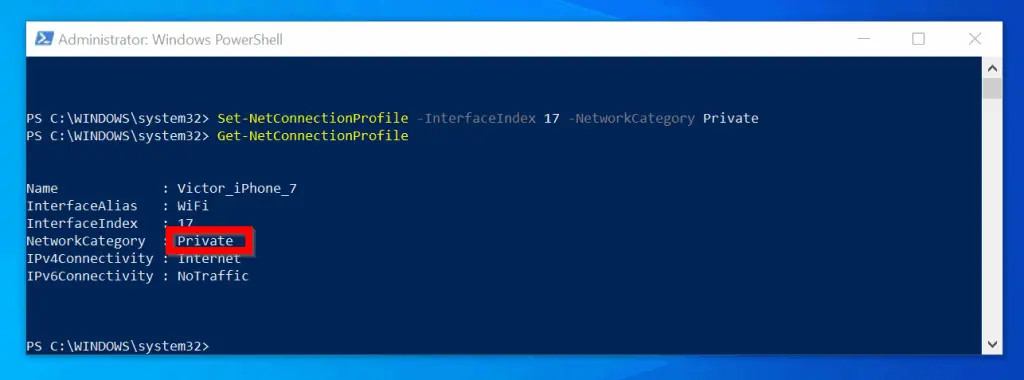
- To change the network profile to private, type this command and press enter.
Set-NetConnectionProfile -InterfaceIndex 17 -NetworkCategory Private
- To confirm that it changed successfully, type the Get-NetConnectionProfile command. Then press enter. The NetworkCategory is now showing as Private.
As you can see, it is very easy to change public network to private network!
I hope you found this guide helpful. If you found it helpful, click on “Yes” beside the “Was this page helpful” question below.
You may also express your thoughts and opinions by using the “Leave a Comment” form at the bottom of this page.
Finally, for more Windows 10 Itechguides, visit our Windows 10 How-To page.


![How To Run Sysprep (Generalize) In Windows 10 [2 Methods]](https://www.itechguides.com/wp-content/uploads/2022/05/8-2.webp)