If you receive the error message “DNS address could not be found” it may be caused by one of these 3:
- Your Windows PC has the incorrect DNS entries
- The DNS Server of your ISP may be having problems
- Your network card has some problems
No matter what may have caused “DNS address could not be found” error for you, this guide will help you fix it.
Solution 1: Flush and Re-register DNS then Release and Renew IP Addresses
My first recommended fix for “DNS address could not be found” error is to flush and re-register DNS. Then release and renew your IP addresses.
If for any reason your PC has the wrong IP information (including DNS), the steps in this fix could update the entries to the right one and fix the problem.
Here are the detailed steps:
- Open command prompt and type these commands. At each command, press enter.
ipconfig /flushdns ipconfig /registerdnsipconfig /releaseipconfig /renew Here are the commands in Command Prompt…

When you finish, try the previous action that threw the error and see whether it is resolved. If you still receive “DNS address could not be found” error try the next fix…
Solution 2: Point your PC to Google or OpenDNS DNS Servers
If the last suggested fix did not resolve “DNS address could not be found” error, it is likely that the DNS servers for your ISP is broken or down.
One way to find out and fix the problem is to point to other reliable public DNS servers. The most popular are Google’s or OpenDNS’s public DNS server.
Here are the steps to try this fix:
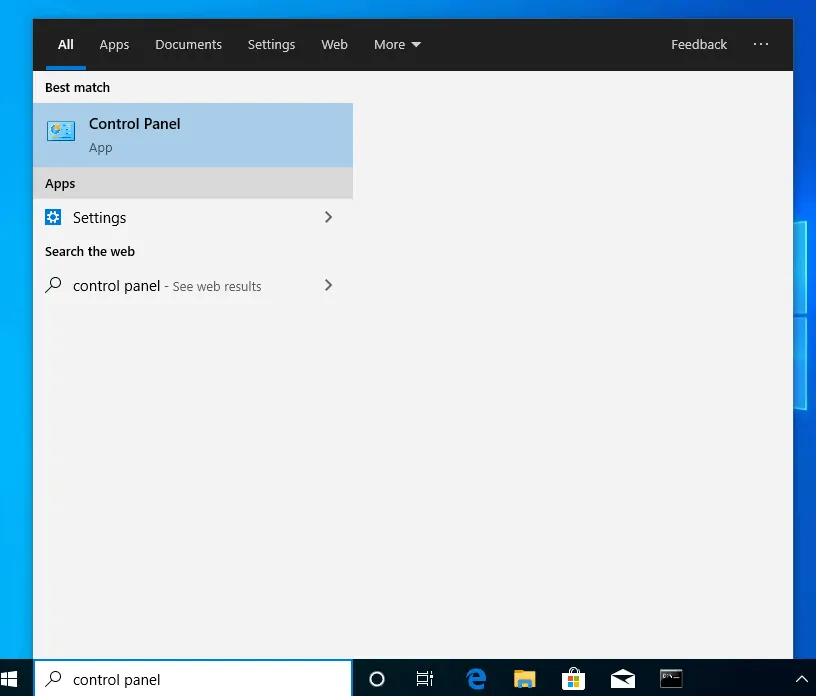
- Type control panel in Windows 10 search bar. Then click it from the search results.
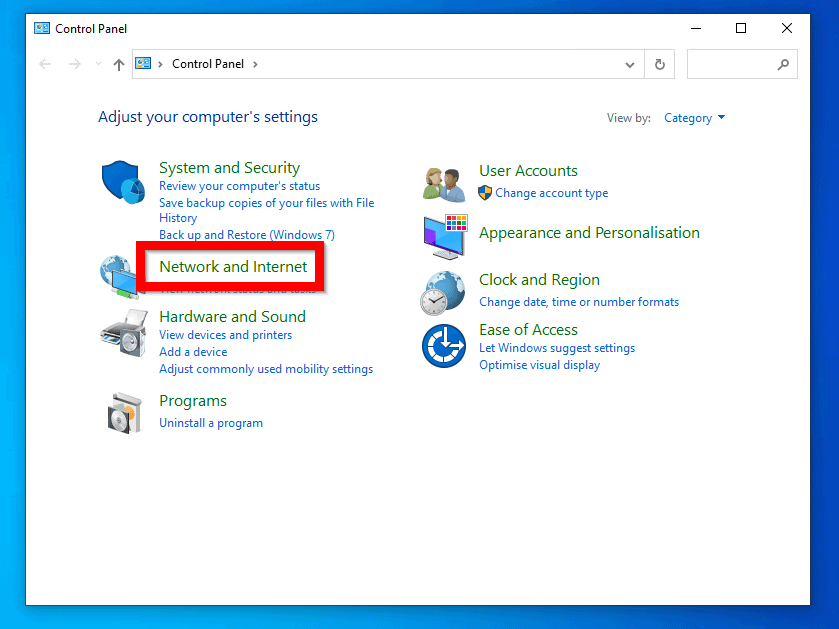
- When Control Panel opens, click Network and Internet.
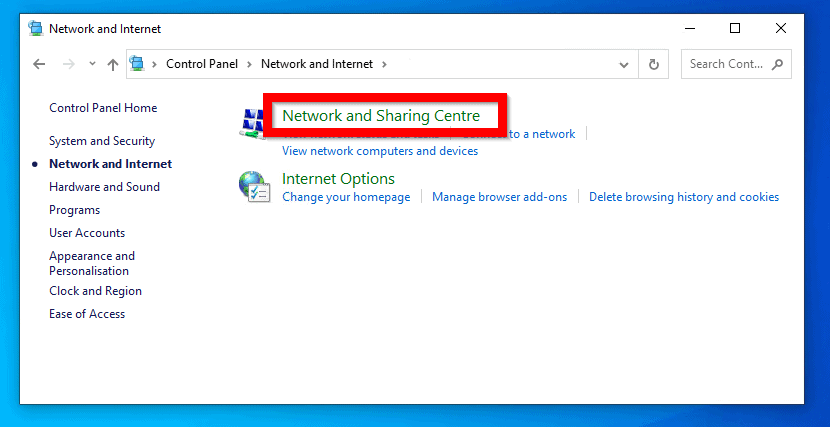
- Then click Network and Sharing Centre.
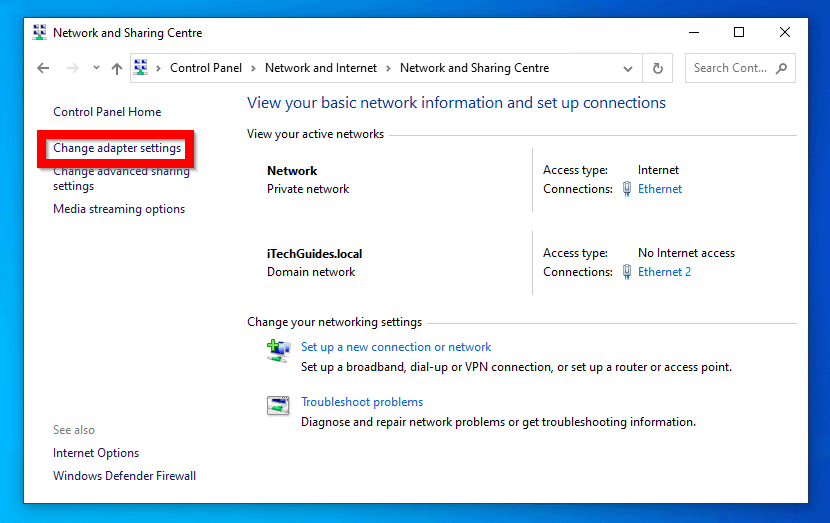
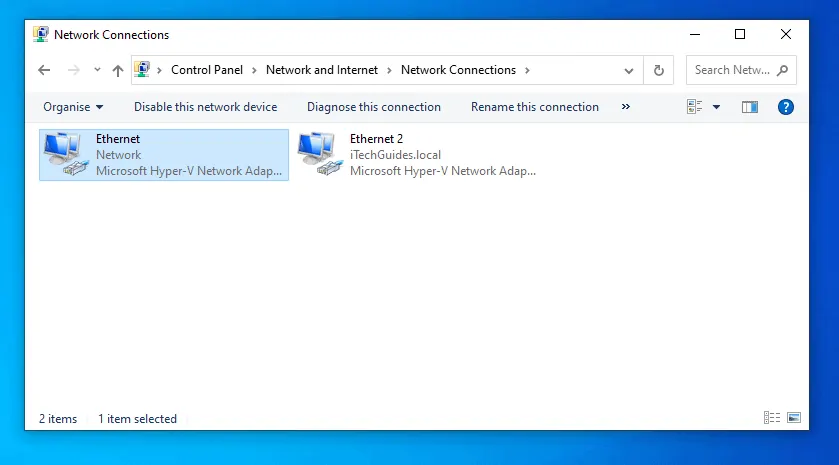
- To open your network adapters, click Change adapter settings.
- Then double-click the adapter that connects your PC to the internet.
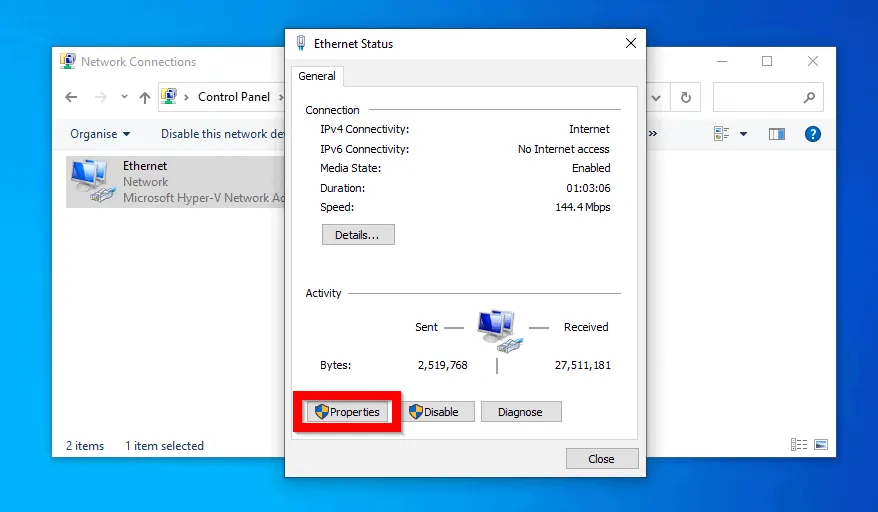
- When the adapter status page opens, click Properties.
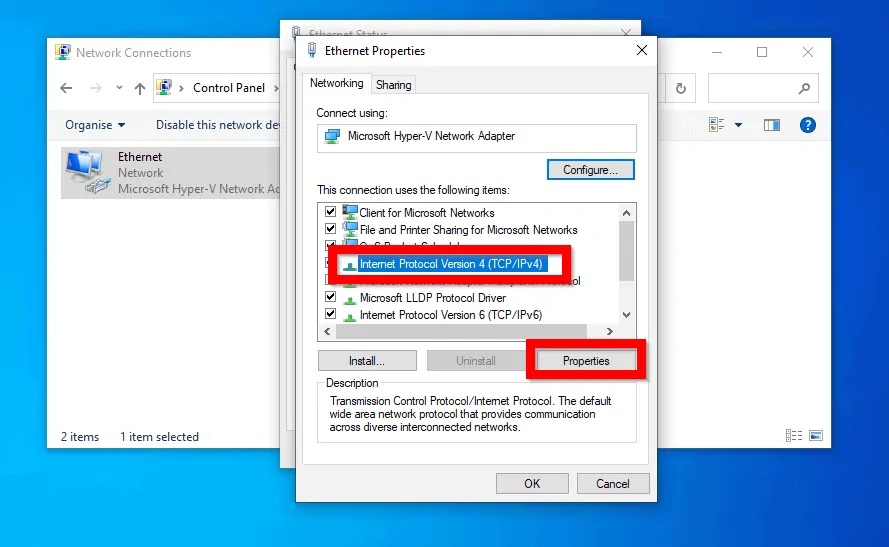
- Then, at the properties of the adapter, highlight Internet Protocol Version 4 (TCP/IPv4) and click Properties.
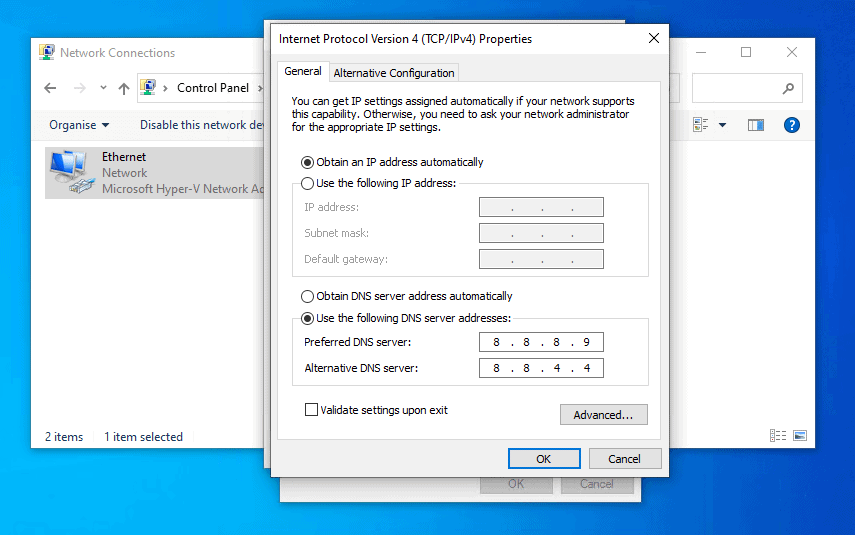
- Finally, click Use the following DNS server address. Then enter the values shown in the image below. When you finish, click OK.
Preferred DNS server : 208.67.222.222
Alternate DNS server : 208.67.220.220
These last steps will likely fix “DNS address could not be found” error. But if in the rare instance that it does not, try the next fix…
Solution 3: Perform Network Reset
Resetting your network card could fix most network related problems and is likely to fix “DNS address could not be found” error.
For the steps to try this fix click this link – Perform Network Card Reset (link opens in a new browser tab).
But if “DNS address could not be found” error is still not resolved, try updating your network card driver…
Solution 4: Update Network Card Driver
My final recommendation to fix “DNS address could not be found” error is to update the driver for your network card.
Here are the steps:
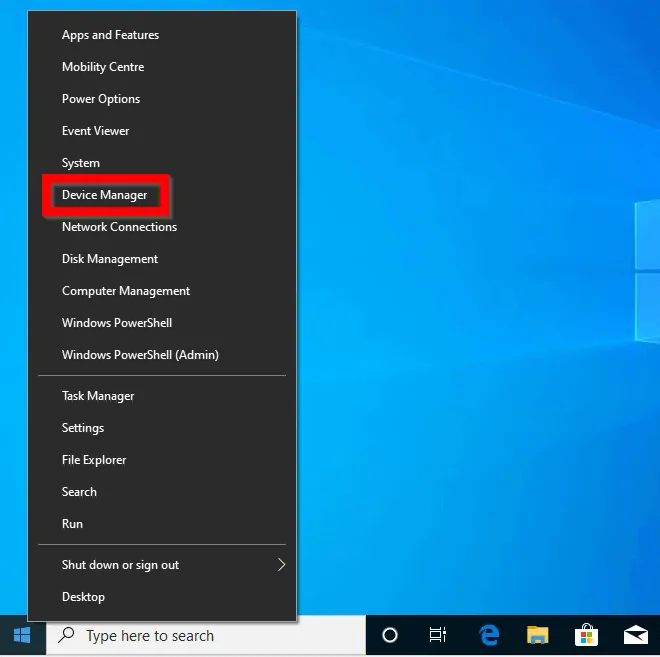
- Right-click Windows 10 start menu. Then click Device Manager.
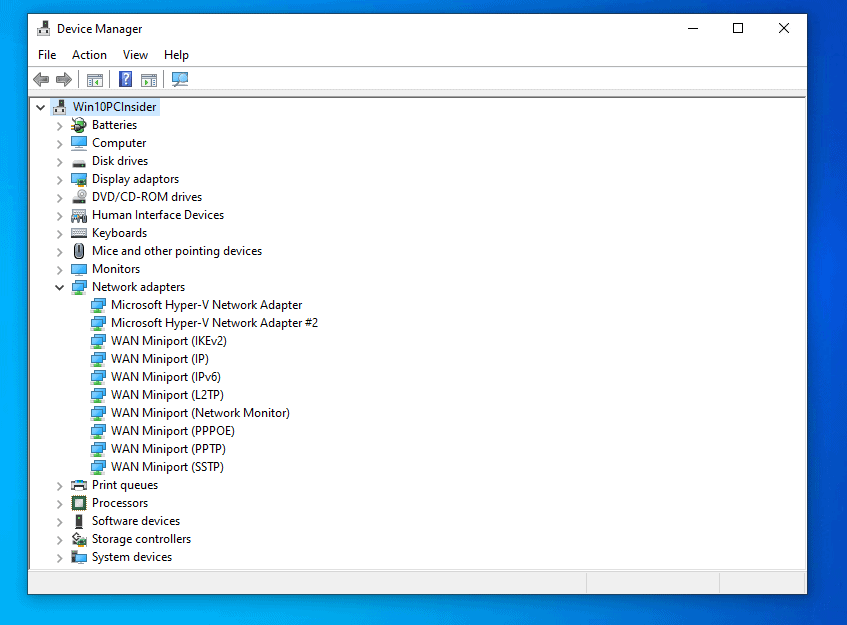
- When Device Manager opens, scroll down to Network adapters group. Then click the right-pointing arrow to expand it.
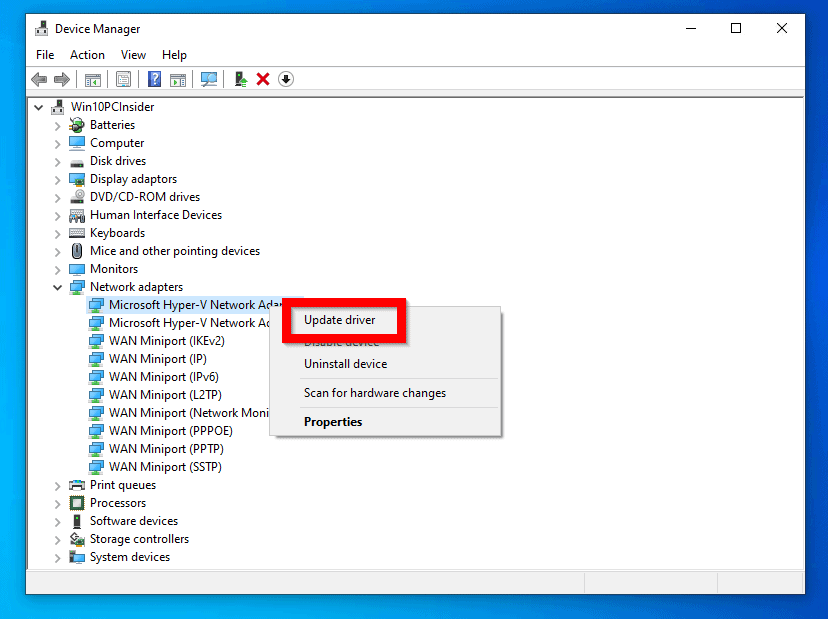
- Finally, to update the driver for the network adapter card, right-click it. Then select Update driver.
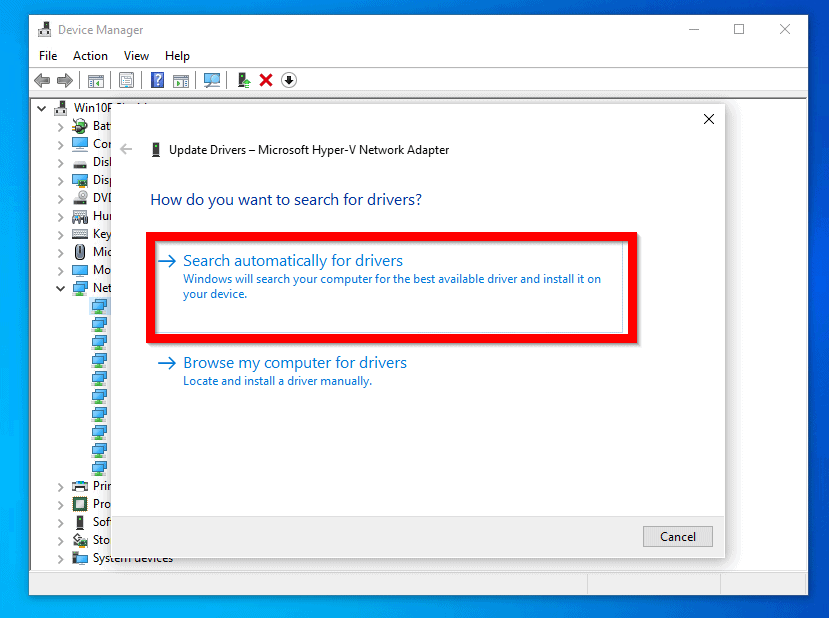
- Finally, select Search automatically for drivers…option and follow the steps to update the driver.
One of the methods discussed in this guide should resolve “DNS address could not be found” error in Windows 10.
I want to believe you found this guide helpful. If did,click on “Yes” beside the “Was this page helpful” question below.
You may also express your thoughts and opinions by using the “Leave a Comment” form at the bottom of this page.
Finally, to get more Windows 10 fixes visit our Windows 10 Fix page.