If you need to create a Windows 10 installation USB drive from the ISO, follow the two steps in this guide.
Step 1: Download Rufus (ISO to USB Converter)
To convert Windows 10 ISO to USB, you require an ISO to USB converter. One of such tools, is Rufus. What makes this tool unique is that it does not require installation!
Here are the steps to download Rufus:
- Open Rufus.ie in your favorite browser.
- When the page opens, scroll to Downloads. Then click the latest stable version.
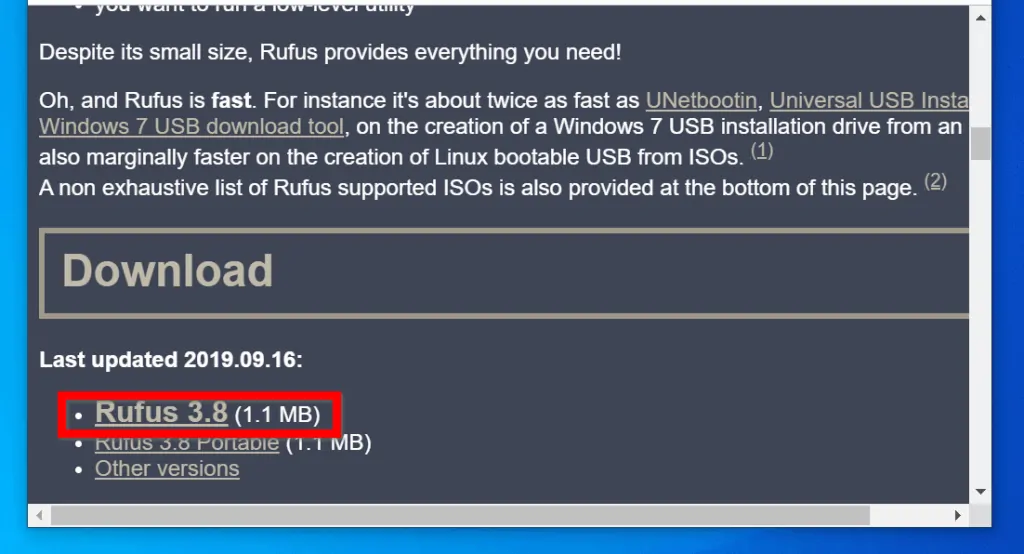
- Save the file to a location on your PC.
Step 2: Create a Windows 10 Installation USB with Rufus
Once you have downloaded the ISO to USB converter, use the steps below to burn the ISO to a USB drive:
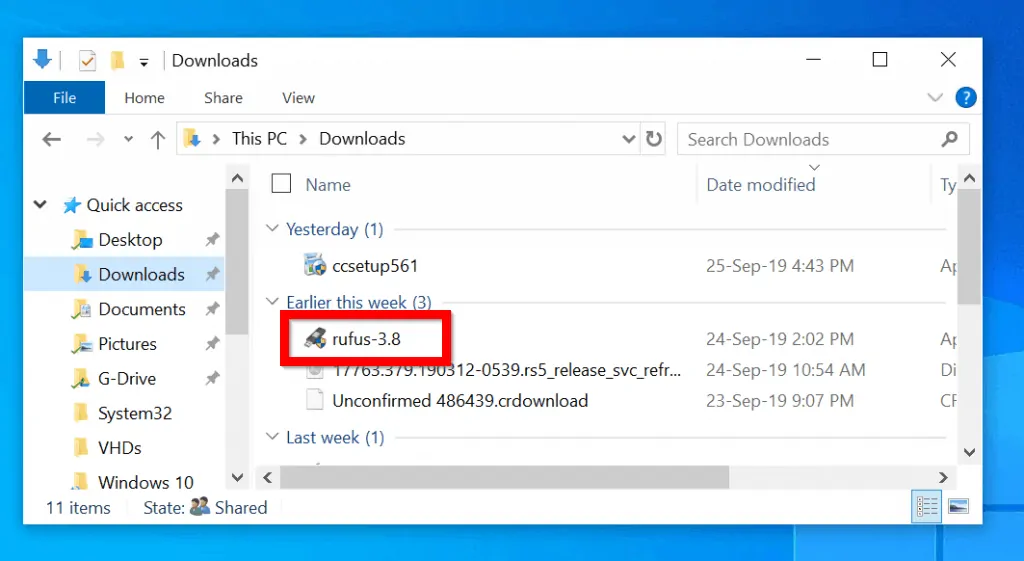
- Open the folder you saved Rufus ISO to USB burner. Then double-click to open it.
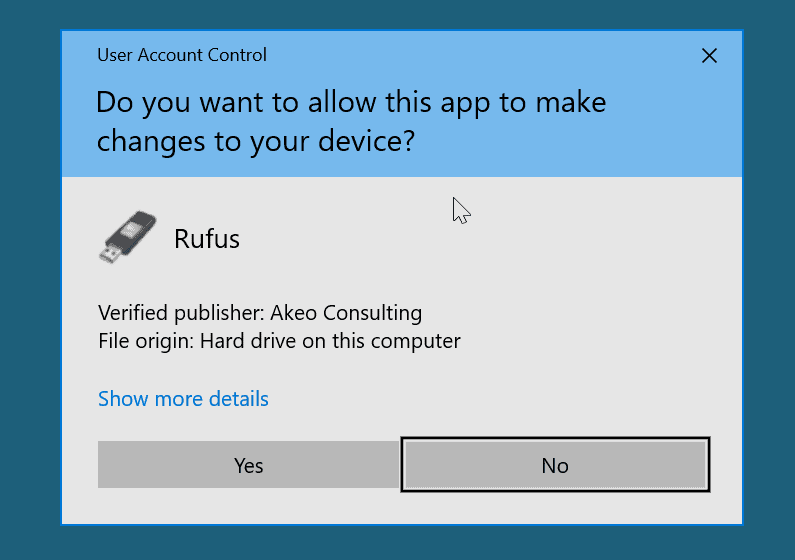
- On the User Access Control confirmation, click Yes.
- When the software opens, it will automatically detect all USB storage devices plugged into your PC. If you have more than one USB storage device, click the Device drop-down. Then select the device you want to use.

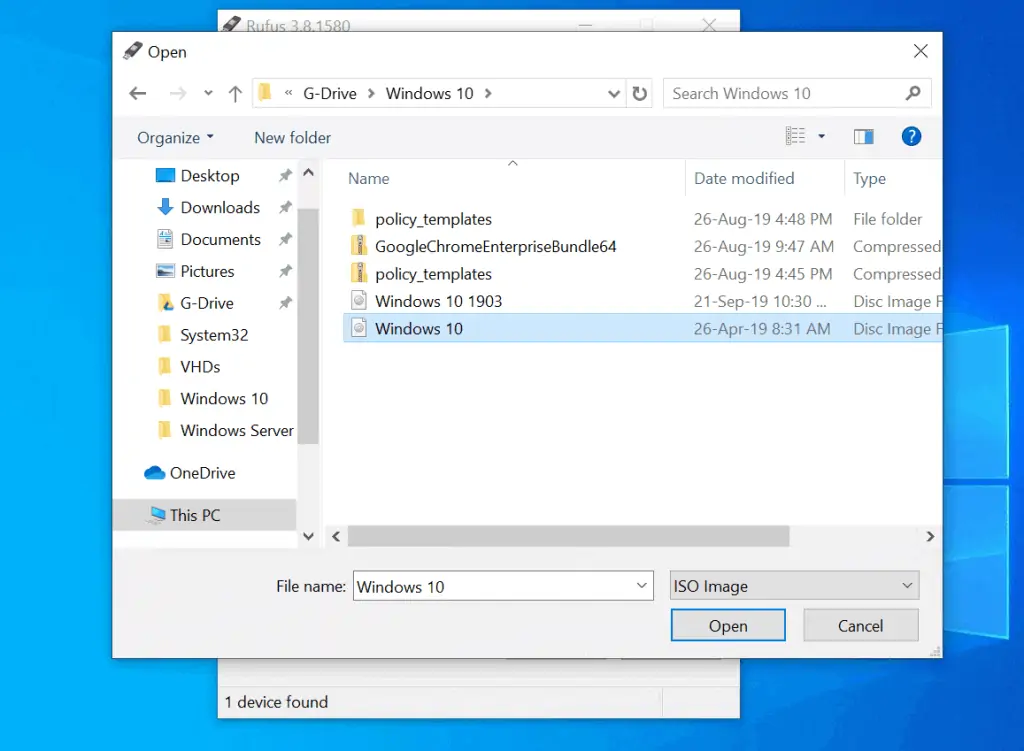
- To import Windows 10 ISO, beside Disk or ISO image (Please select), click SELECT.

- Then navigate to the location of your ISO image. Click on it, then click Open.
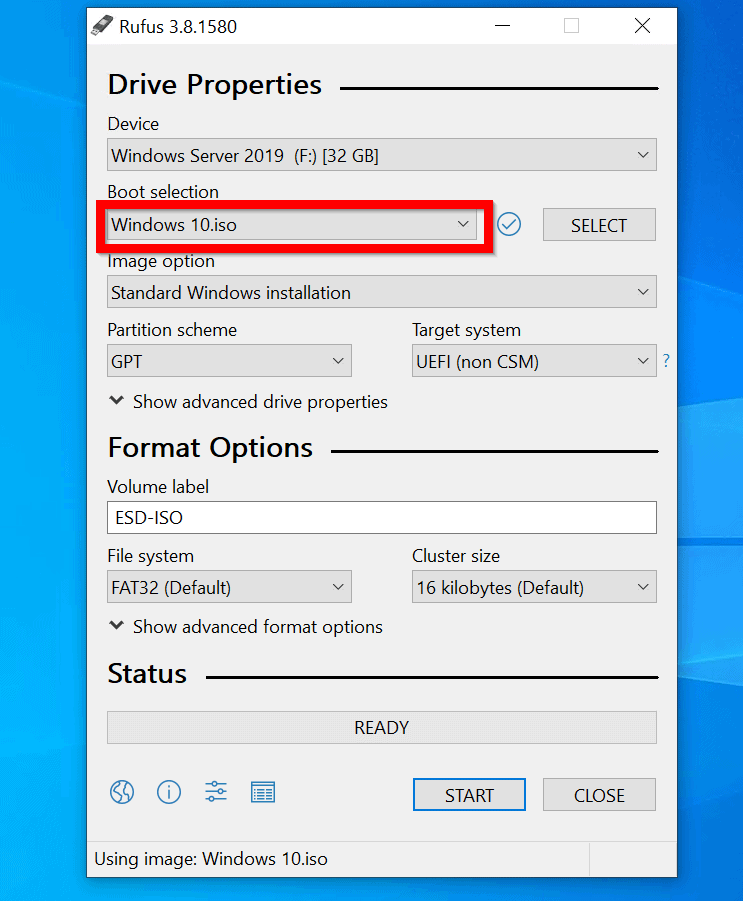
- Rufus will import the ISO image. It will then be selected in the Boot selection drop-down. If you have imported more than one ISO image, you can make a selection from the Boot selection drop-down.
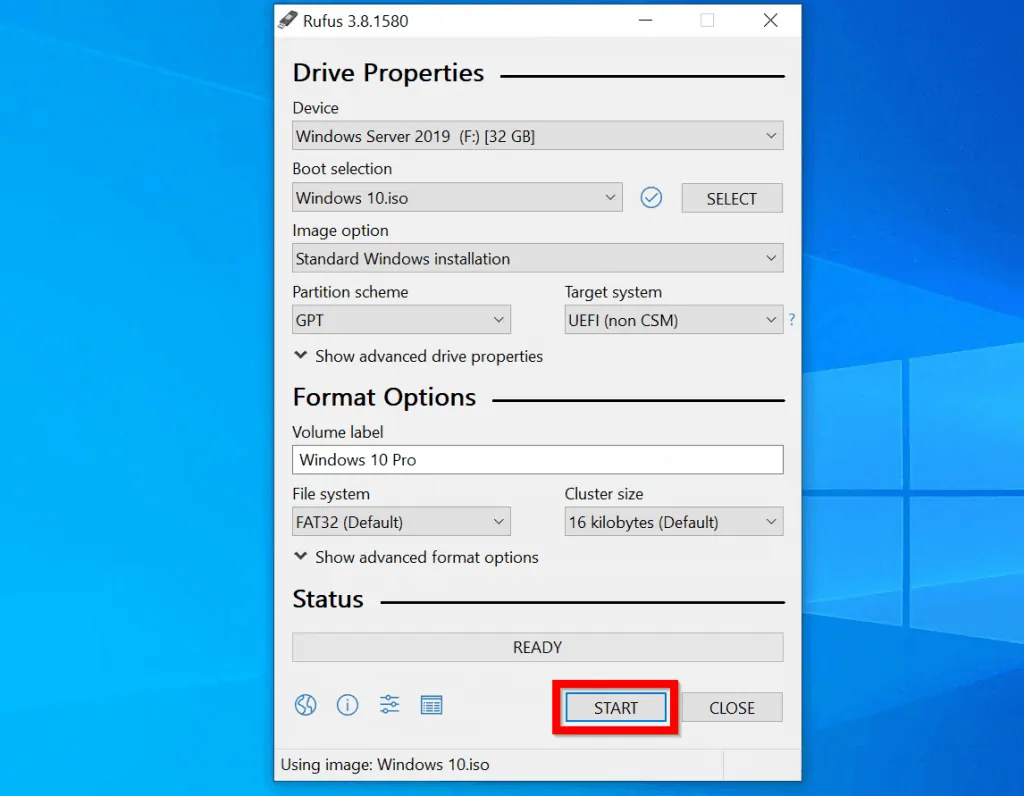
- On Image Options section, the tool automatically selects Standard Windows Installation. Another option is Windows To Go. Accept the default – Standard Windows Installation.

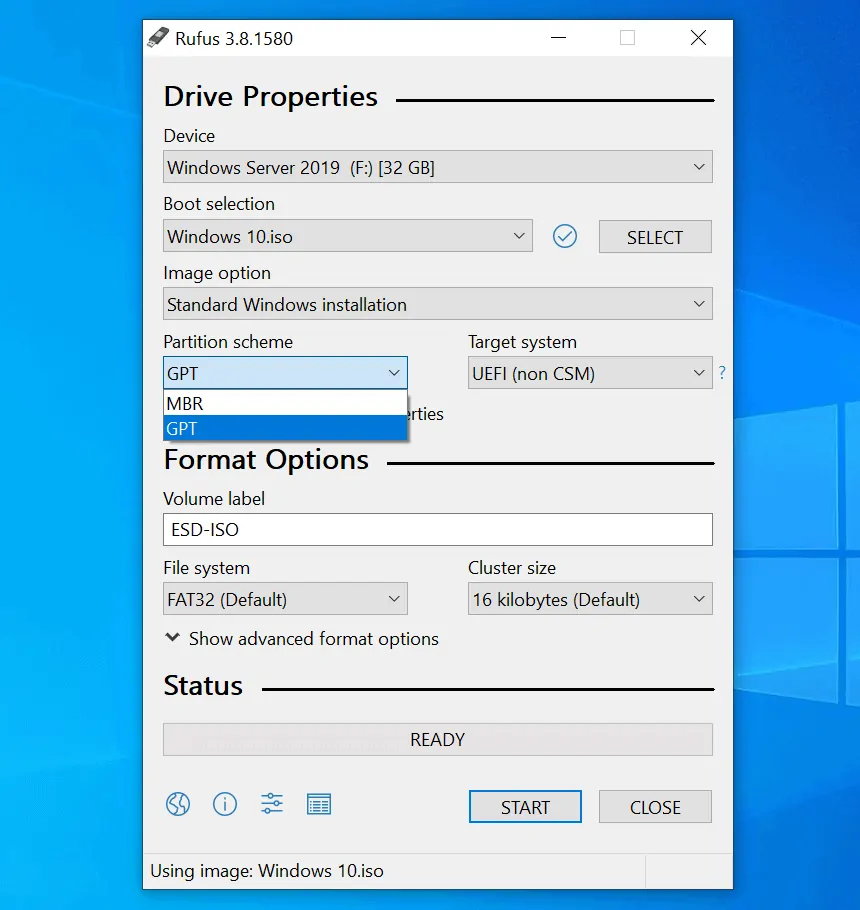
- The USB drive will be formatted by the tool. The default partitioning scheme is GPT but you can select MBR if you want to. My recommendation is to accept the default – GPT.
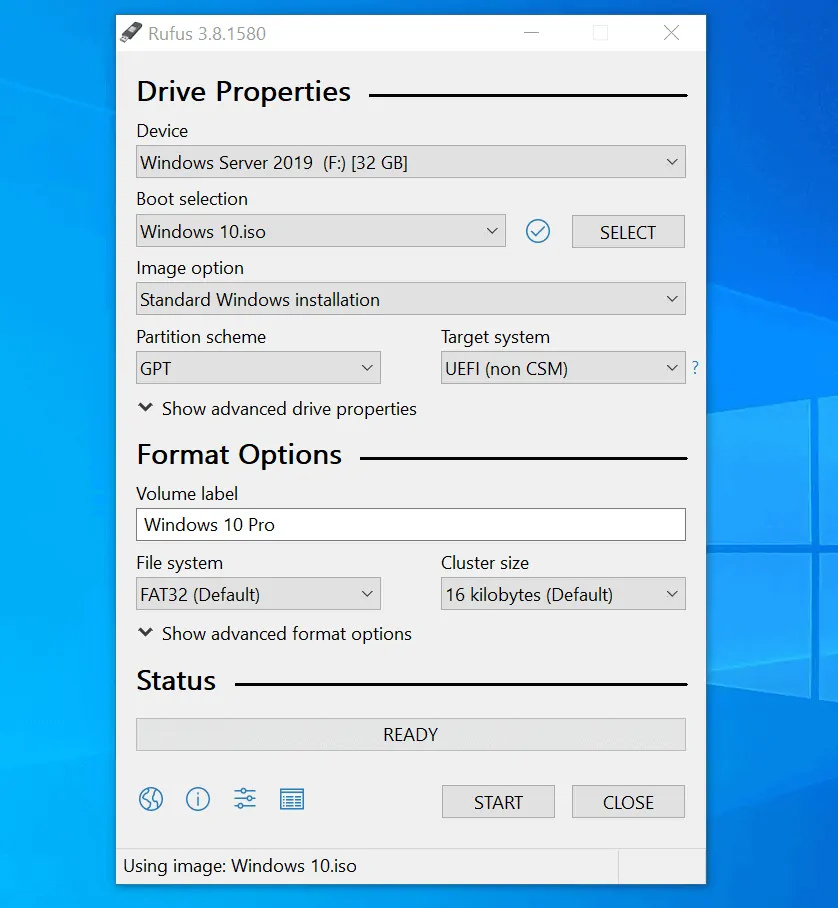
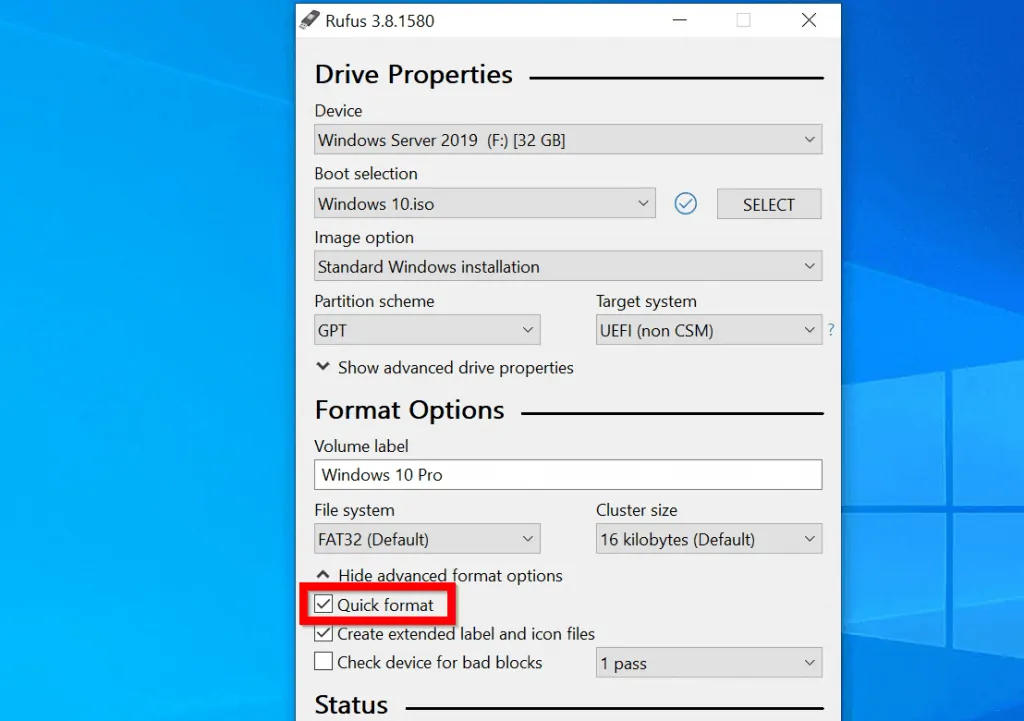
- On the Format Options, change the Volume Label to something more descriptive. Then, for File System and Cluster size, accept the defaults.
- To confirm that Quick format is selected, click Show advanced format options. Then confirm that Quick format is checked.
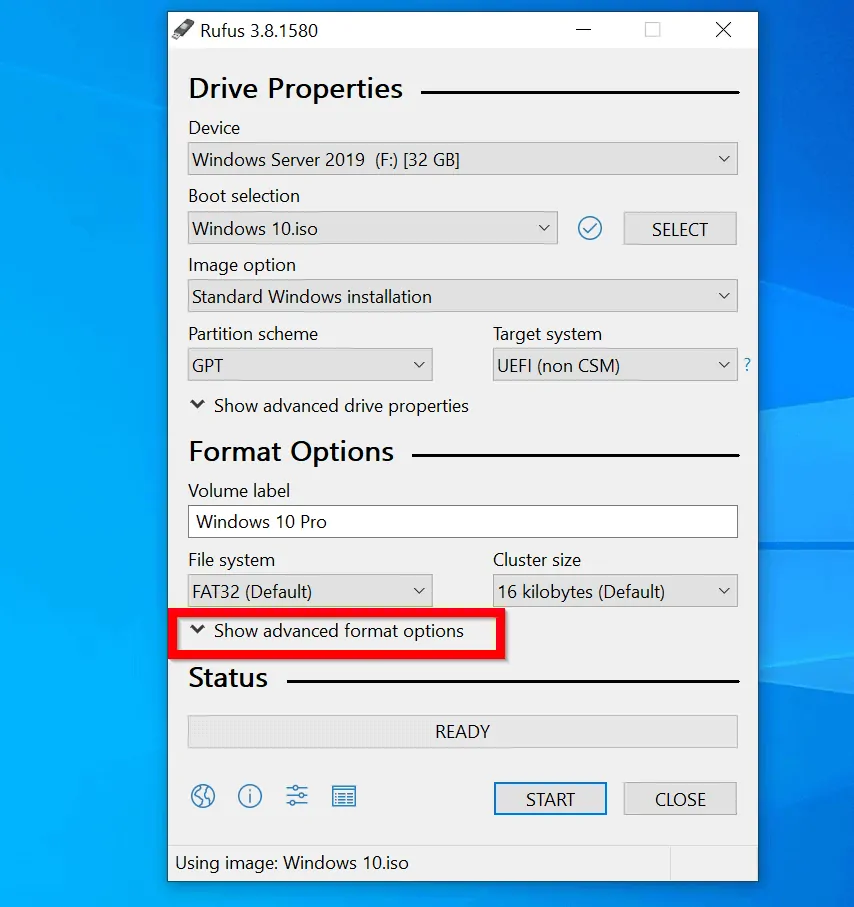
- Finally, to burn Windows 10 ISO to USB, click START.
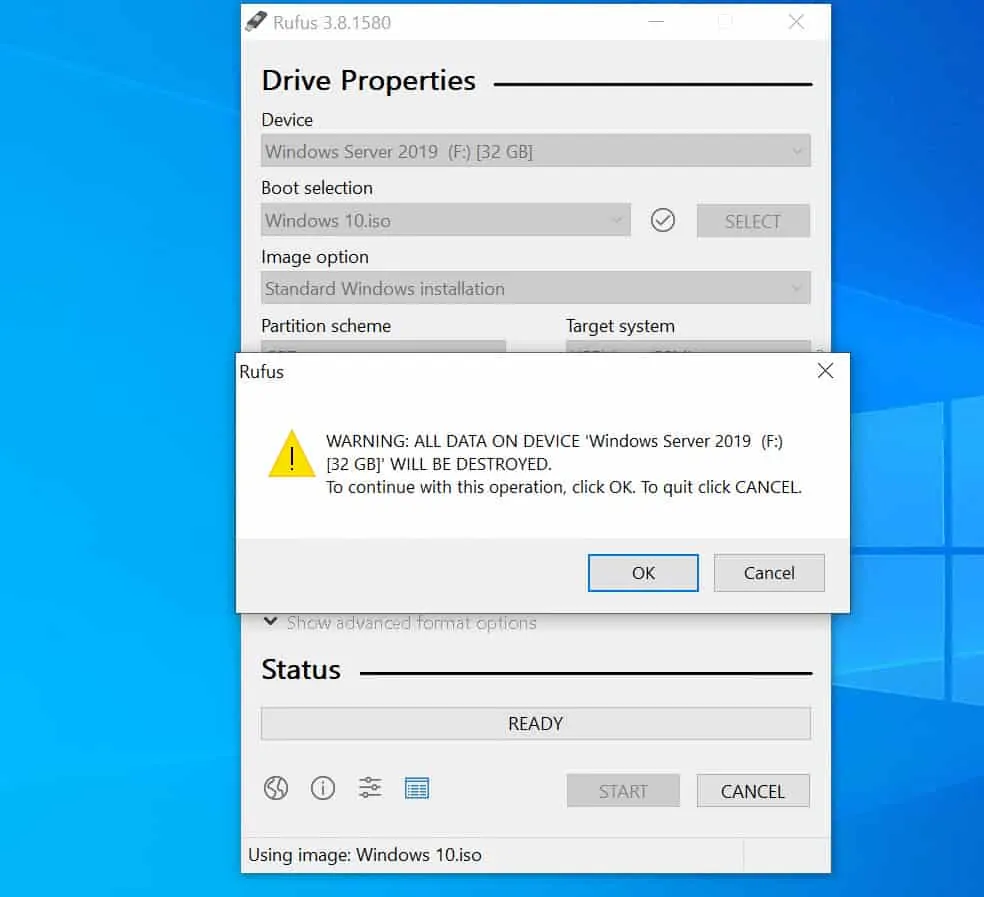
In the next step, you will be confirming for Rufus to format your USB drive. The drive will be formatted and all data in the USB drive WILL BE LOST. If you have any important data you do not wish to lose, save it now before you proceed.
- You will receive a data loss warning. To proceed and accept, click OK.
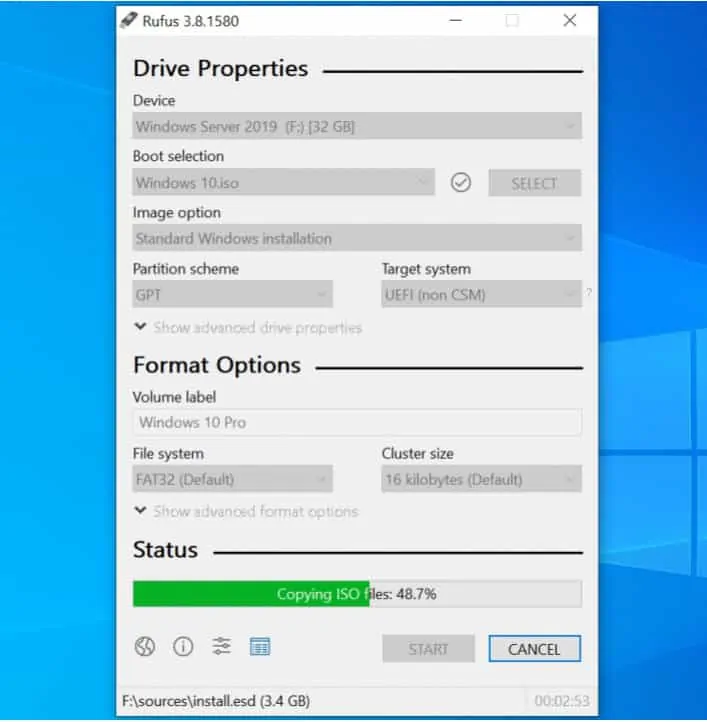
- Wait for the tool to convert your ISO to USB.
Conclusion
With the steps in this guide you should be able to burn Windows 10 ISO to USB in no time!
You can then use your bootable USB to install Windows 10. For detailed steps, see this guide – How to Install Windows 10 from USB.
I hope you found this guide helpful. If you did, kindly spare 2 minutes to tell us what you think about the steps in this guide by responding to the “Was this page helpful?” question below.
For more Windows guides visit our Windows How To page.


![How To Run Sysprep (Generalize) In Windows 10 [2 Methods]](https://www.itechguides.com/wp-content/uploads/2022/05/8-2.webp)