Do you want to add or remove members to an AD (Active Directory) group but need help doing that? This guide teaches you various ways to add or remove objects as members of an AD group.
Option 1: Add or Remove Members with AD GUI Tools
The quickest method to add or remove Active Directory group members is via the popular AD GUI tools. Most AD SysAdmins will be conversant with Active Directory Users and Computers.
However, not every SysAdmin may be aware of the Active Directory Administrative Center. Whether you know these tools or not, they’re the GUI tools you need to perform most AD tasks.
So, in the first sub-section below, I’ll show you how to add or remove Active Directory group members with Active Directory Users and Computers. Then, in the second sub-section, you’ll learn how to perform these tasks with Active Directory Administrative Center.
Method 1: Add or Remove Members with Active Directory Users and Computers
- Open Active Directory Users and Computers (ADUC) from your Windows 10/11 PC if you installed RSAT for Active Directory. Alternatively, open Active Directory Users and Computers from a Domain Controller (not recommended).
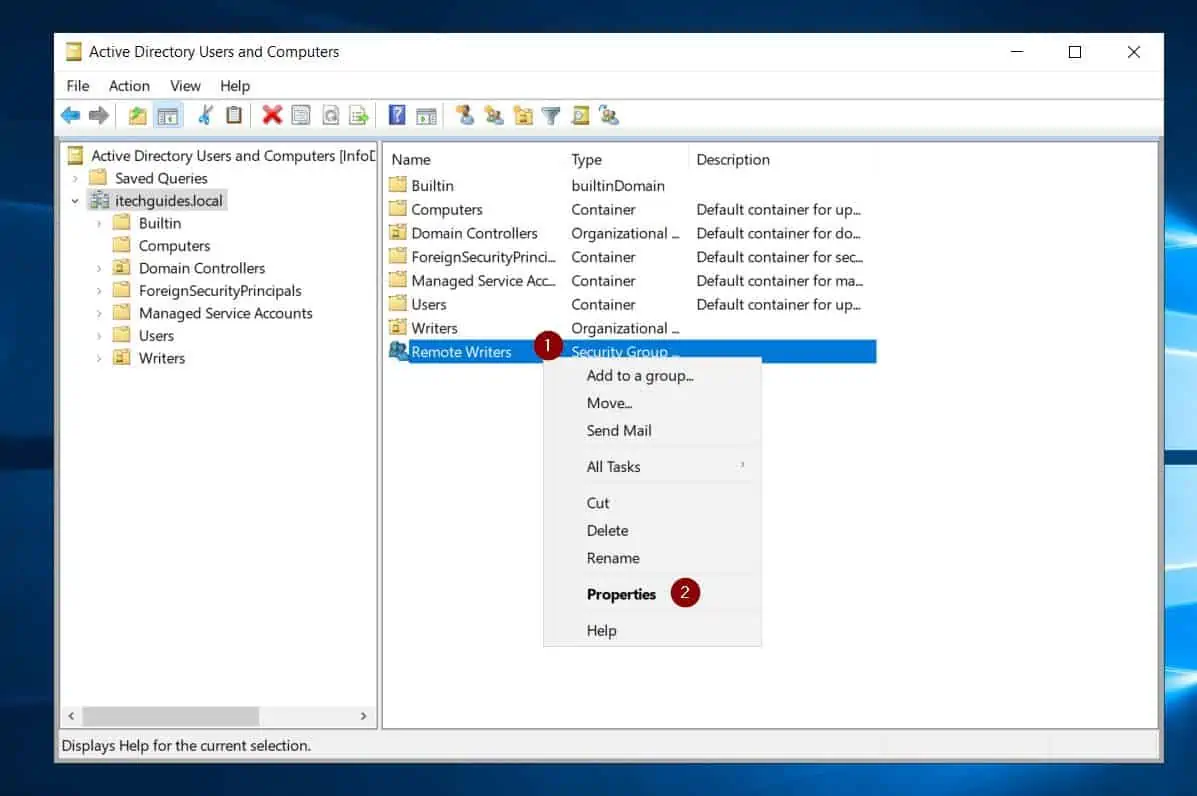
- Then, when ADUC opens, search for the group you wish to modify. Right-click the group and select Properties.
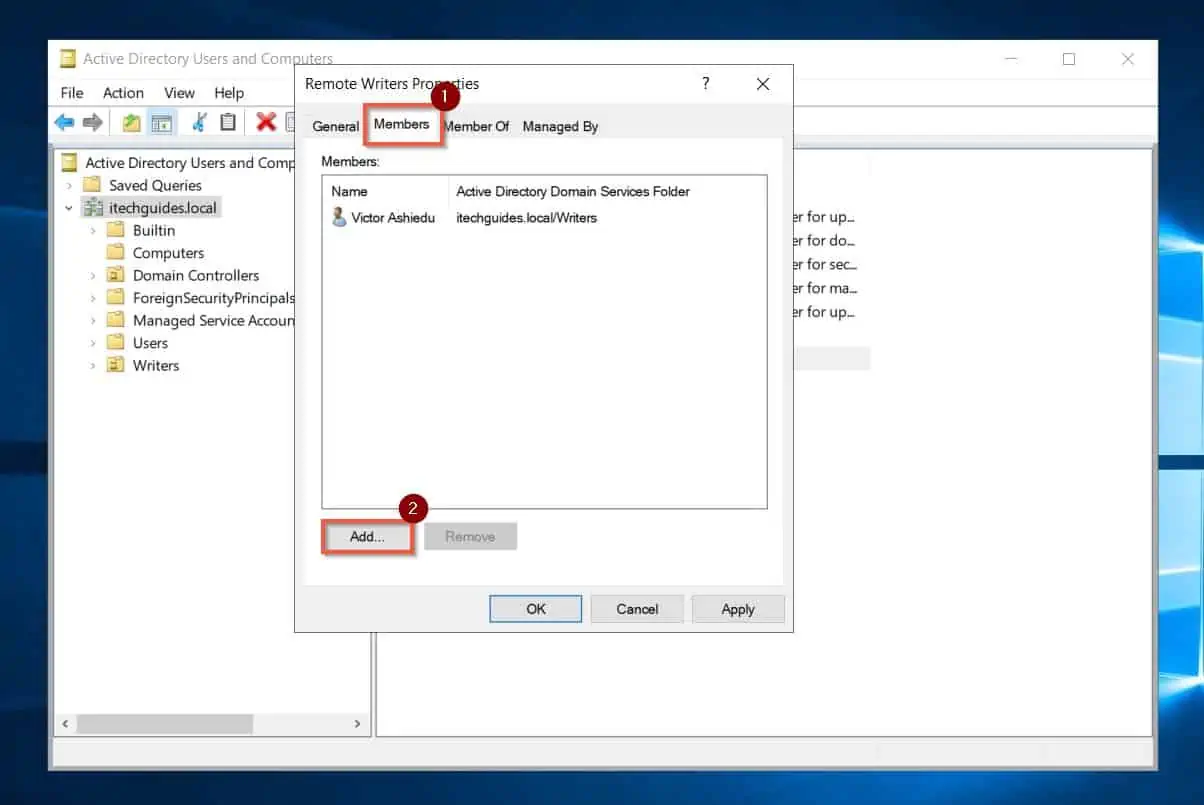
- On the Properties of the AD group, click the Members tab. Then, towards the bottom left, click the Add button.
This action will open the Select Users, Contacts, Service Accounts, or Groups window.
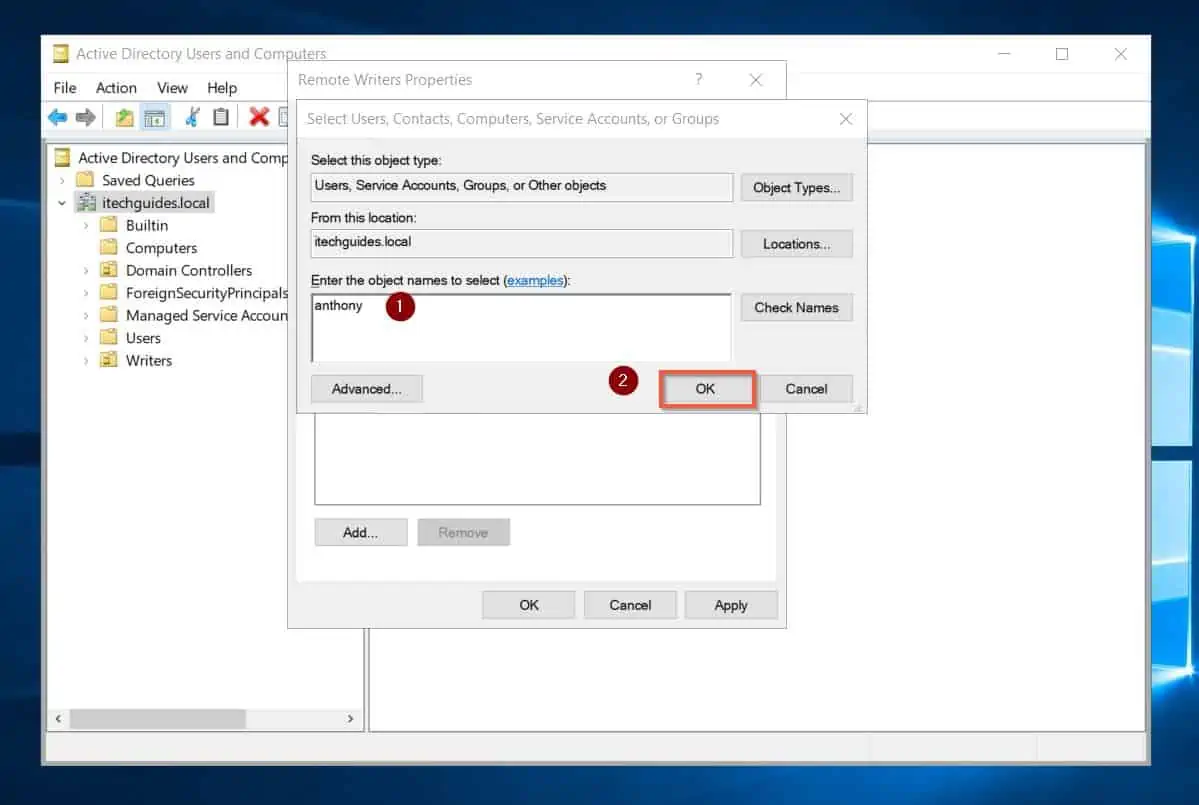
- Then, on the Select Users, Contacts, Service Accounts, or Groups window, type the first, last, or samAccountName of the object you want to add as a member of the AD group. Then, click the OK button.
If the name you entered is the only name in the directory, Active Directory will automatically add the object to the Members list of the group. Otherwise, Active Directory will display all objects that match the name you entered.
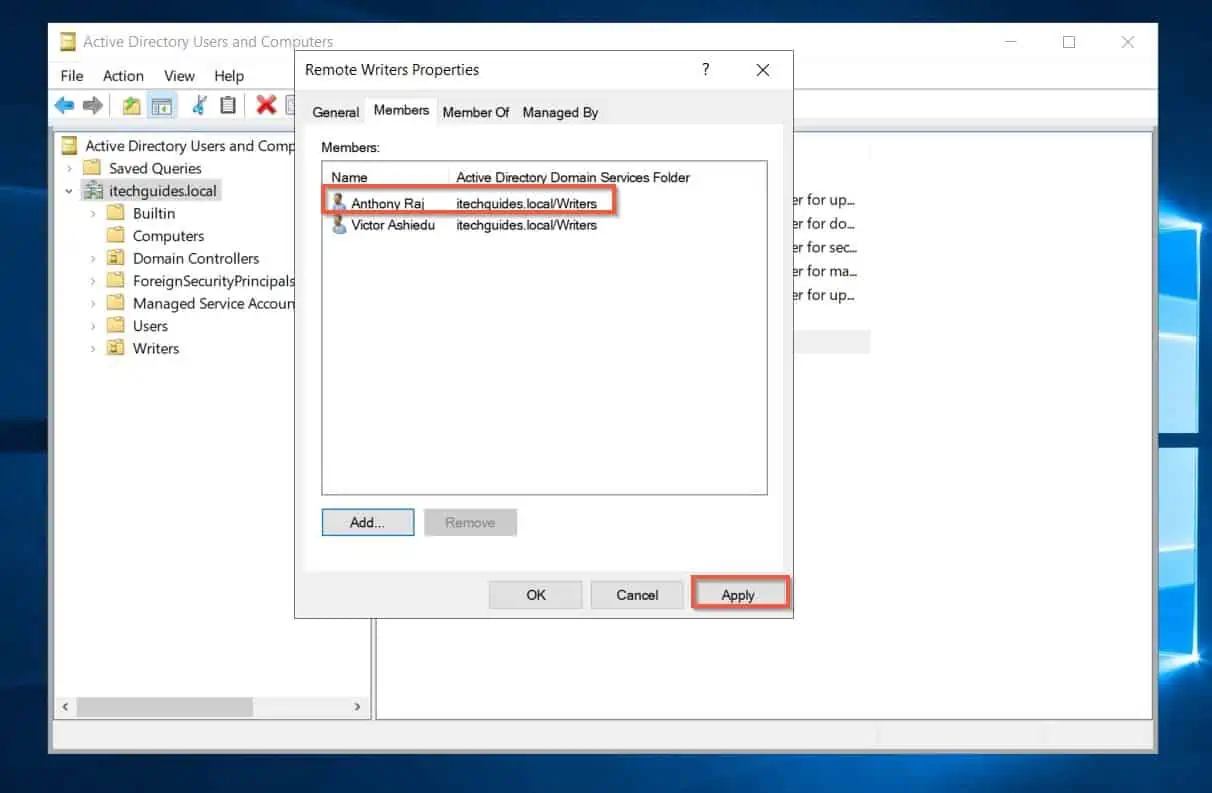
- Finally, to save the change you made to the group, click the Apply button.
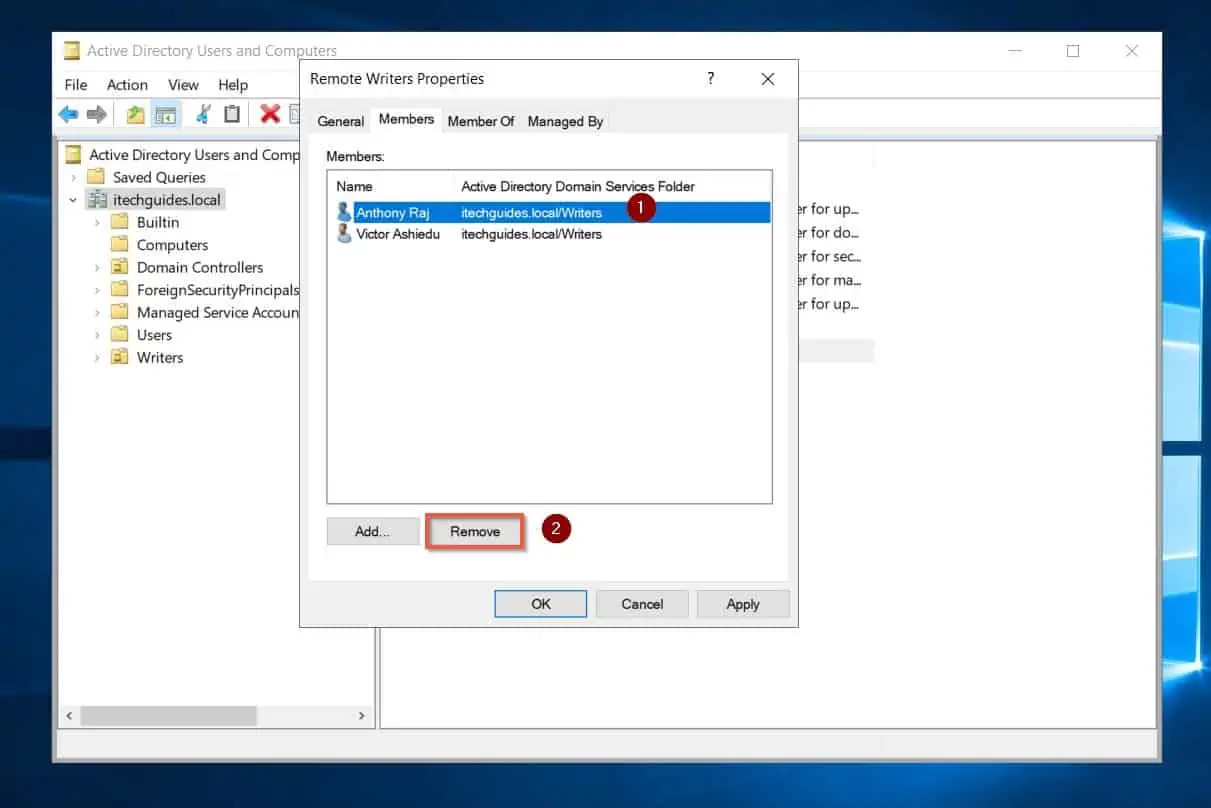
- To remove an AD group member, left-click the member in the list to highlight it. Then, towards the bottom right, click the Remove button.
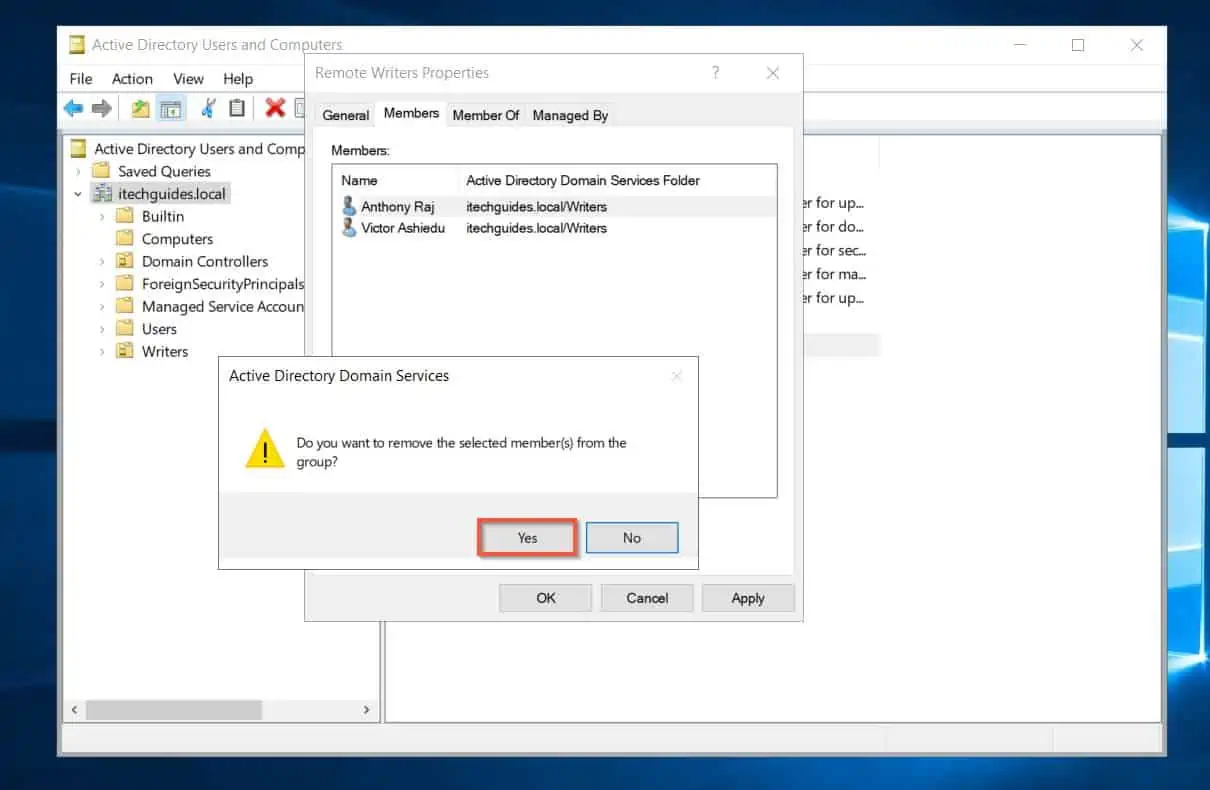
AD will pop up a confirmation window. Click Yes.
Method 2: Add or Remove Members with the Active Directory Administrative Center (ADAC)
- Open Active Directory Administrative Center (ADAC) from your Windows 10/11 PC if you installed RSAT for Active Directory. Alternatively, open ADAC from a Domain Controller (not recommended).
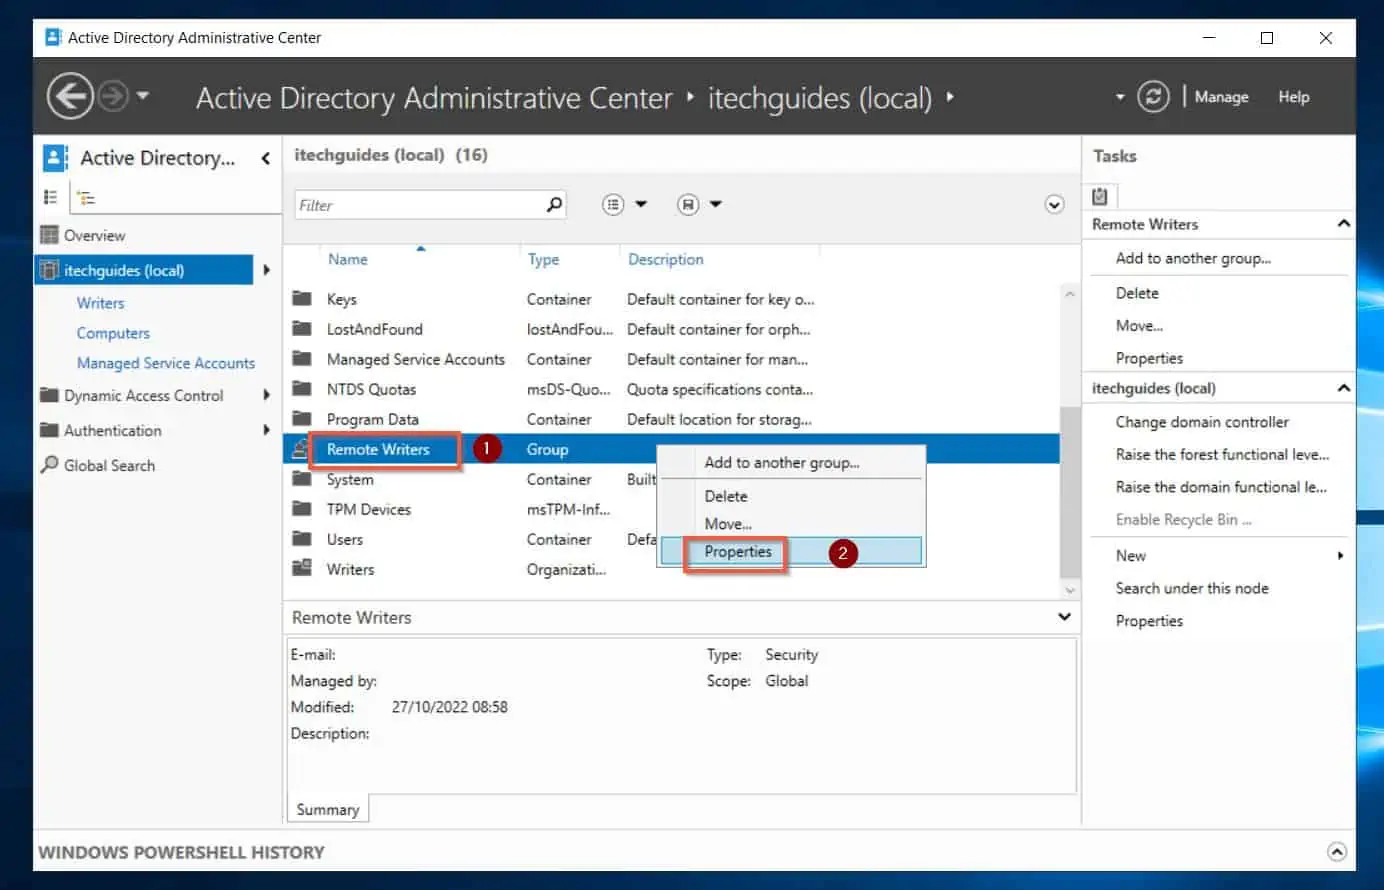
- Then, when ADAC opens, navigate to the group you want to modify. Right-click the group and select Properties.
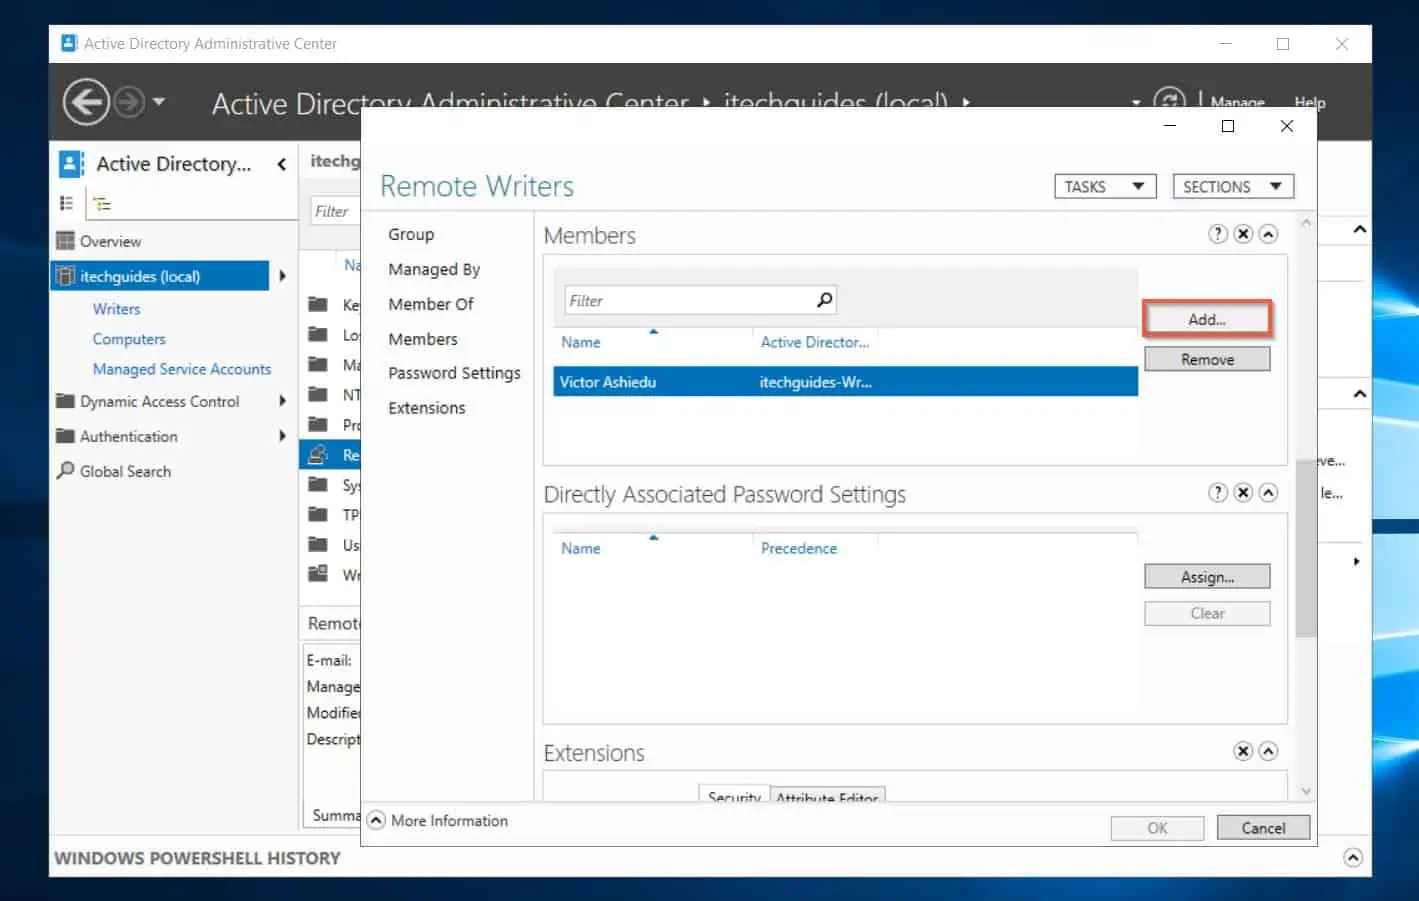
- When the group’s Properties open, click the Members tab on the left pane.
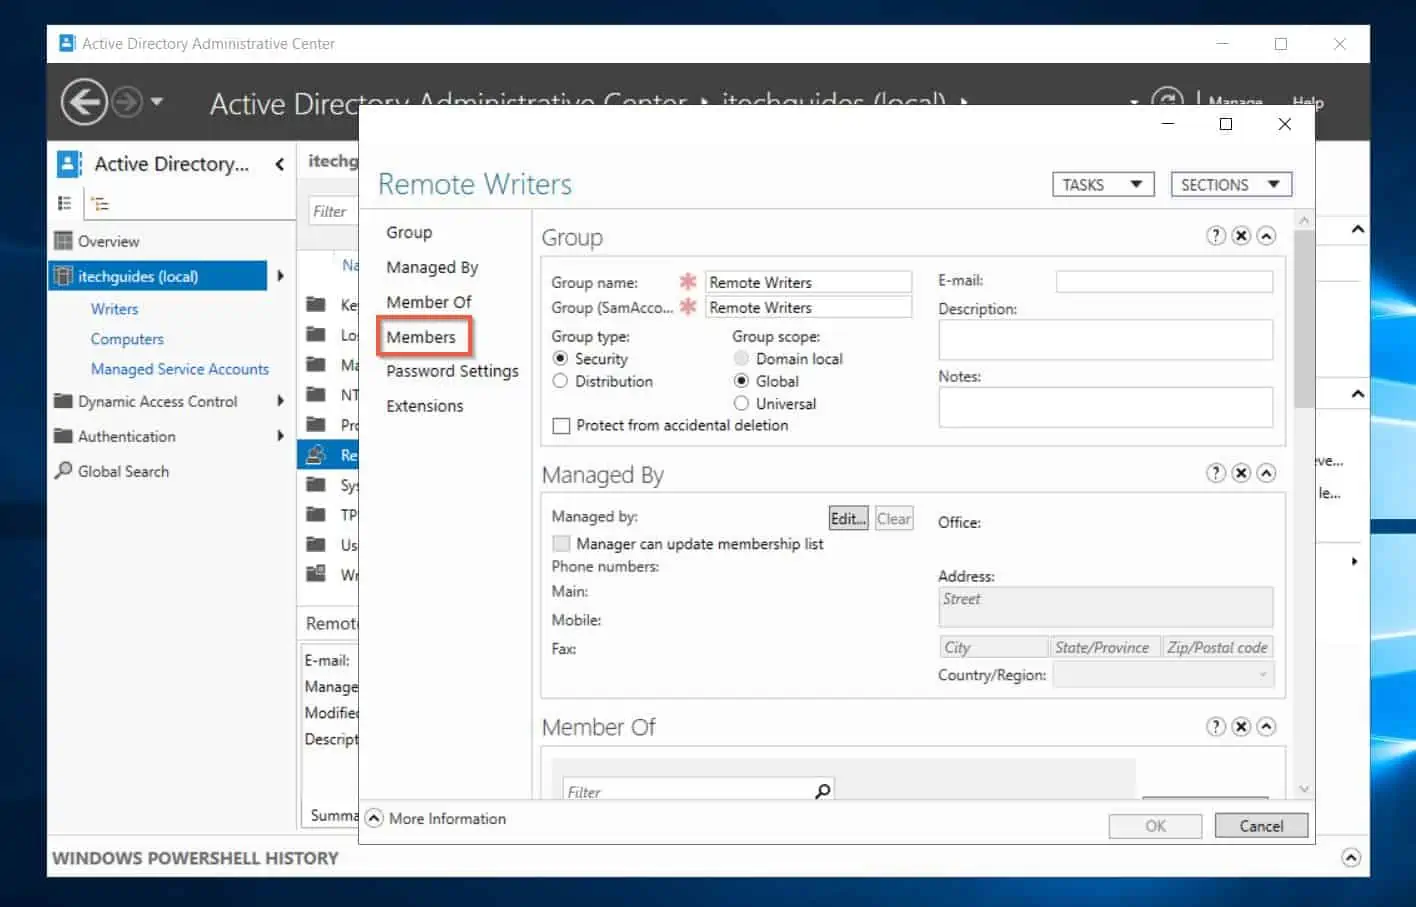
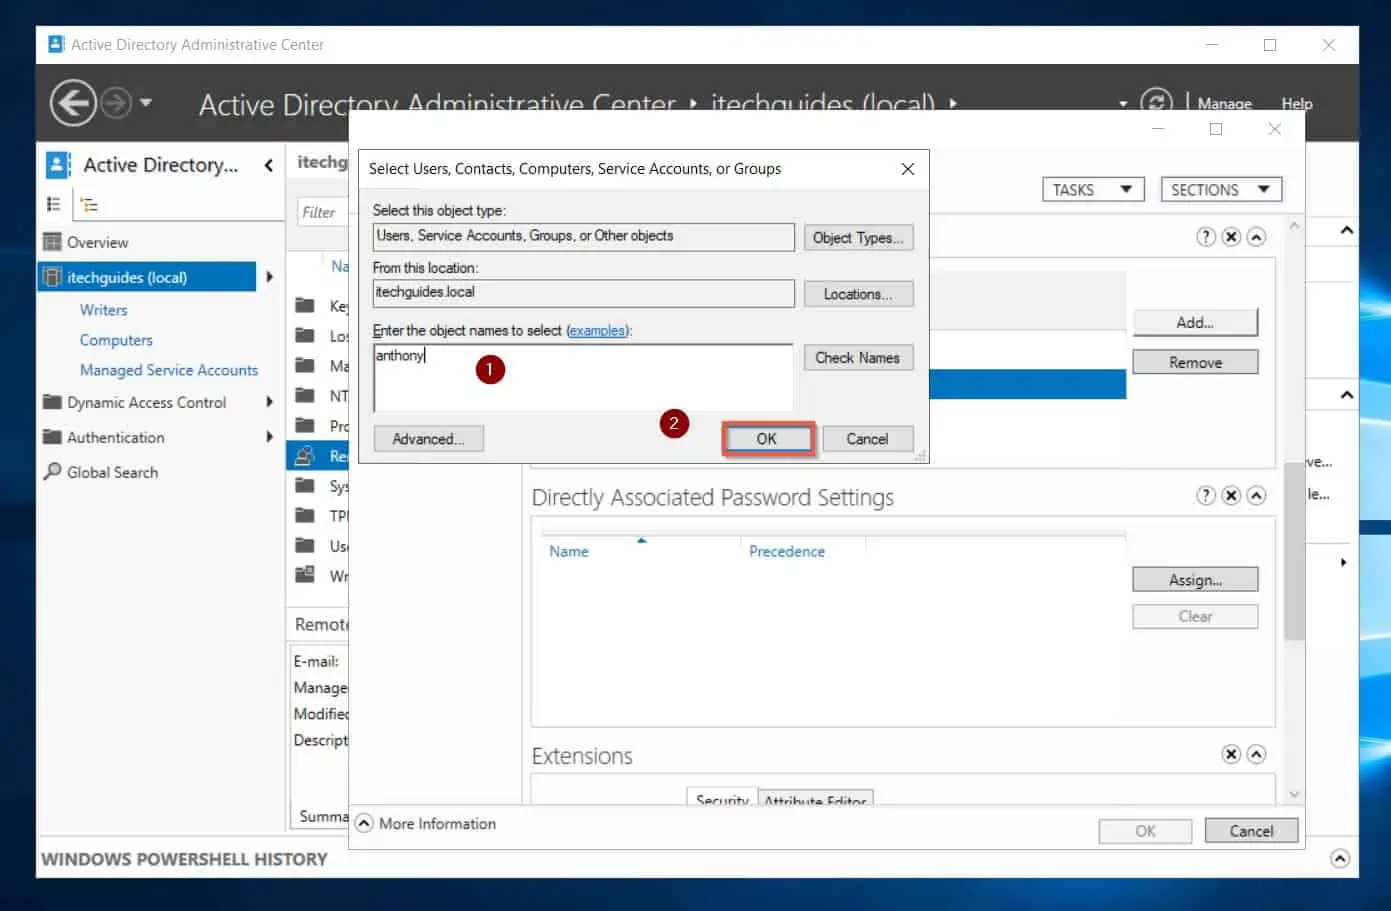
- Then, on the right pane of the group’s Properties’s Members tab, click Add. Clicking the Add button opens the Select Users, Contacts, Service Accounts, or Groups window.
Type the first, last, or samAccountName of the object you want to add as a member of the AD group. Then, click the OK button.
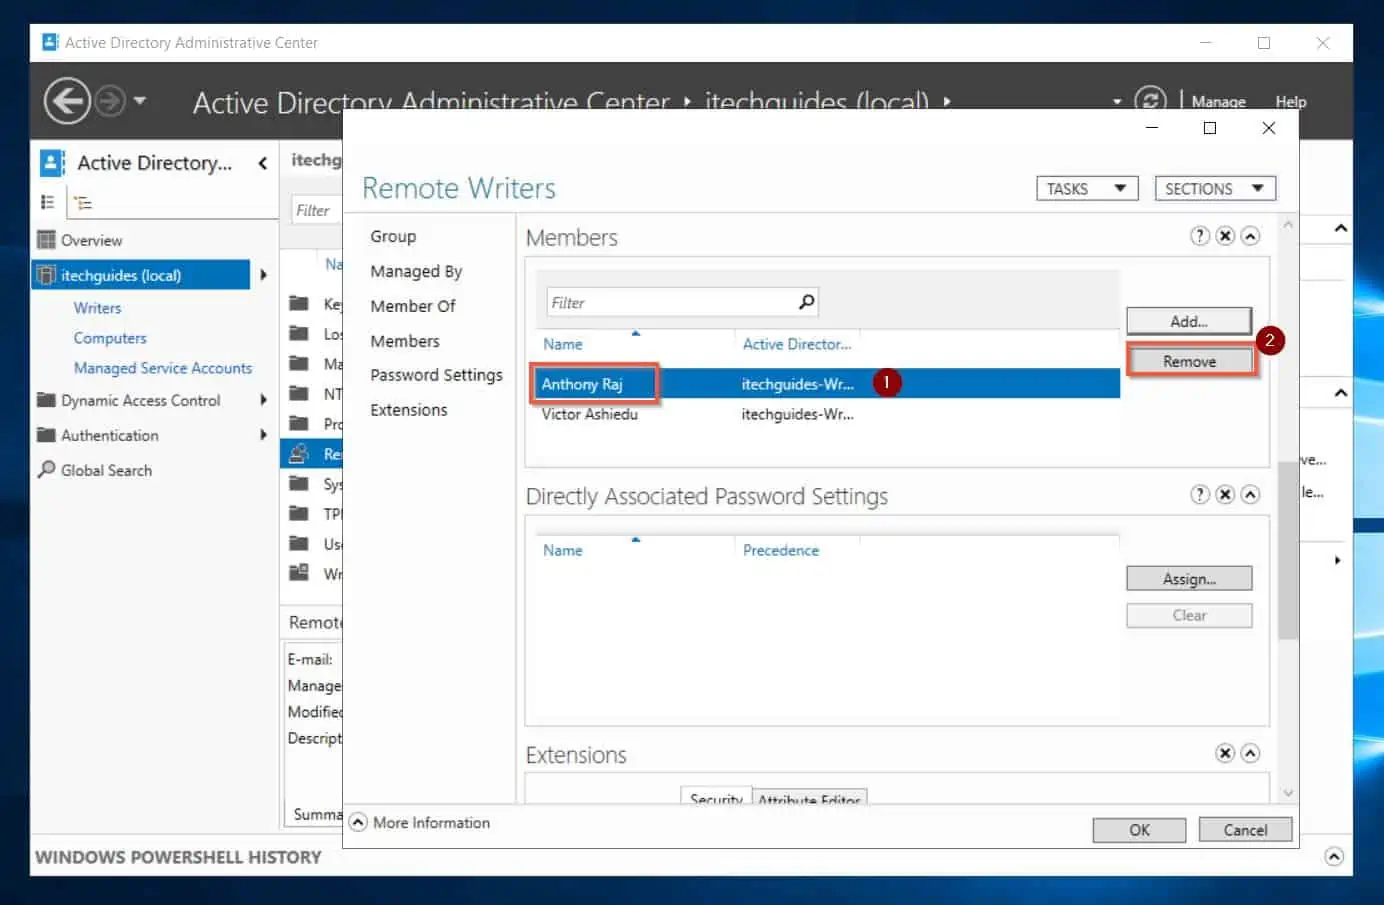
- To remove an AD group member with Active Directory Administrative Center, on the group’s Properties, Members tab, left-click the object. Then, on the right pane, click the Remove button.
ADAC will remove the user from the group without asking you to confirm.
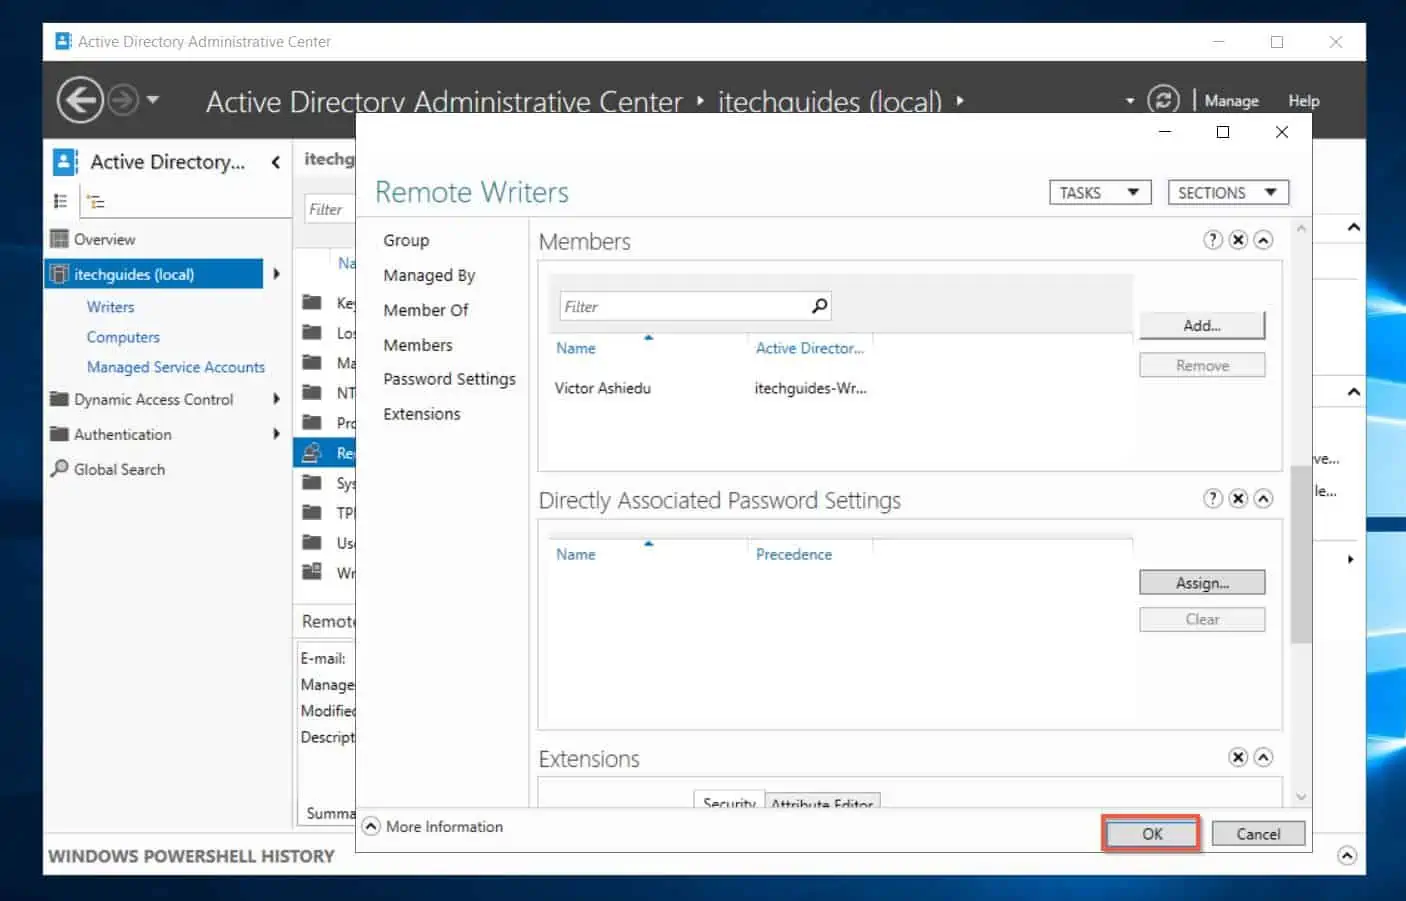
- Finally, to save the changes you made to the AD group, click the OK button.
Option 2: Add or Remove Members with PowerShell or Command Prompt (CMD)
If you love automating SysAdmin tasks, you would love this section, especially the PowerShell part!
In the following sub-sections of this section, you’ll learn how to add or remove members from or to an AD group with PowerShell or CMD.
Method 1: Add or Remove Members with PowerShell
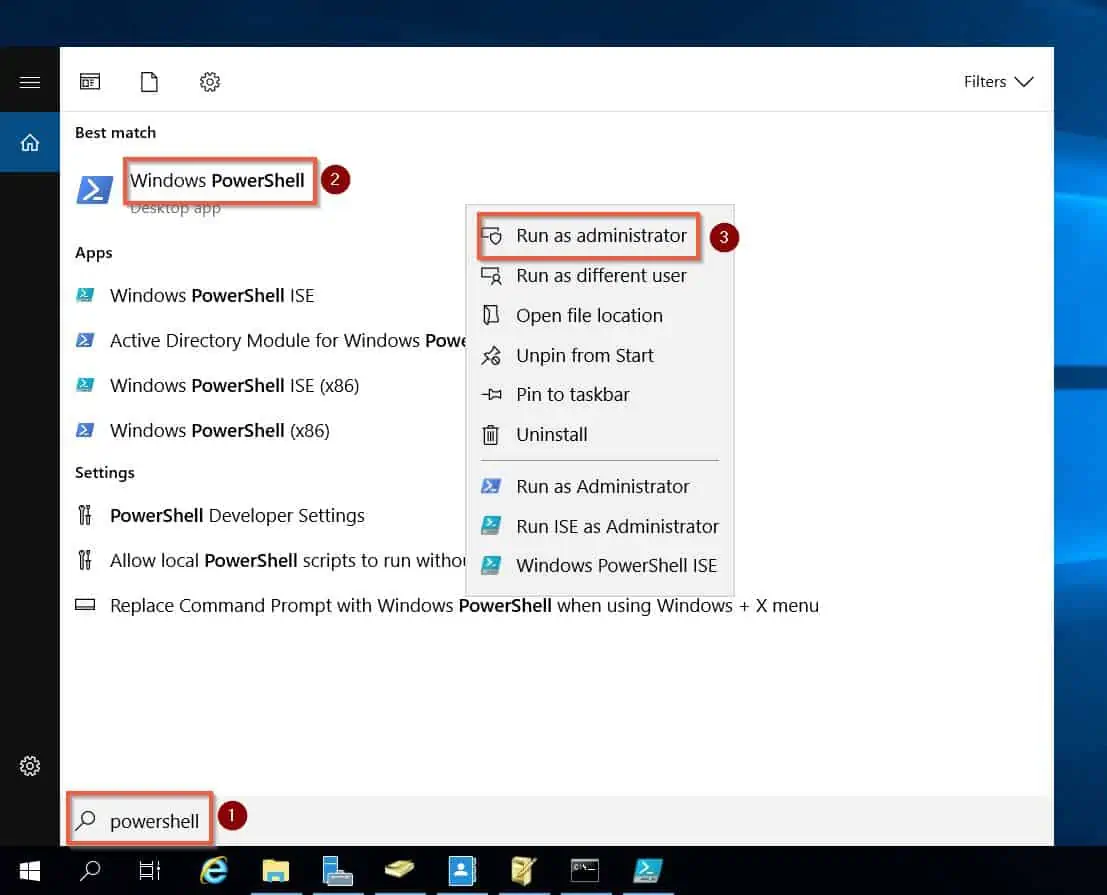
- Search powershell. Then right-click Windows PowerShell and select run as administrator.
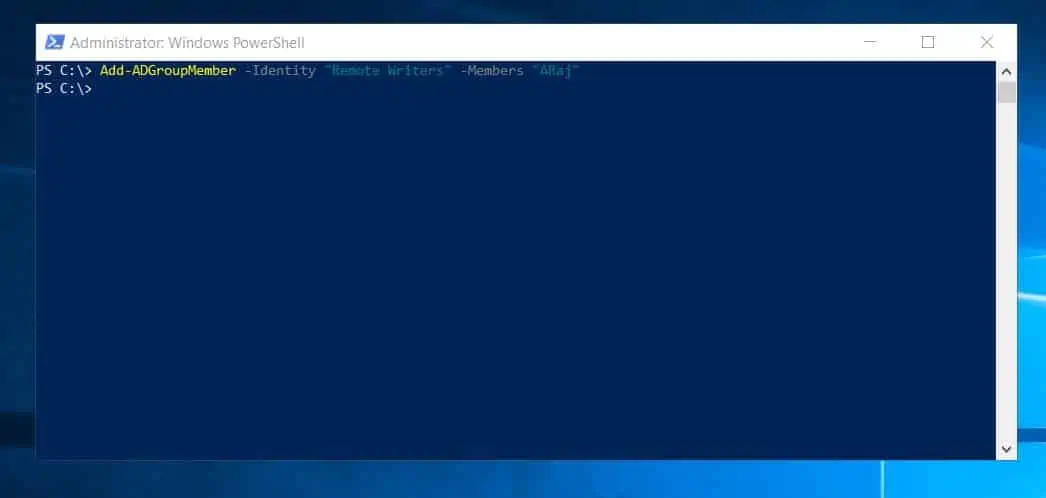
- When Windows PowerShell opens, copy and paste the command below to your Windows PowerShell console. Then, to run the command, press the Enter key on your keyboard.
Add-ADGroupMember -Identity "Remote Writers" -Members "ARaj"
To remove an AD with the samAccountName, “ARaj” from the “Remote Writers” AD group, use the command below…
Remove-ADGroupMember -Identity "Remote Writers" -Members "ARaj" -Verbose
When you run the command by pressing the Enter key on your keyboard, PowerShell will ask you to confirm the action. Type Y; then press the Enter key on your keyboard again.

Method 2: Add or Remove Members with Command Prompt (CMD)
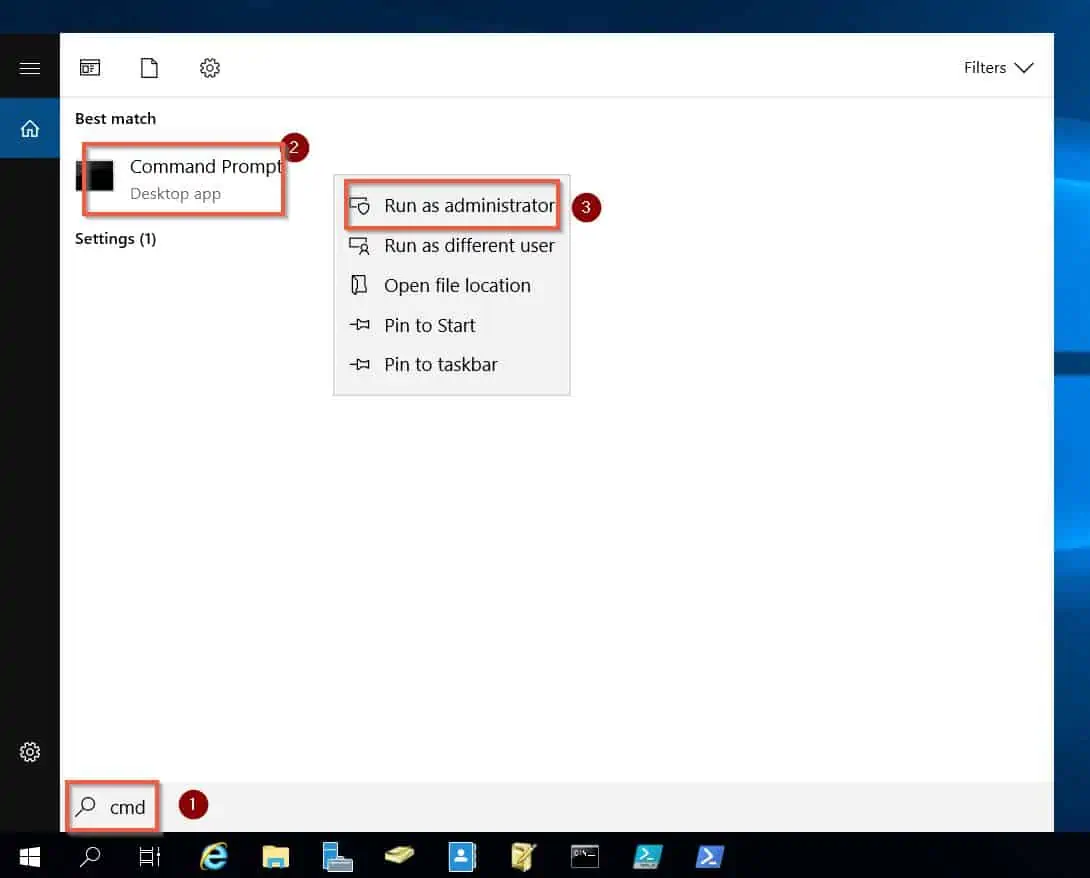
- Search cmd. Then right-click Command Prompt and select run as Administrator.
- Then, when Command Prompt opens, run a command similar to the command below.
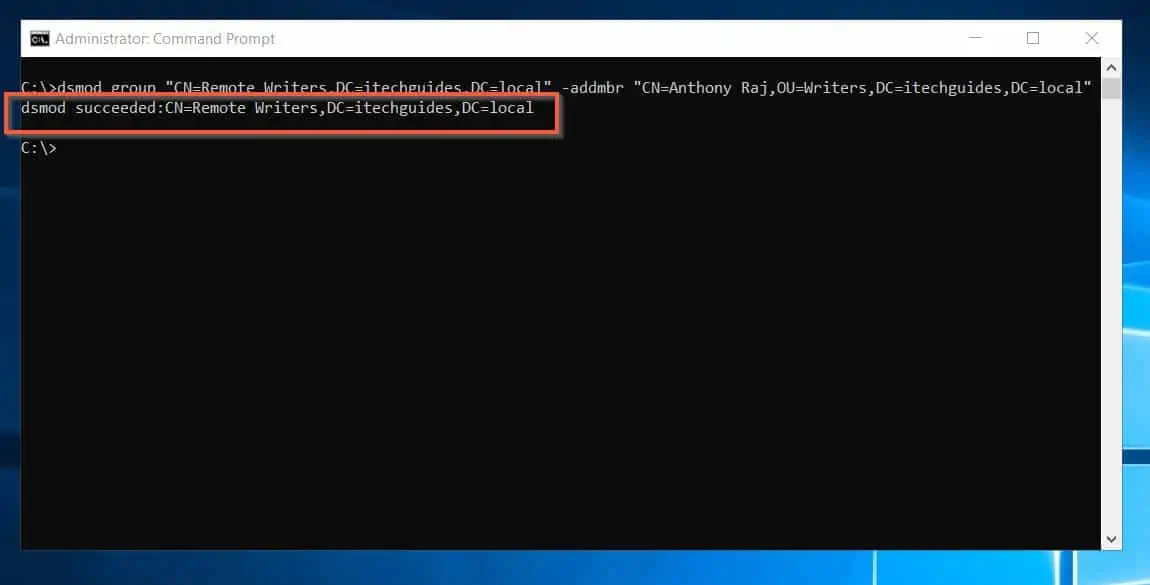
dsmod group "CN=Remote Writers,DC=itechguides,DC=local" -addmbr "CN=Anthony Raj,OU=Writers,DC=itechguides,DC=local"
If the command is successful, the command prompt will display a success confirmation.
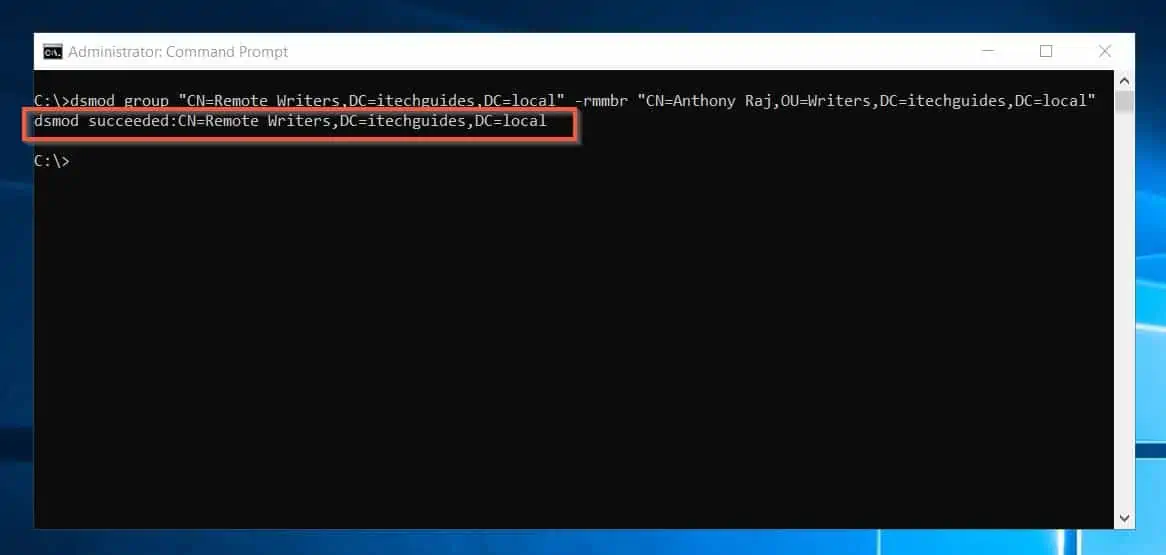
You can also use the “dsmod group” command to remove AD group members. However, instead of using the -addmbr syntax, you use -rmmbr syntax.
dsmod group "CN=Remote Writers,DC=itechguides,DC=local" -rmmbr "CN=Anthony Raj,OU=Writers,DC=itechguides,DC=local"
Like in the previous command, if the above command is successful, Command Prompt will display a success confirmation.
Frequently Asked Questions
You can add members to AD group with Active Directory Users and Computers or Active Directory Administrative Center. To use one of these tools:
i) Open the tool and search for the AD group you want to add members to.
ii) Then, right-click the group and select Properties.
iii) Finally, click the Members tab, and click Add.
Similarly, you can use PowerShell or Command Prompt to add members to AD group. To use PowerShell, run the Add-ADGroupMember.
However, to use Command Prompt, run the “dsmod group” command.
To bulk-add users to a group in AD, follow the steps below:
i) Add the users’ samAccountName to a column in a CSV file. For this example, I’ll assume that CSV column name is samAccountName.
ii) Run PowerShell as administrator.
iii) Then, run the command below in PowerShell to bulk-add all the users in the CSV:
import-CSV | ForEach-Object {
Add-ADGroupMember -Identity “Remote Writers” -Members $_.samAccountName
}
Change “Remote Writers” to your AD group’s samAccountName. Also, note that $_.samAccountName is the column you have the samAccountNames of the users you want to bulk-add as members of the AD group.
To add a user to an AD group in PowerShell, run the Add-ADGroupMember command. For example, the command below adds a user, “ARaj” to the “Remote Writers” AD group.
Add-ADGroupMember -Identity “Remote Writers” -Members “ARaj“
You can edit an AD group by opening the AD group’s Properties in Active Directory Users and Computers. Alternatively, you can edit an AD group with the Set-ADGroup PowerShell command.
Finally, you can also edit an AD group with the “dsmod group” CMD command.
To import a CSV file into Active Directory, use the Import-CSV command.
Conclusion
Creating and modifying AD groups is a common task for AD SysAdmins. This task may range from changing the type and scope of an AD group to modifying the properties of the group.
Talking about modifying the properties of an AD group, the group’s membership is one of those properties SysAdmins may be required to modify.
Thankfully, this guide discussed the two tasks you may need to carry out in this regard. Specifically, the guide discussed various ways to add or remove AD group members.
I hope you found the guide helpful and were able to add or remove group members from the AD group you intended. If you found the guide helpful, click on “Yes” beside the “Was this page helpful” question below.
You may also express your thoughts and opinions by using the “Leave a Comment” form at the bottom of this page.
Finally, you may also add to your Active Directory knowledge by reading other articles in our Active Directory Guides page.