Introduction
This is part 4 of a 4-part “Routing and Remote Access” series. This part covers how to configure Web Application proxy in Windows Server 2016.
Web Application Proxy (WAP) is a Remote Access role introduced with Windows Server 2012 R2. It is used to publish web applications that end users can interact with from any device.
Setup Requirements for Web Application proxy in Windows Server 2016
- Domain Controller
- Certificate Authentication Server
- Web Application Proxy Server
To install AD FS to use with Web Application Proxy in Windows Server 2016, the following conditions must be met:
- The AD FS server must be joined to the domain
- The Web Application Proxy server cannot be installed on the same computer as the Federation service server.
And the certificate must meet the following requirements:
- A Server Authentication option as an applicable policies
- It must have a Private key
- A subject with the AD FS server name in FQDN format
Effectively, you require 2 separate servers to set up WAP in Server 2016:
- A server with Active Directory Domain Services installed. AD Federation Service will also be installed on this server
- Another server act as the WAP Server.
Before you proceed with the steps in this guide you need to install Remote Access Role with Web Application Proxy role service. To install Remote Access, read part 1 of this series.
Steps to Enable and Setup Web Application proxy in Windows Server 2016
To fully configure WAP in Windows Server 2016, complete these 5 steps:
- Install Active Directory Federation Service (AD FS)
- Generate a Self Signed Certificate for AD FS
- Configure AD FS
- Setup a Proxy Server Certificate on the WAP Server
- Configure Web Application Proxy
Install Active Directory Federation Service (AD FS)
AD FS requires a service account. The first step is to create one in AD.
Here are the steps:
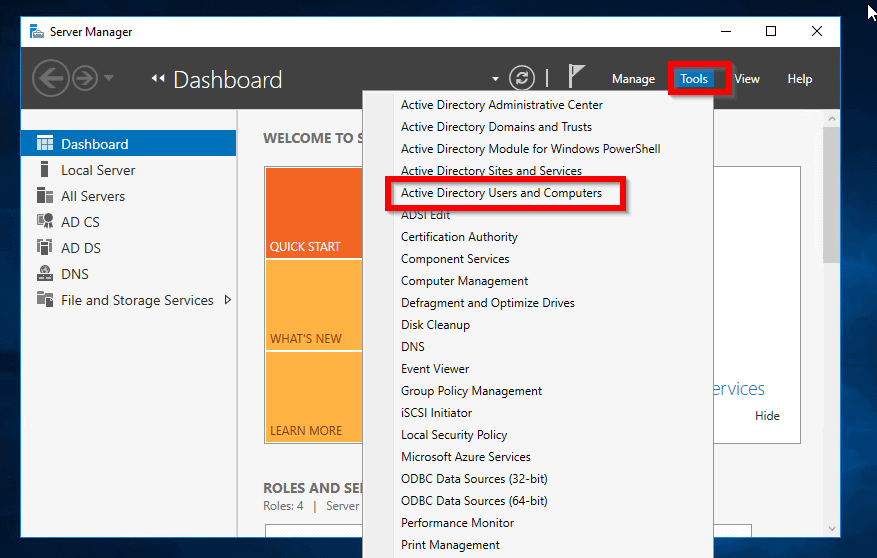
- Login to a DC and open Server Manager.
- From Server Manager, click Tools. Then select Active Directory Users and Computers
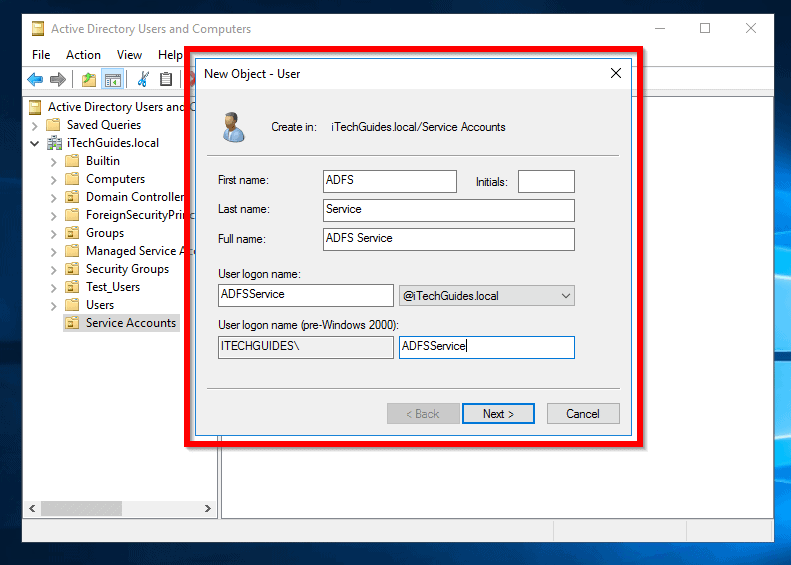
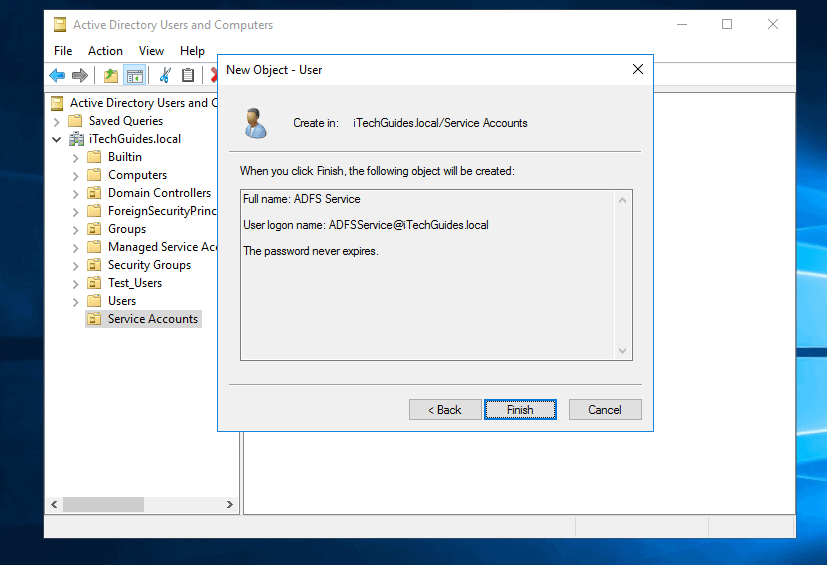
- Right-click the container you wish to create your service account. Then point to New and click User.

- On the New object – user screen, enter the details of the service account. Note the user logon name – mine is ADFSService. When you finish, click Next.
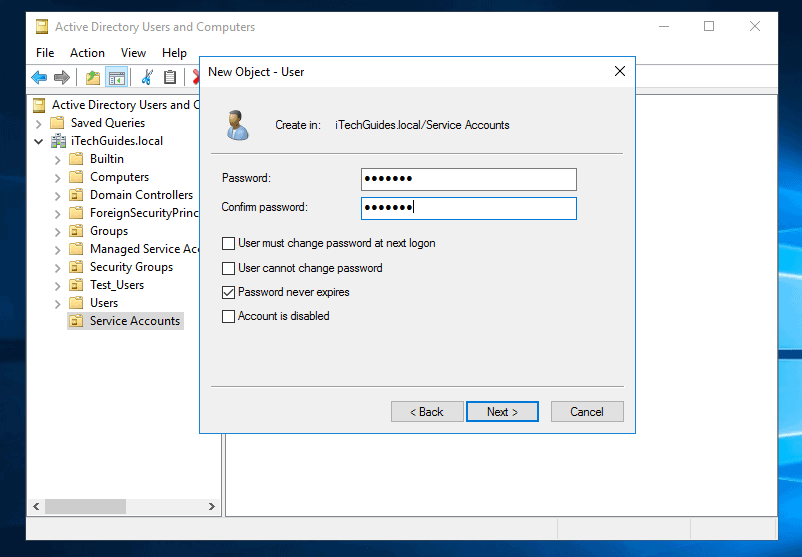
- Then enter a password for the service account and repeat the password. Beneath the password fields, uncheck every other box. Then check Password never expires and click Next.
- Finally, to create the account, click Finish.
- Add a Service Principal Name (SPN) for the service account. I am not covering the steps in this guide. For steps visit this link Register a Service Principal Name for Kerberos Connections.
Now, you can install AD FS. To install AD FS:
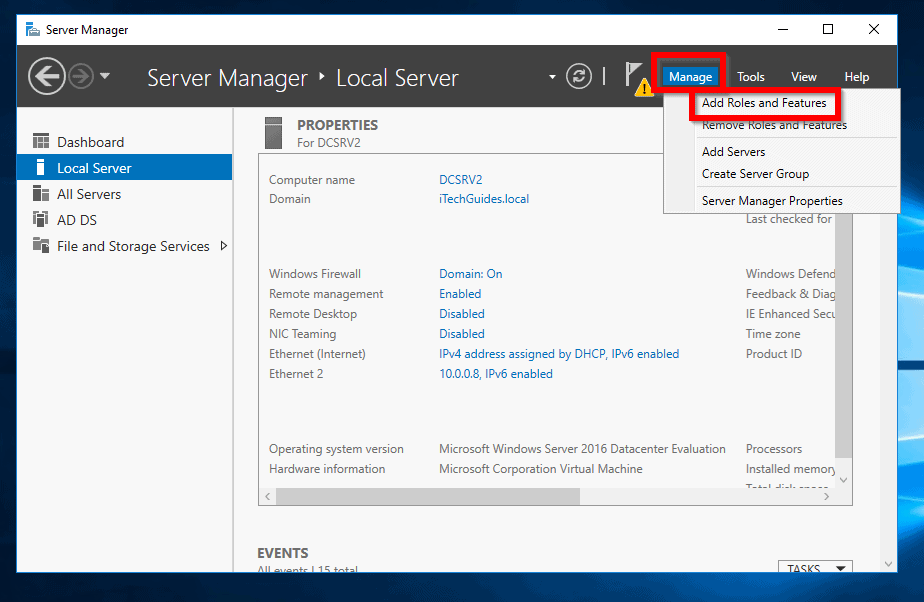
- Login to your Domain Controller and open Server Manager.
- From Server Manager, click Manage. Then select Add Roles and Features.
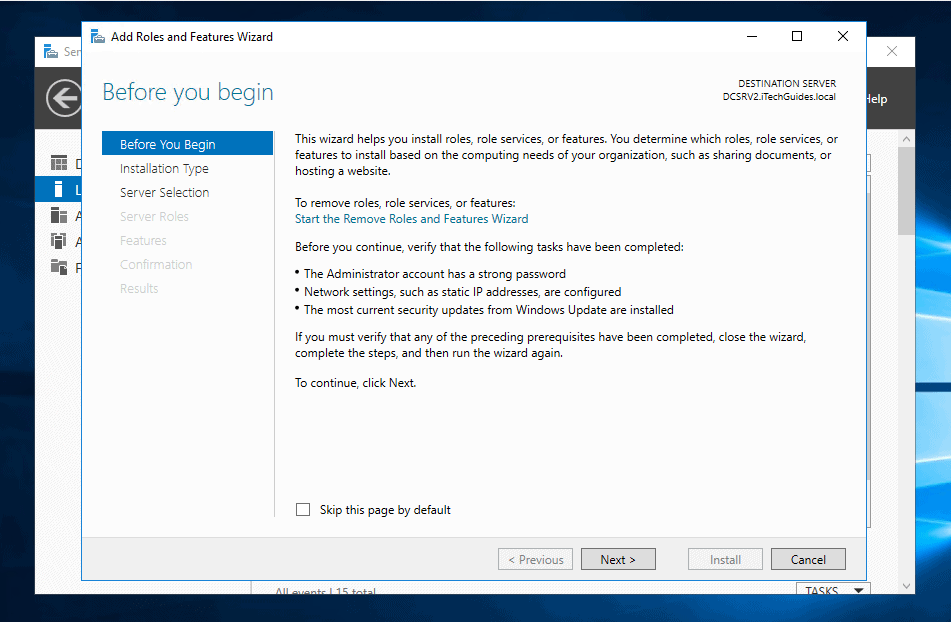
- When the first page opens, click Next.
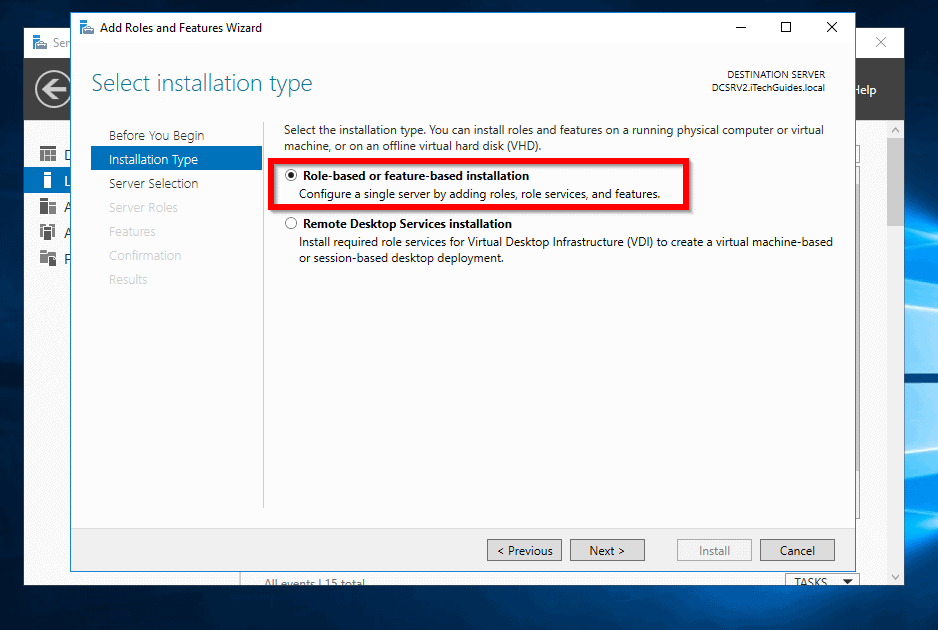
- On the Select installation type screen, select Role-based or feature-based installation. Then click Next.
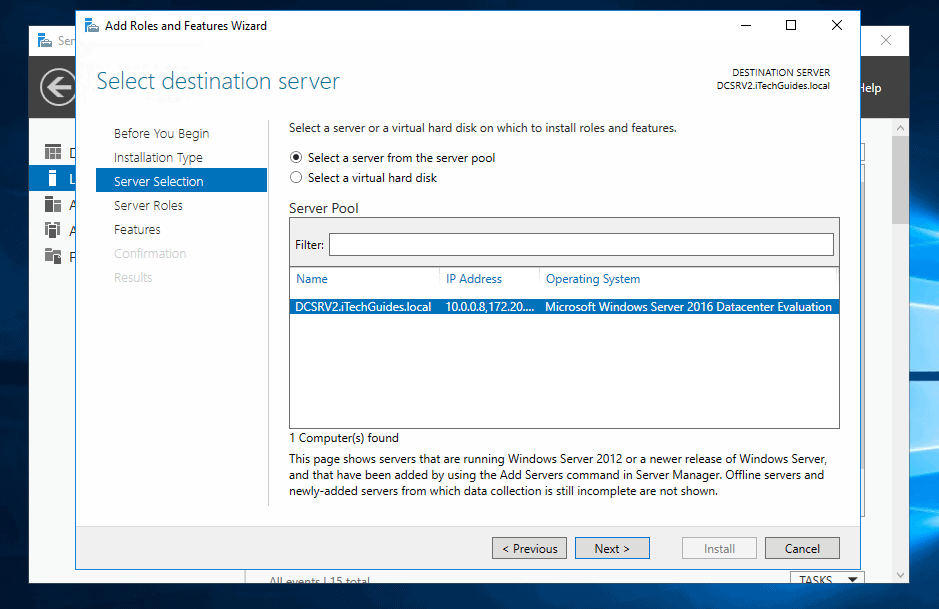
- Then select the server to install the role and click Next.
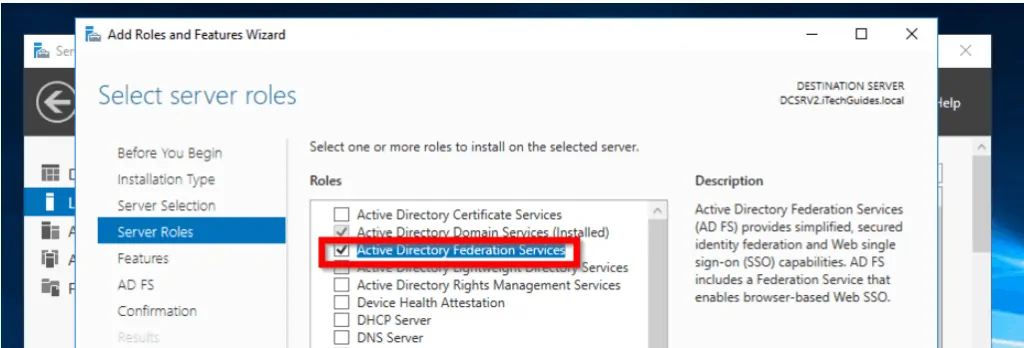
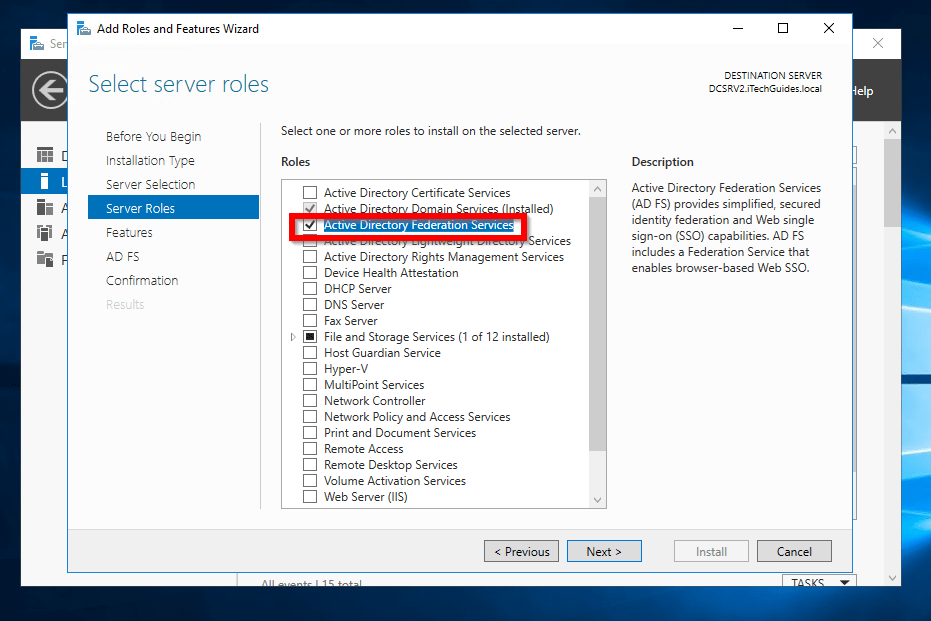
- On the Select server roles screen, check the box beside Active Directory Federation Services. Click Next.
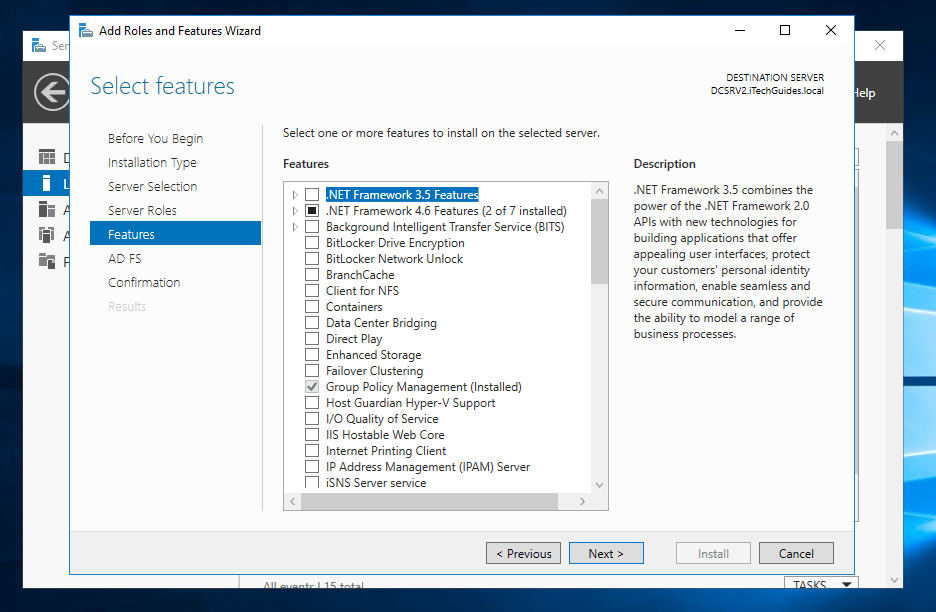
- Then on the Select features screen, click Next….
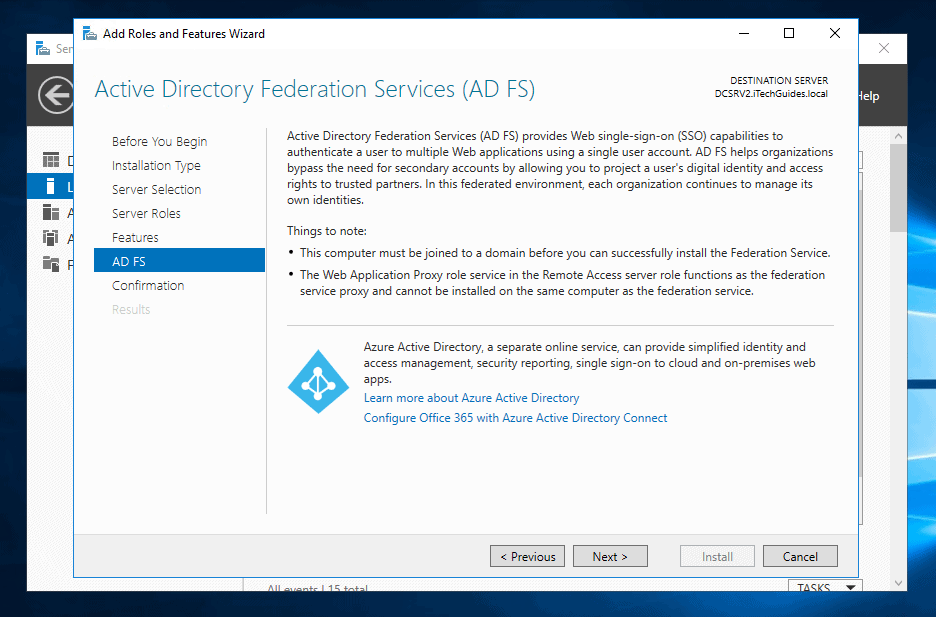
- If you wish you can read the information about AD FS. When you are ready click Next.
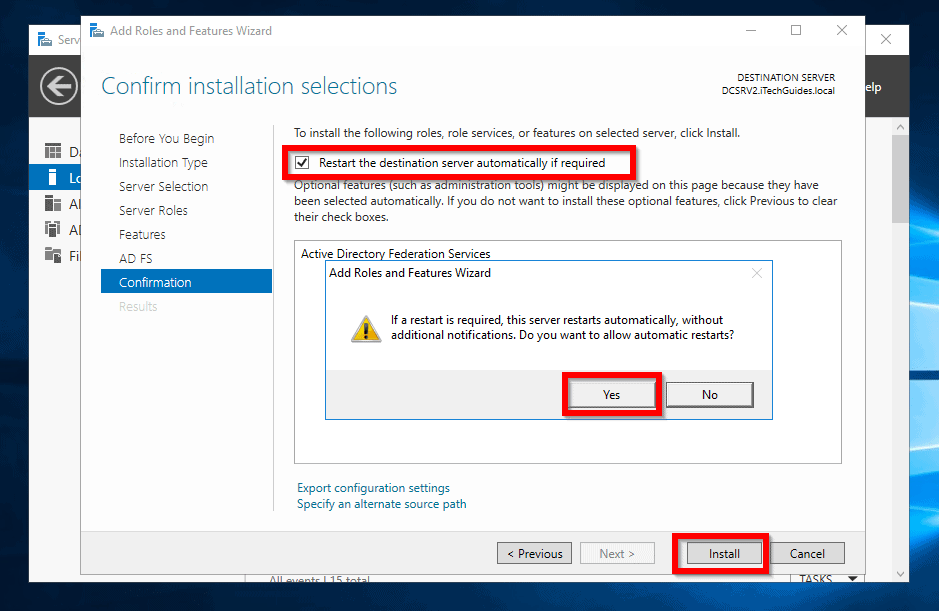
- On the final screen, check the box beside Restart the destination server automatically if required. This will prompt for confirmation. Click Yes. Then, to begin installation, click Install.
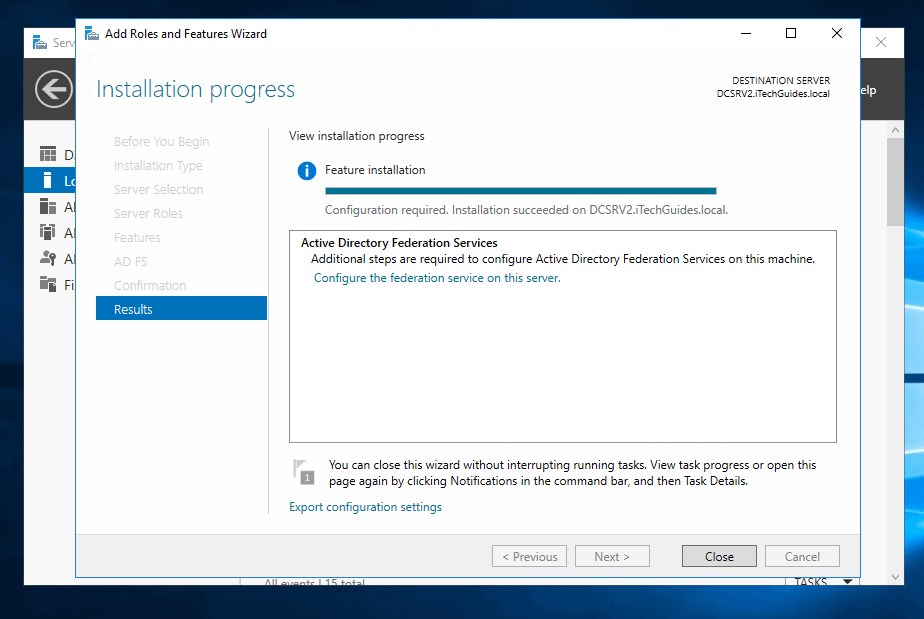
- When the installation is completed, click Close.
Generate a Self Signed Certificate for AD FS
AD FS requires a certificate to function. Perform this task on the server you installed AD FS role.
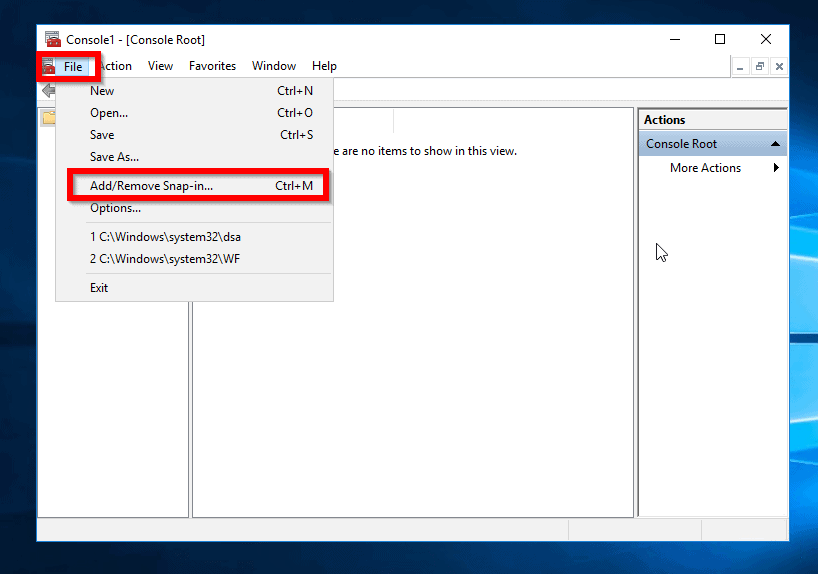
- Press Windows + R key to open Run command. Then type MMC and click OK.

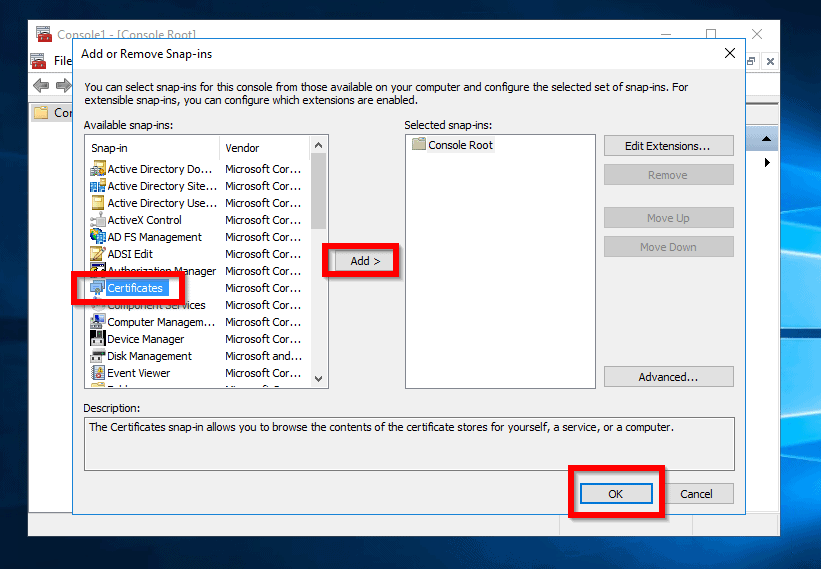
- When MMC opens click File. Then select Add/Remove Snap-in..
- Highlight Certificates and click Add.
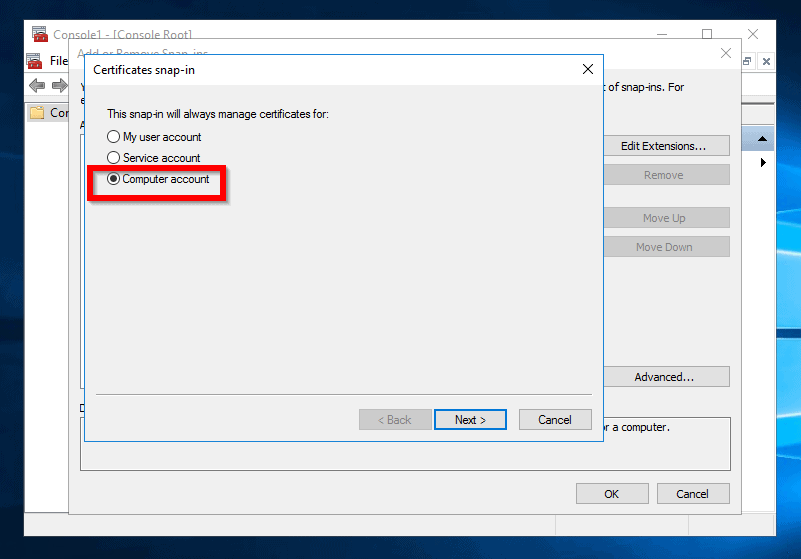
- When the Certificates snap-in opens, select Computer account and Next.
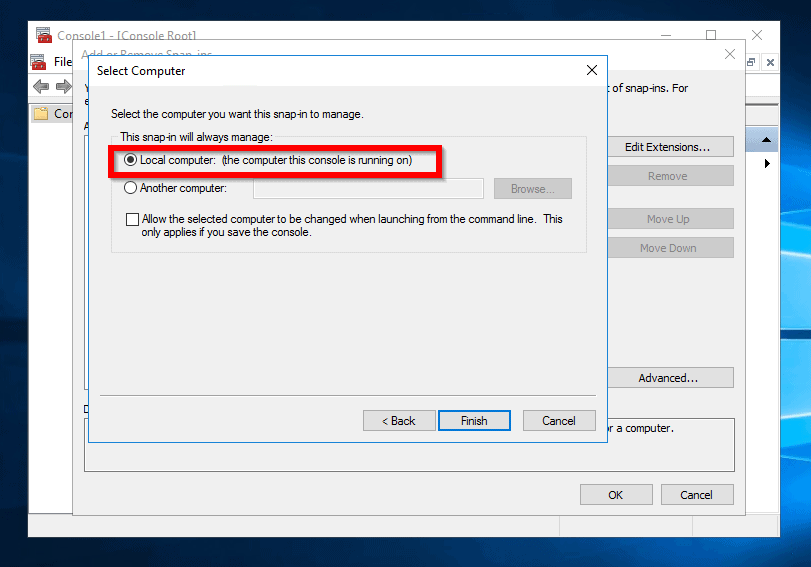
- Then select Local computer> (the computer this console is running on) and click Finish.
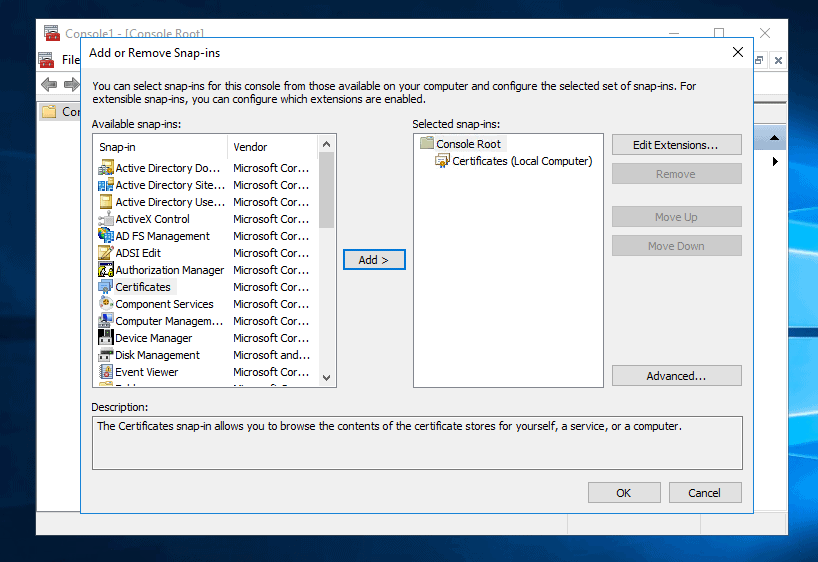
- On the Add or Remove Snap-ins, click OK. The local certificate store will be loaded. Before you continue save the MMC (File -> Save as).
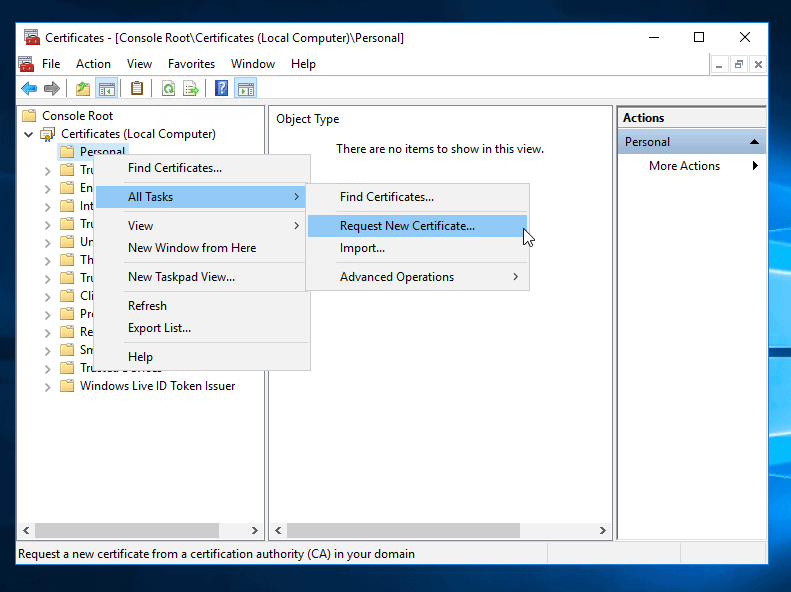
- Expand Certificates (Local computer). Then right-click Personal, point to All Tasks -> Request New Certificate...
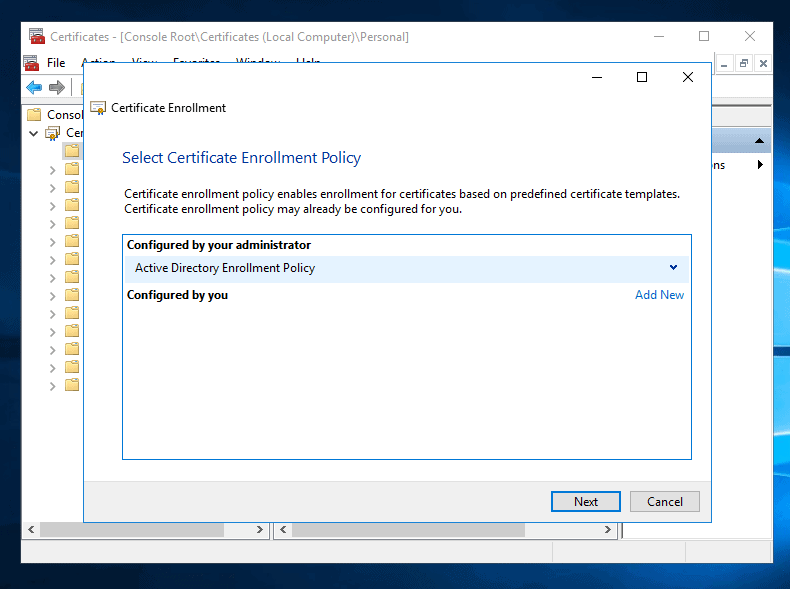
- When Certificate Enrollment opens, click Next.

- Then click Active Directory Enrollment Policy and click Next.
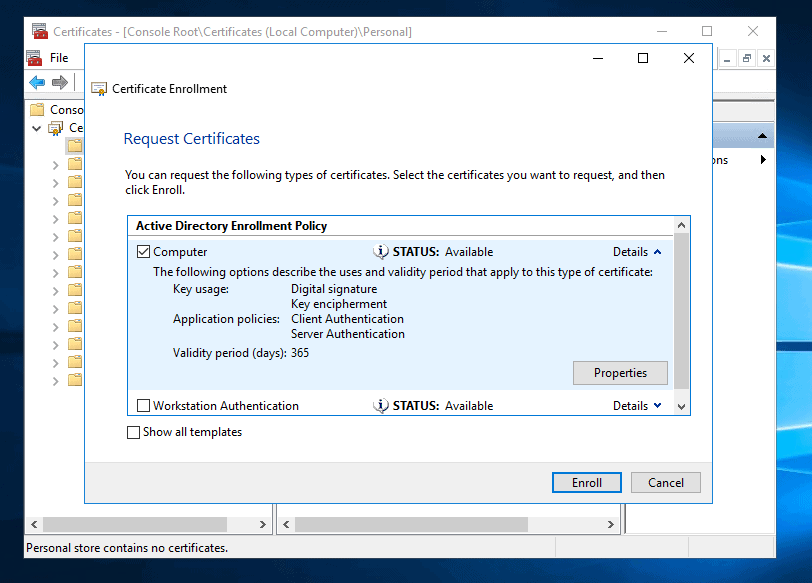
- On the Request Certificates page, check Computer.
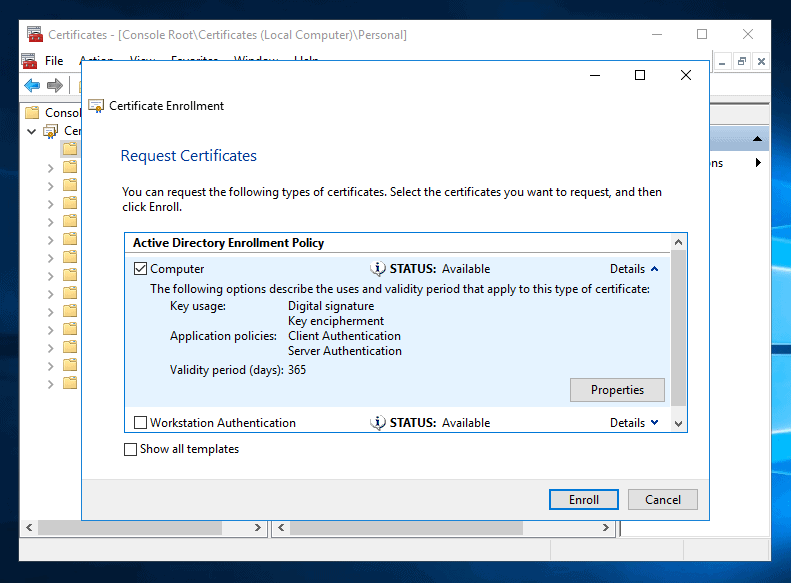
- Expand the downward arrow beside Details, click Properties. On the General tab type a friendly name for the certificate.

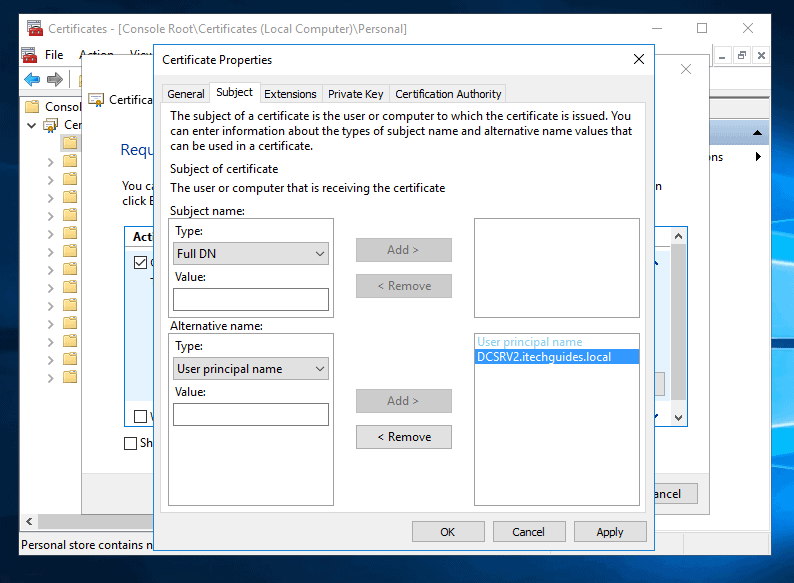
- Then click the Subject tab. Beneath Alternative name: on the Type drop-down select User Principal Name. Then type ServerName.Domain.Extension and click Add. See the image below for my example.
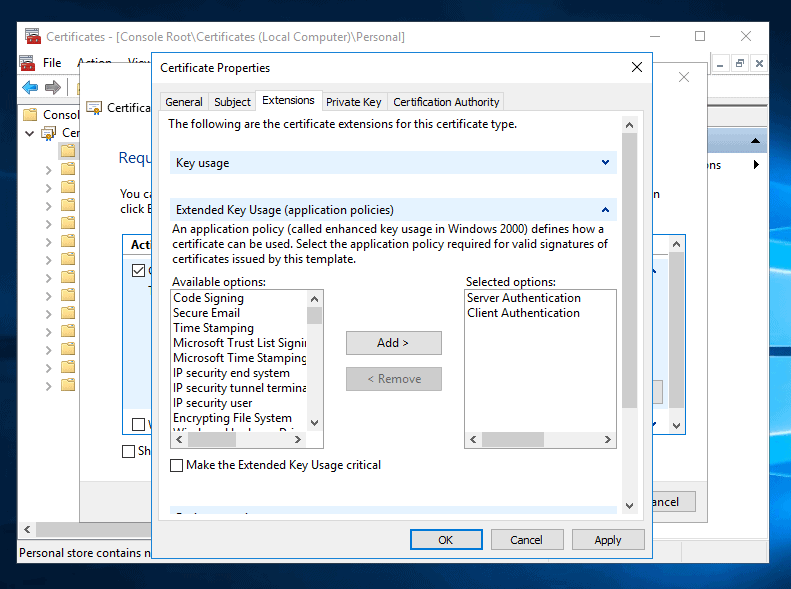
- Click Extensions tab. Then on the Available options: highlight Server Authentication and Add>. Also, highlight Client Authentication and Add>. When you finish, it should look like the image below.
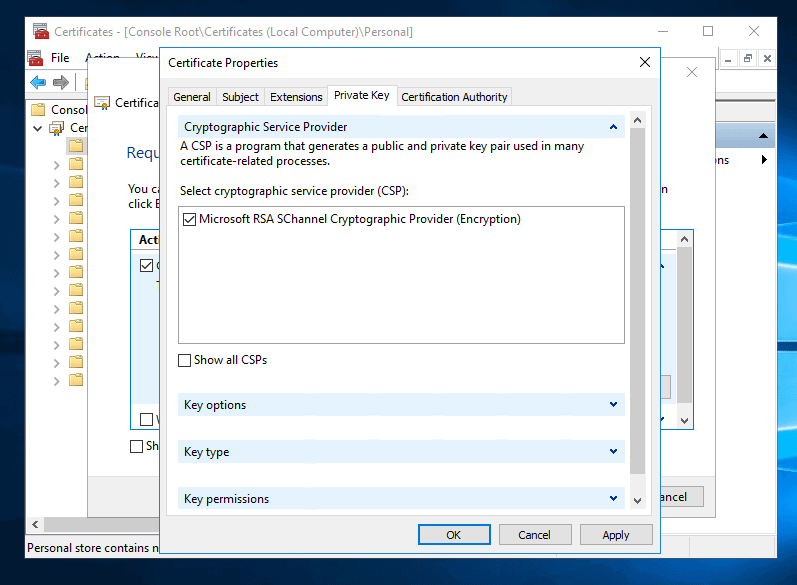
- Click the Private key tab. Expand Cryptographic Server Provider. Then check Microsoft RSA SChannel Provider (Encryption).
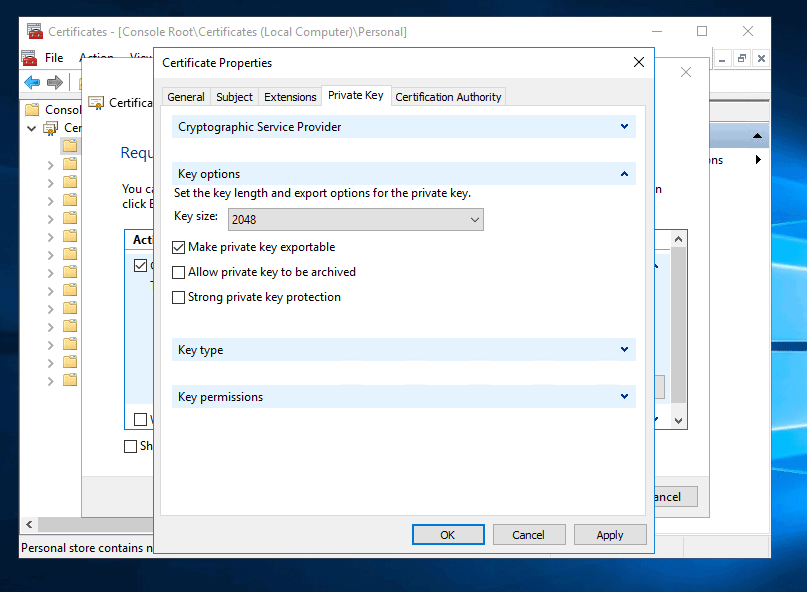
- Still on Private key tab, expand Key options. Then on the Key size drop-down, select 2048. Also check Make private key exportable. Finally, click Apply and then OK.
- Back to Request Certificates, click Enroll.
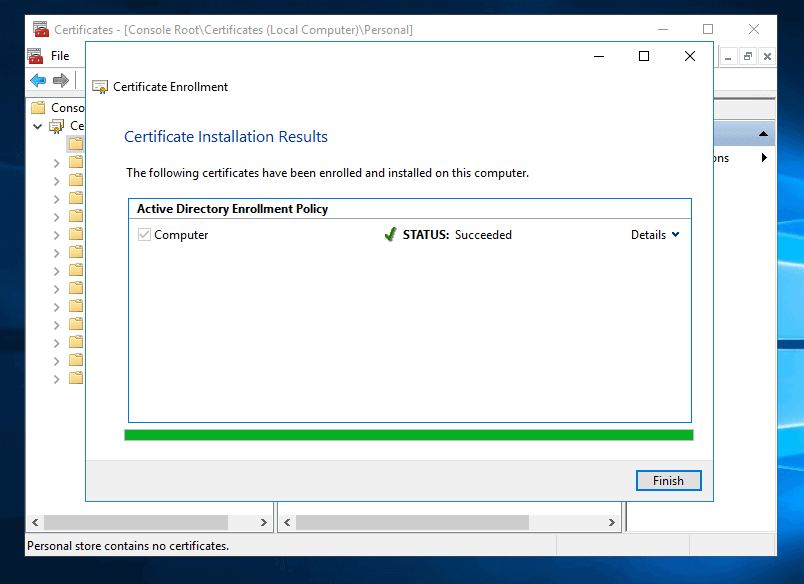
- When the Certificate is fully enrolled, click Finish.
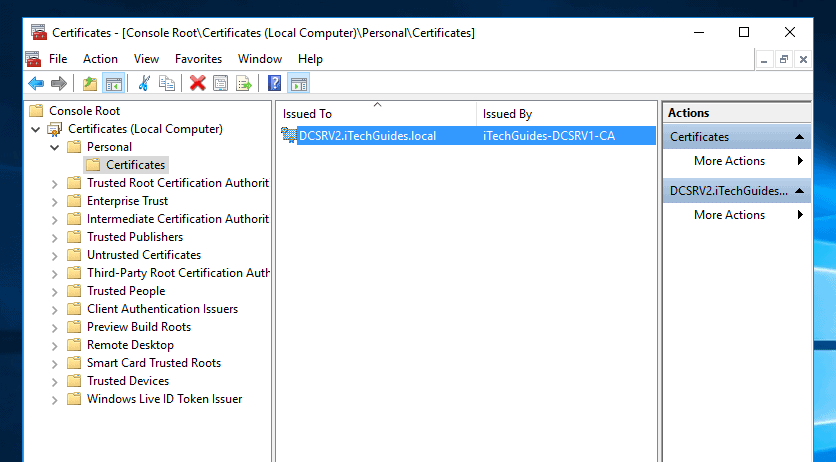
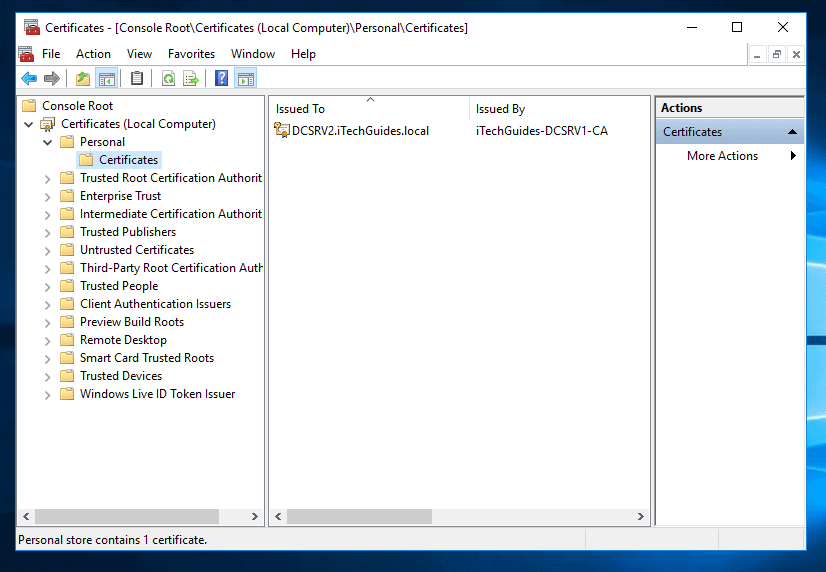
- To see the certificate details, click Certificate node below Personal folder.
Web Application Proxy in Windows Server 2016: Configure AD FS
The next step in the setup of Web Application Proxy in Windows Server 2016 is to configure AD FS.
Here are the steps:
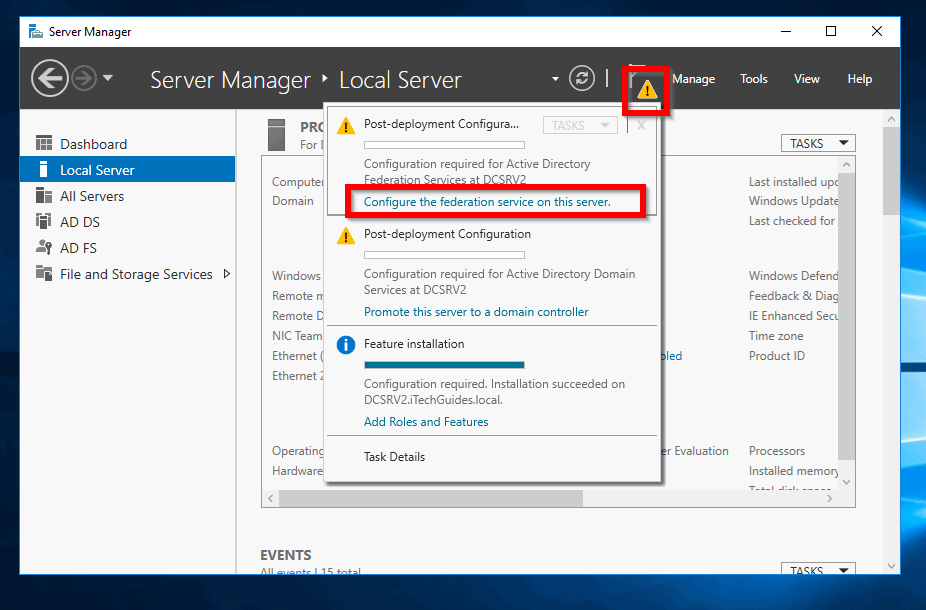
- From Server Manager, click the amber triangle. Then select Configure the federation service on this server.
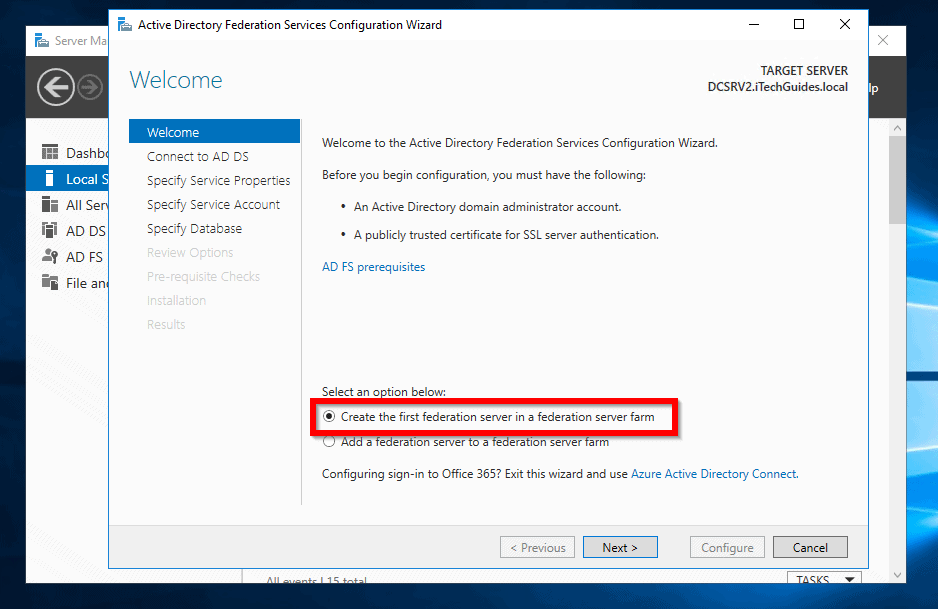
- On the Welcome screen, select Create the first federation server in a federation server farm and click Next.
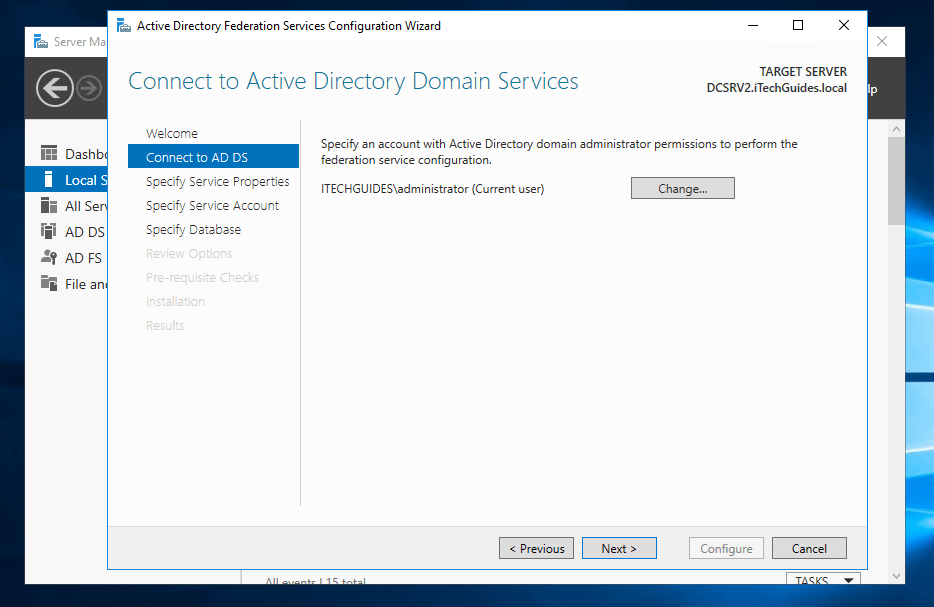
- On the Connect to AD DS screen, the logged in account is auto-detected. Click Next.
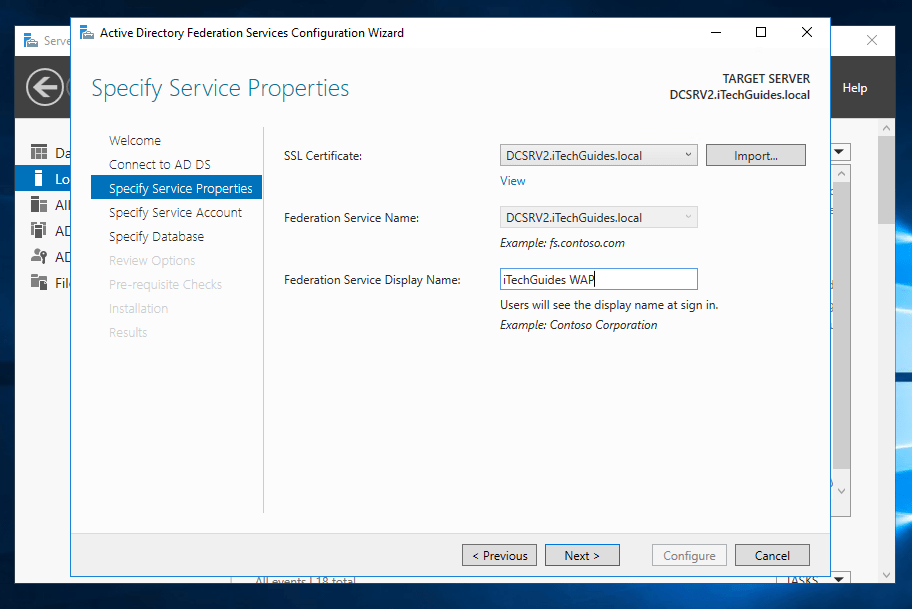
- When the Specify Service Properties page opens, on the SSL Certificates drop-down, select the certificate you generated in the previous section.

- When you select the certificate, the Federation Service Name will be automatically populated. Enter a Name for the Federation Service Display Name and click Next.
- This is the stage you specify a Service account for AD FS. I mentioned earlier that you could use the new Group Managed Service Account (gSMA). To use gSMA, it has to be configured. For the purpose of this lab, beside Use an existing domain user account or group Managed Service Account, click Select.
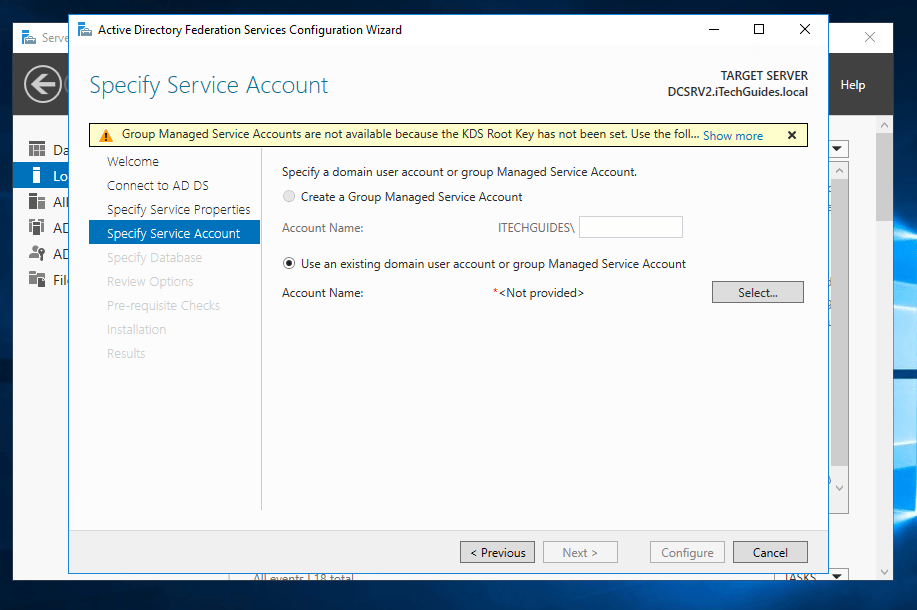
- Type the name of the service account you created in section 1 of this guide. Then click Check Names.

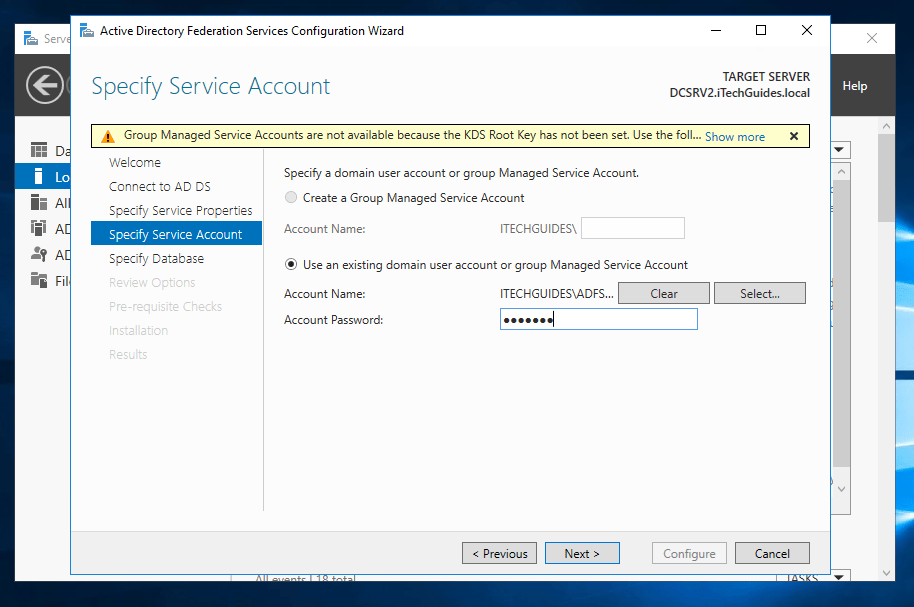
- If the account exists, it will be populated in the Account Name field. Type the password for the Service Account. Then click Next.
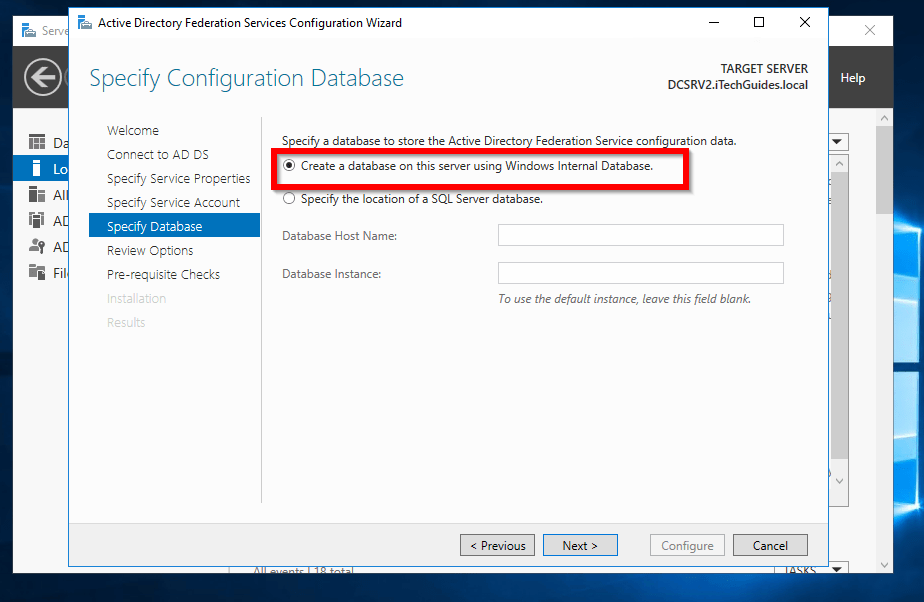
- On the Specify Configuration Database page select, Create a database on this server using Windows Internal Database. Alternatively, if you have an SQL server, select Specify the location of an SQL database. When you have made your selection, click Next.
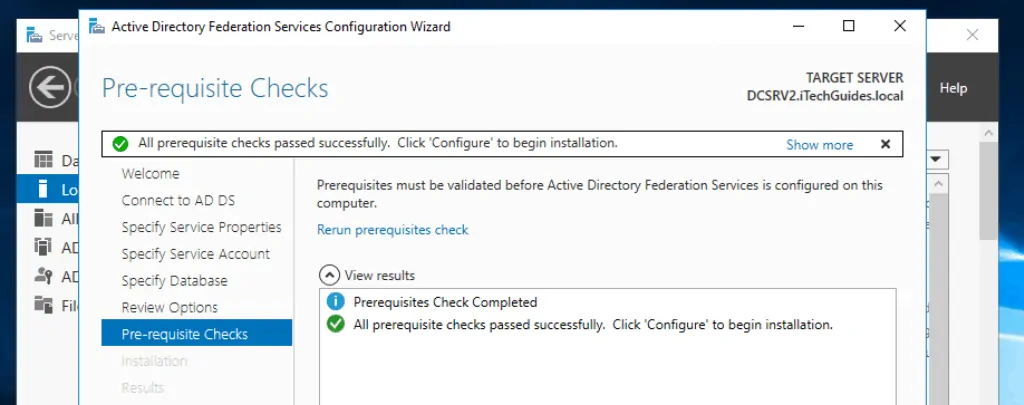
- Then review your sections and click Next.
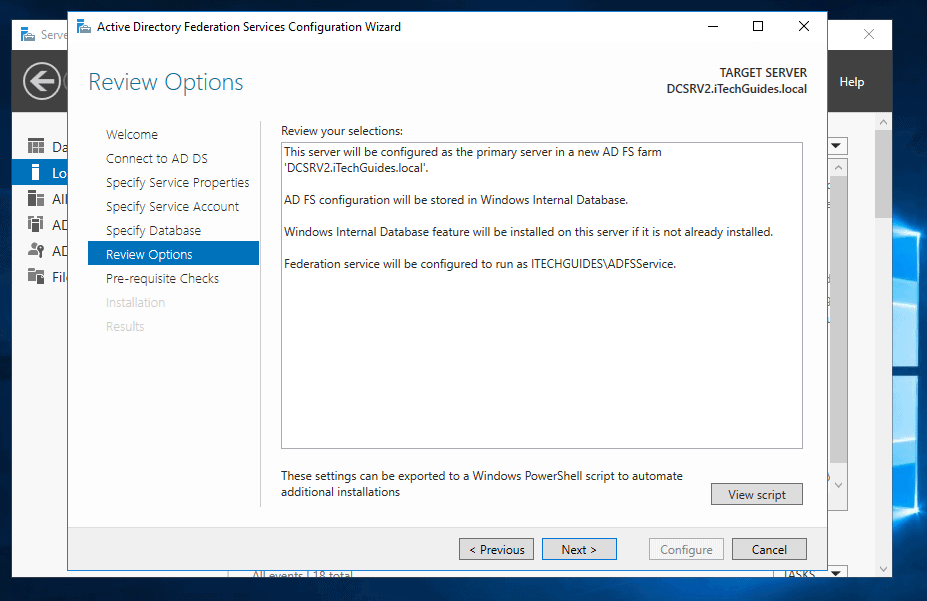
- And if you have done everything right, you should have all green! Finally, to setup AD FS for Web Application Proxy in Windows Server 2016, click Configure.
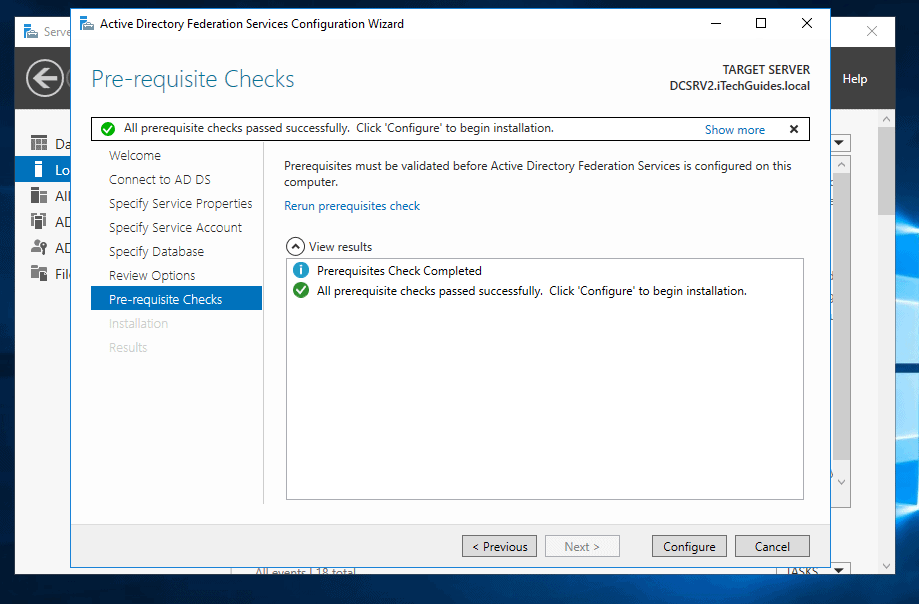
- AD FS configuration will perform a number of tasks and report a result. Some of the warning messages shown in my configuration below is because it is a non-production environment. For instance I omitted adding an SPN for the service account. I also used a certificate alternative name.

- On the AD FS installation, click Close. Then Restart the server.
Setup an AD FS Proxy Server Certificate on the WAP Server
The next step in our Web Application Proxy in Windows Server 2016 setup is to create a certificate for the AD FS. This task is performed on the Web Application Server.
Here are the steps:
- Login to the AD FS server and open the certificate MMC you saved in Generate a Self Signed Certificate for AD FS section of this guide.
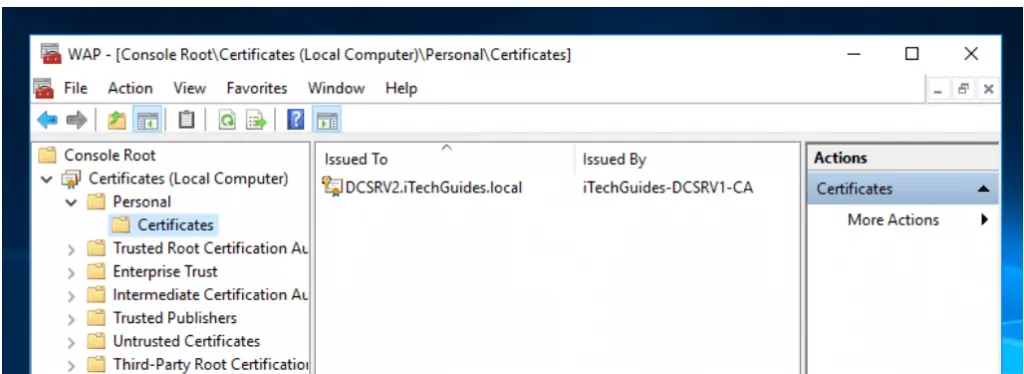
- Expand Certificates (Local Computer) -> Personal -> Certificates. Then right-click the certificate you enrolled earlier, point to All Tasks and click Export.

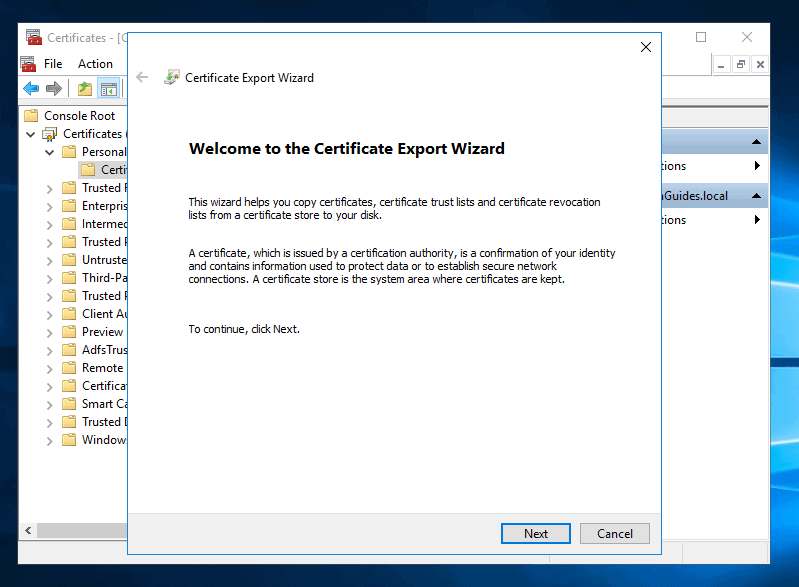
- On the Certificate Export Wizard welcome screen, click Next.
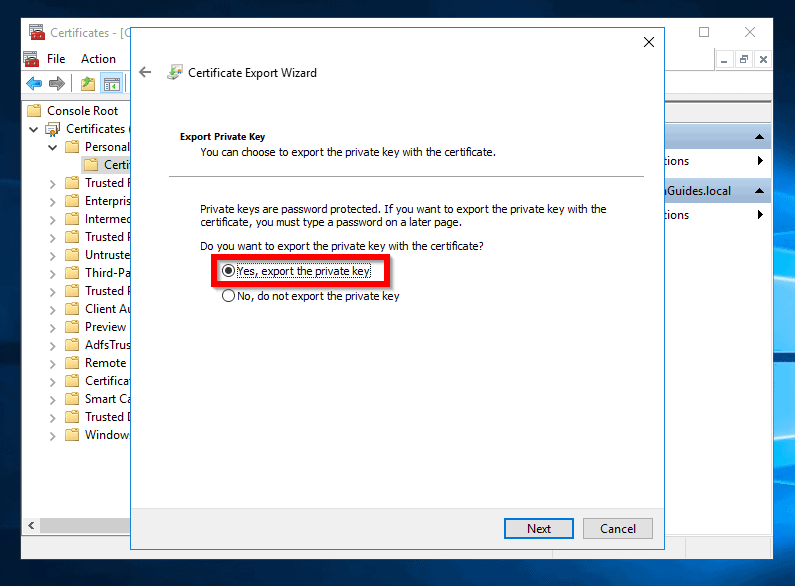
- Then on the Export Private key screen, select Yes, export the private key and click Next.
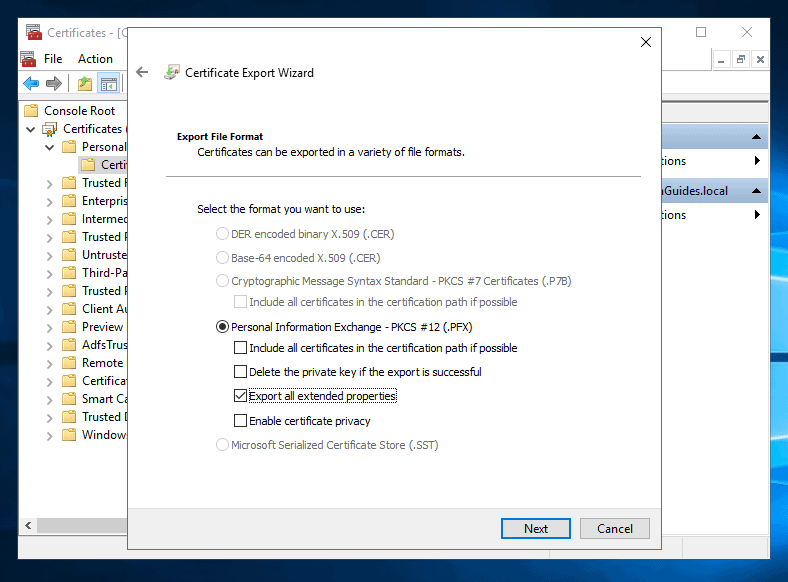
- On the Export File Format screen, check the box Export all extended properties. Then click Next.
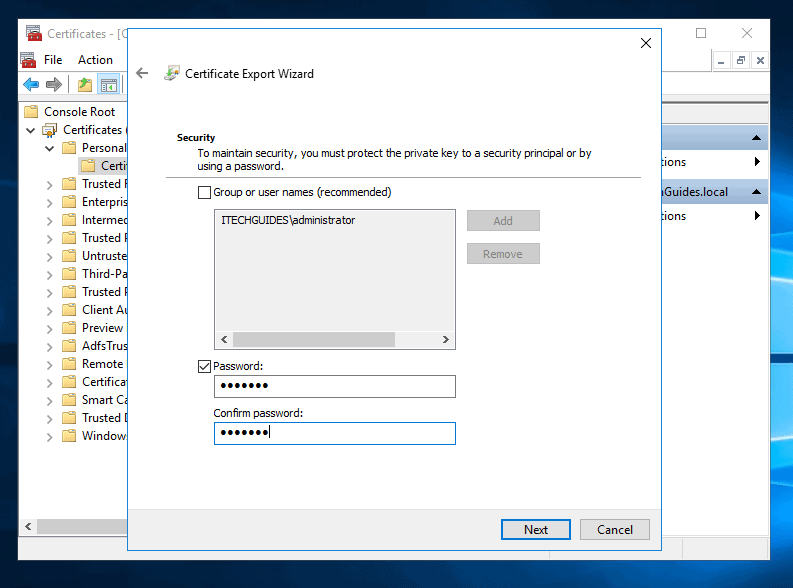
- Then on Security screen, check Password. Also, enter and re-enter a password and click Next.
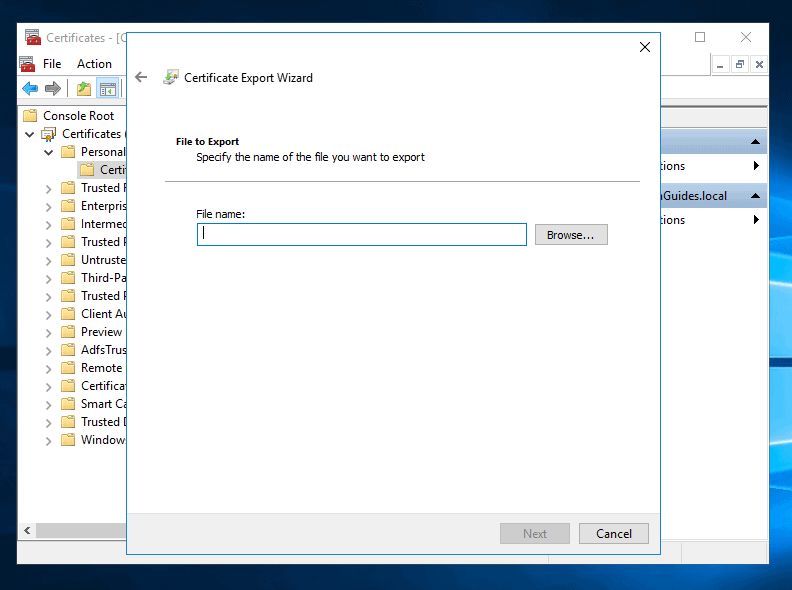
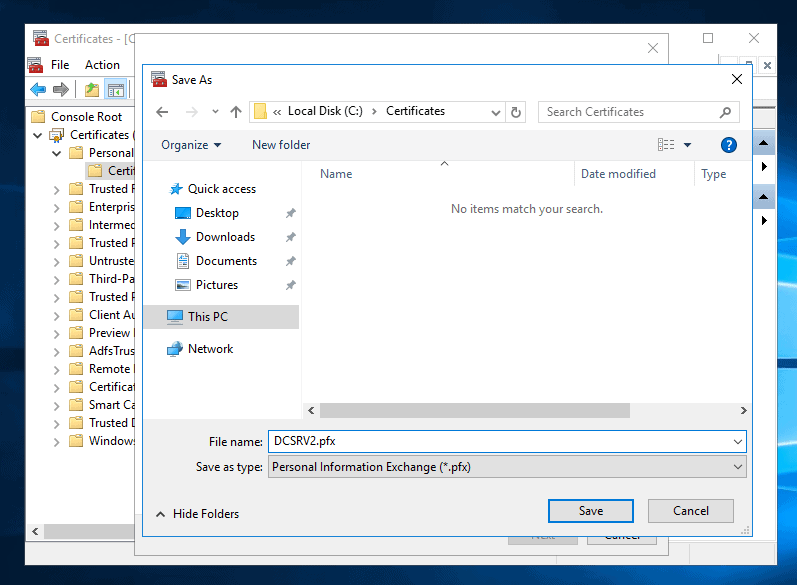
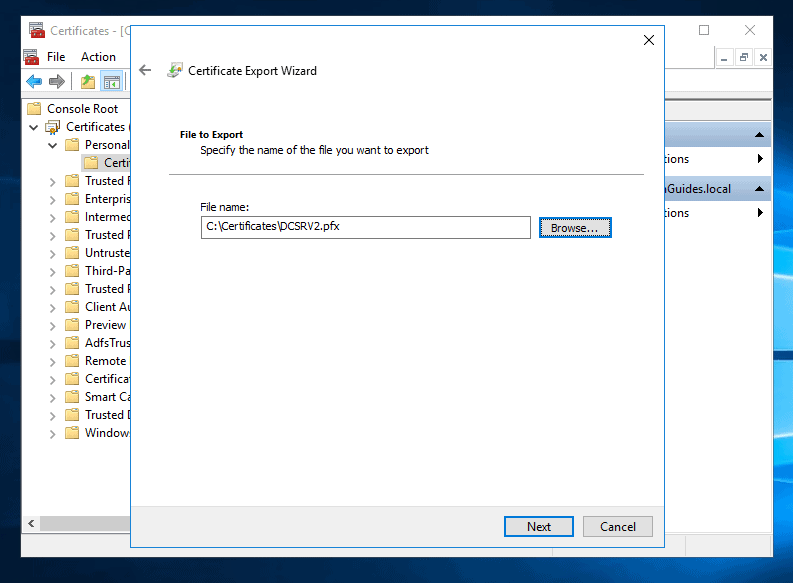
- Click Browse, select a location to export the certificate to. Then save it with the .pfx extension.
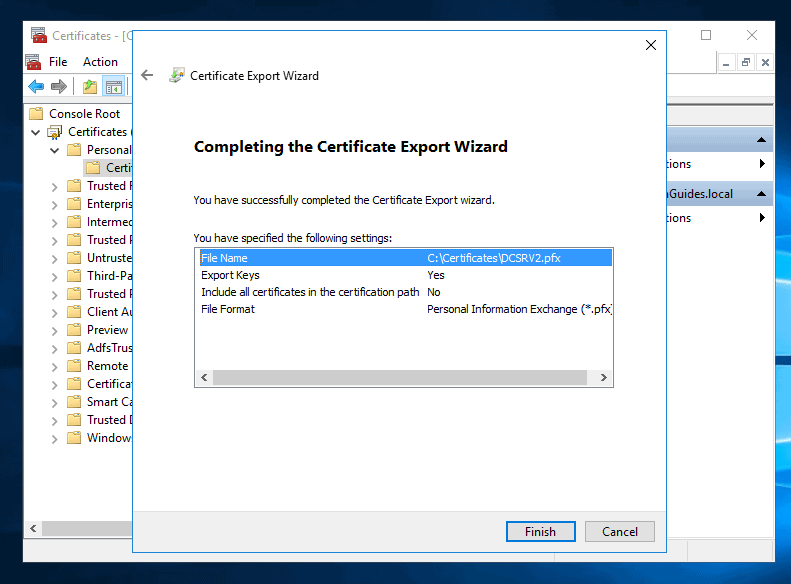
- Back on the Export wizard, click Next. Then click Finish.
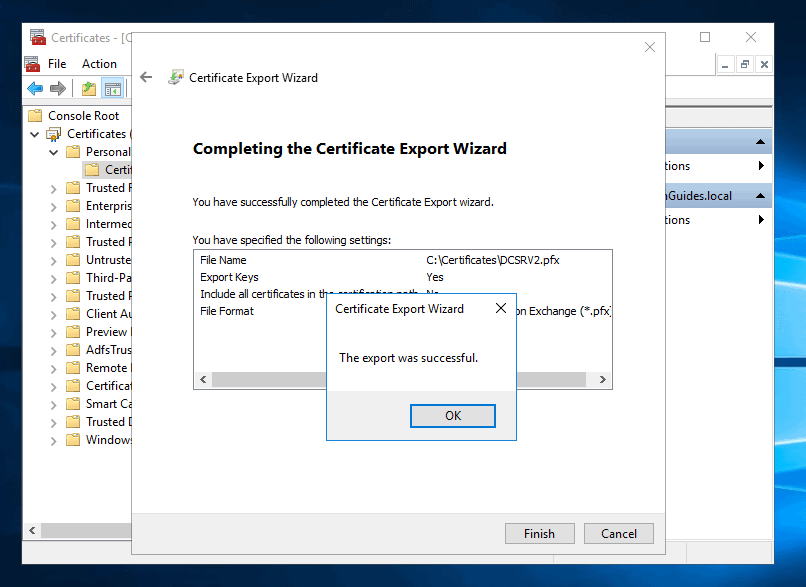
- You will receive an export confirmation.
To complete this part of the setup, you will log on to your AD FS server and import this certificate. But before you proceed, share the folder you exported the certificate to. This way, you can access it via the network. You could also copy it to a USB.
To import the certificate to your AD FS server:
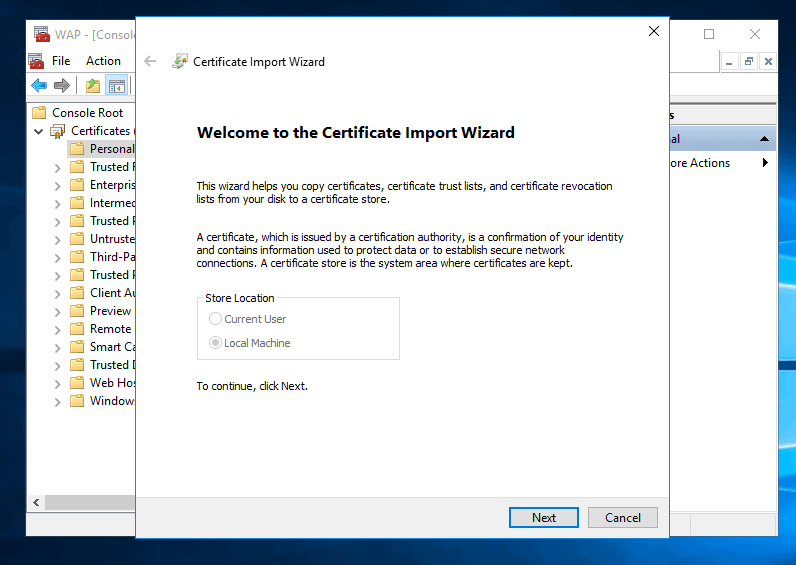
- Logon to the server. Then use the steps in Generate a Self Signed Certificate for AD FS to add a Certificate snap-in.
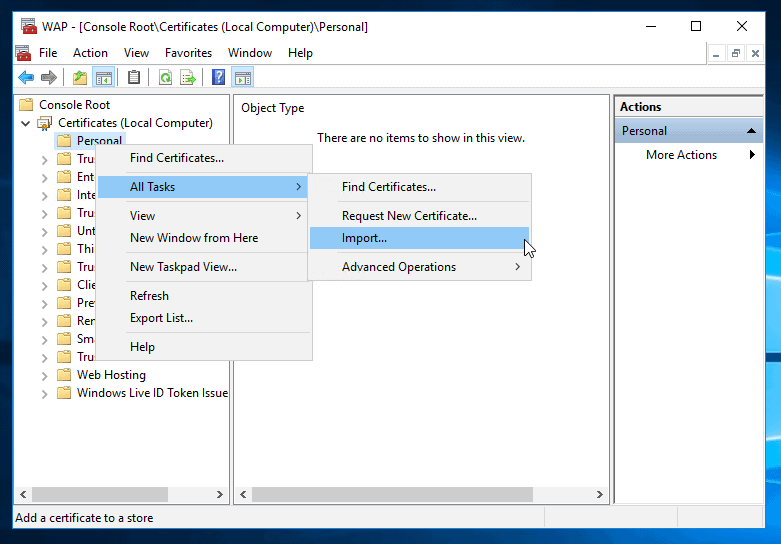
- Expand Certificates (Local Computer). Then right-click Personal node. Point to All Tasks and click Import.
- On the welcome screen, click Next.
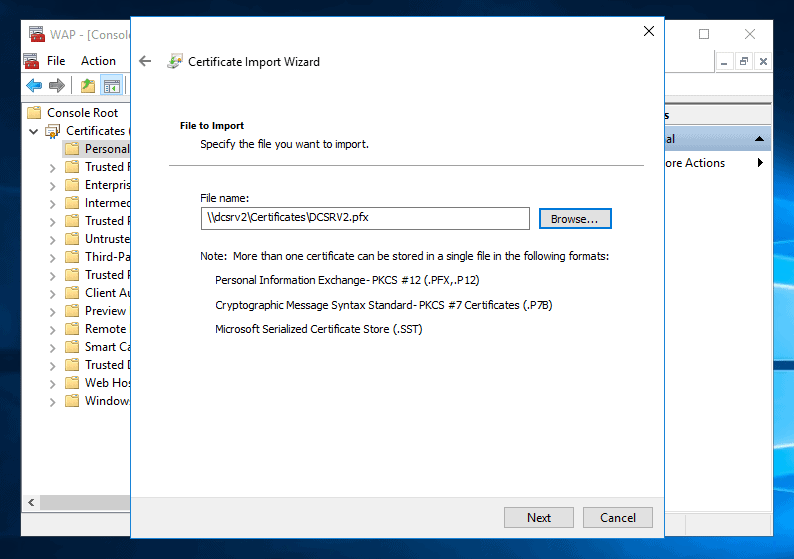
- Beside File name field, click Browse.
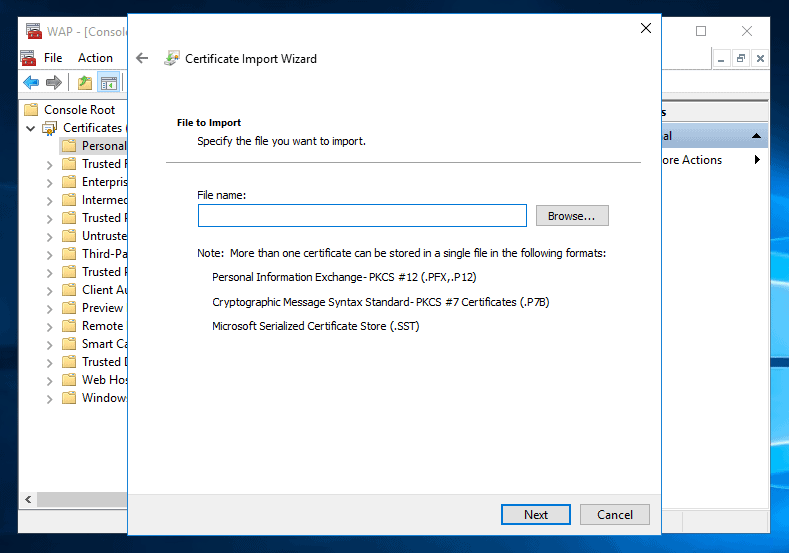
- Then enter the path where you exported the file and click Open.
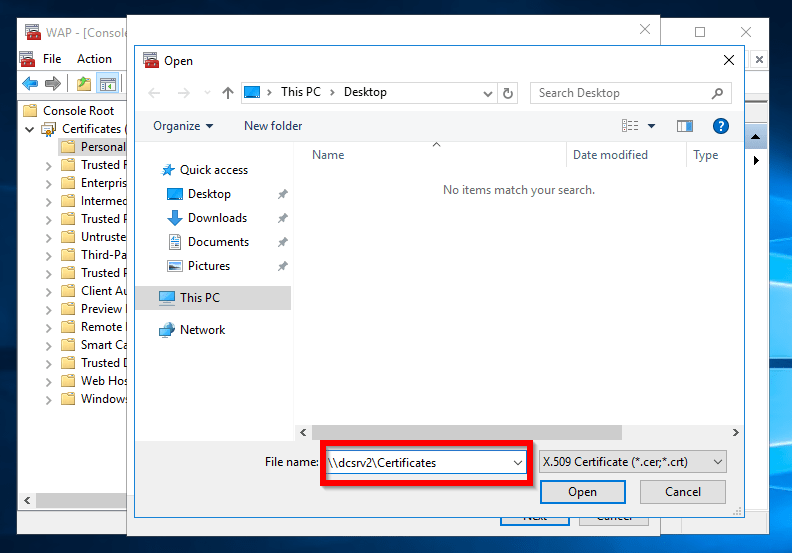
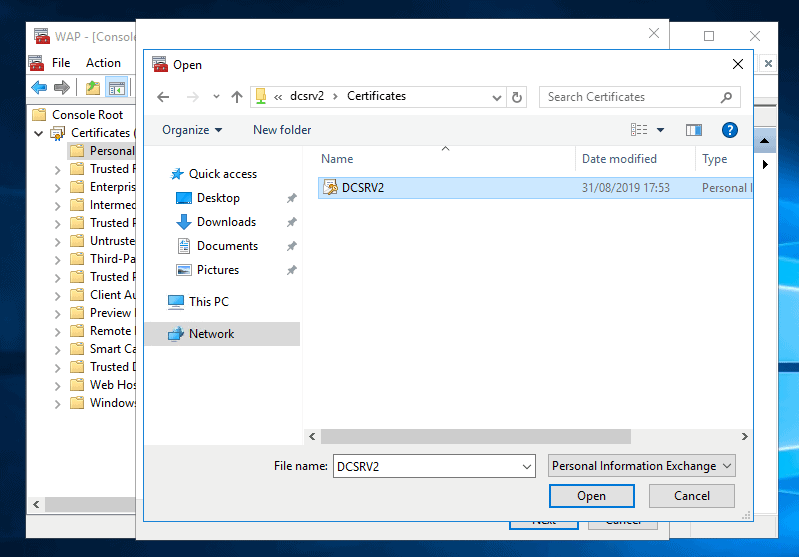
- On the highlighted drop-down select Personal Information Exchange. Then select the certificate and click Open.
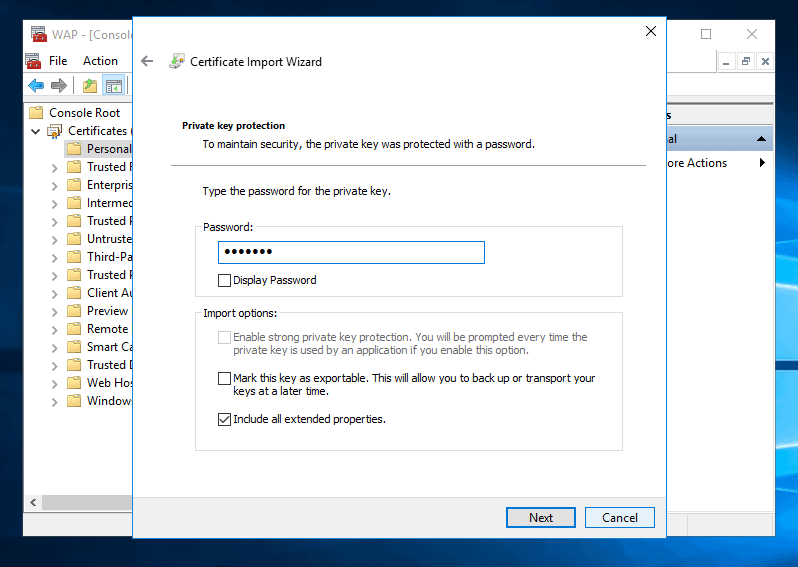
- On Certificate Import Wizard, click Next.
- Enter the password you used when you exported the certificate and click Next.
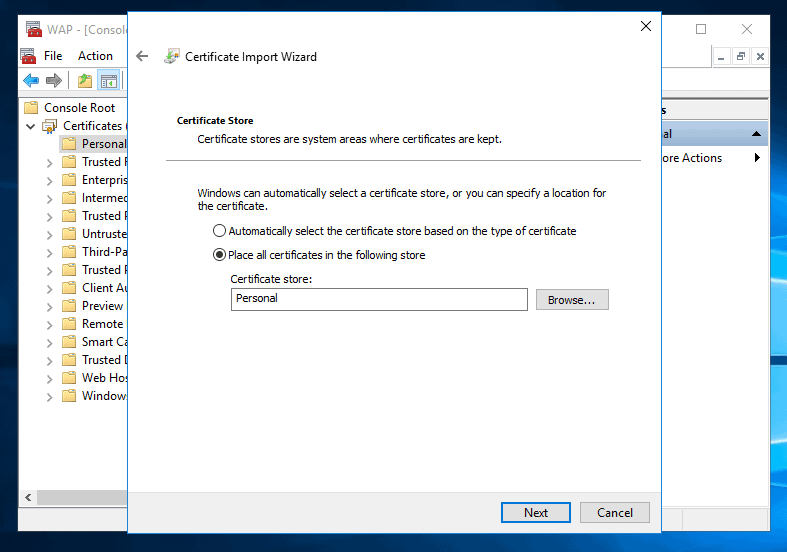
- Select the options shown below. Then click Next.
- Then click Finish.
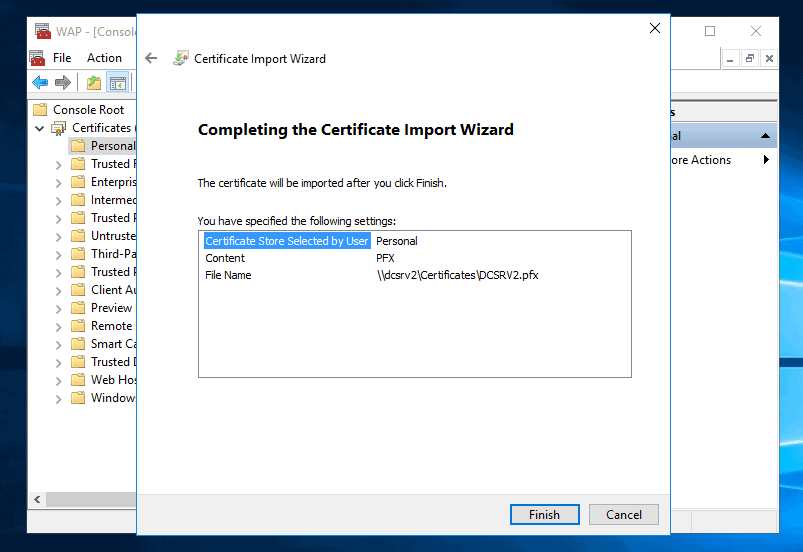
- Import is confirmed as successful.
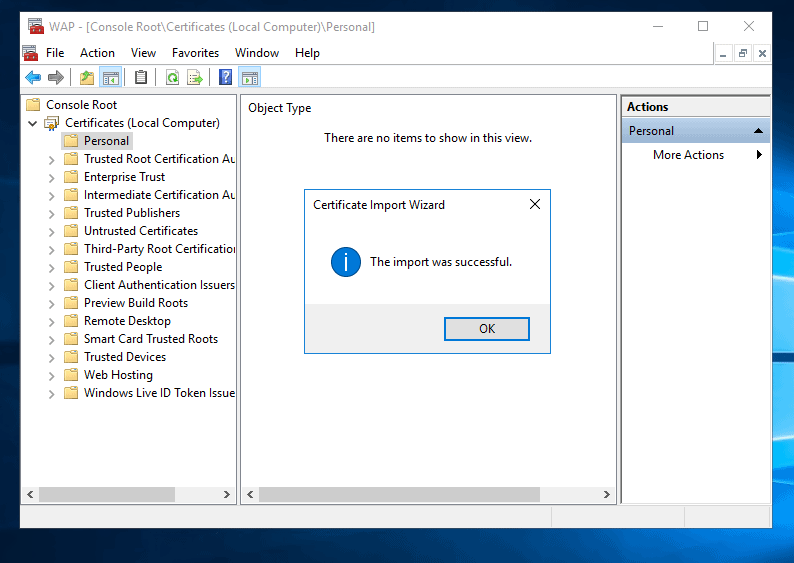
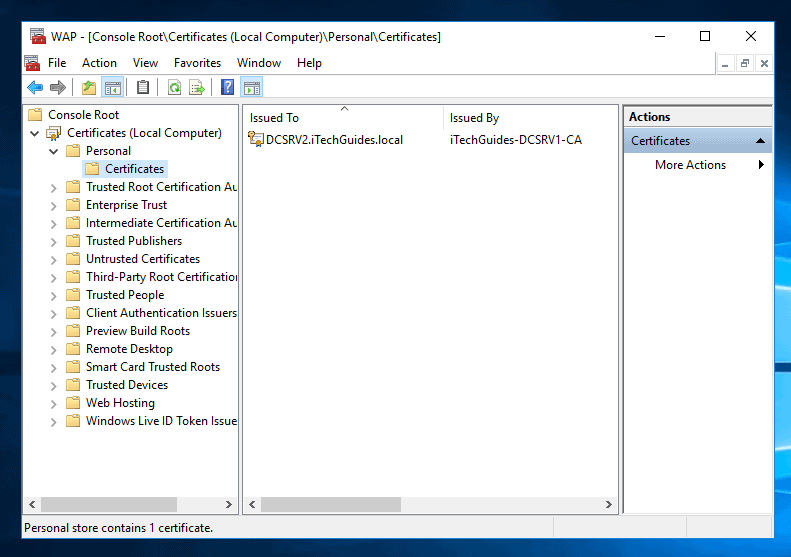
- To confirm that the certificate is imported, expand Personal and click Certificates.
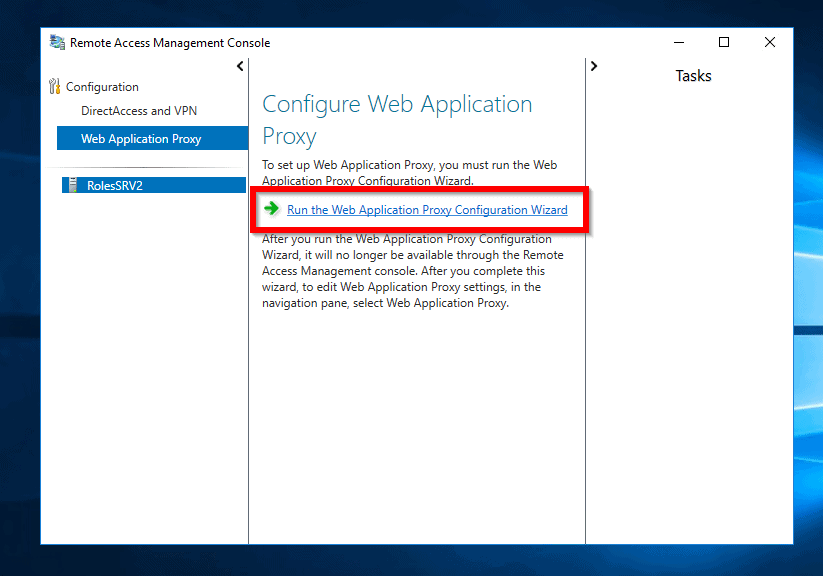
Configure Web Application Proxy in Windows Server 2016
Here is the final step to setup Web Application Proxy in Windows Server 2016:
- Logon to the Server you installed Remote Access Role with Web Application Server role service.
- Open Server Manager. Then click Tools and select Remote Access Management.
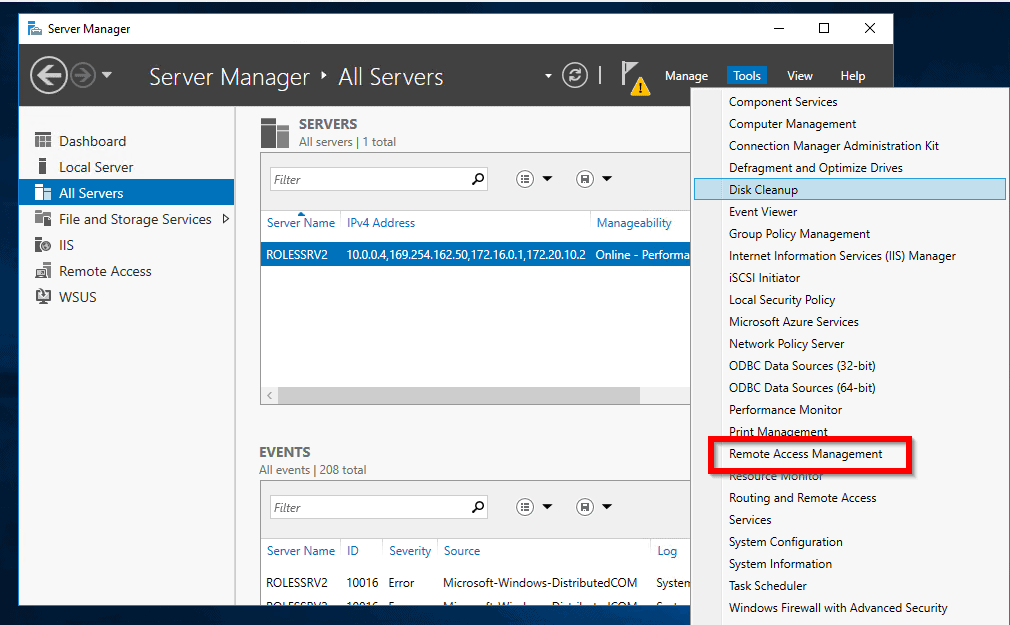
- On the Remote Access Management console, click Web Application Proxy. Then click Run the Web Application Proxy Configuration Wizard
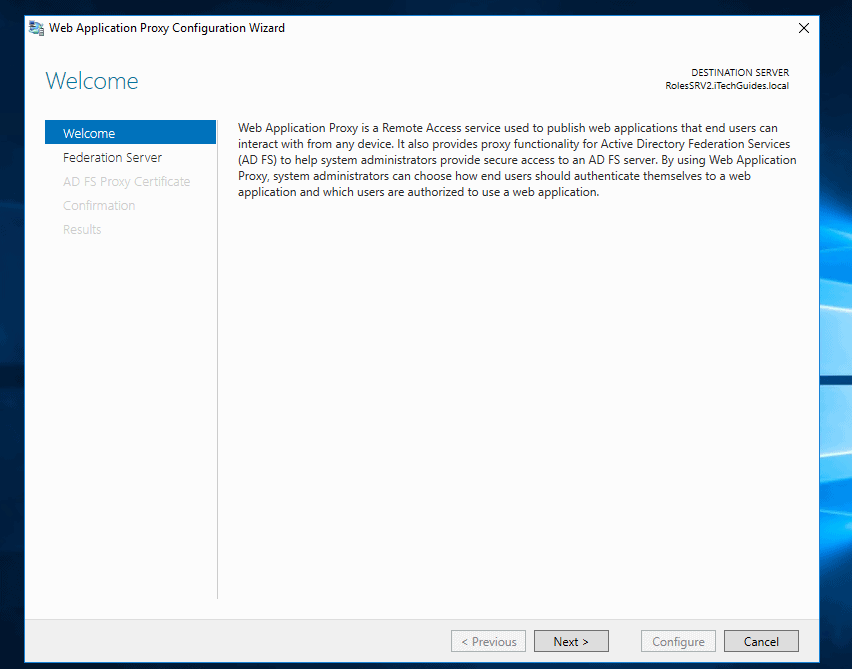
- On the welcome screen click Next.
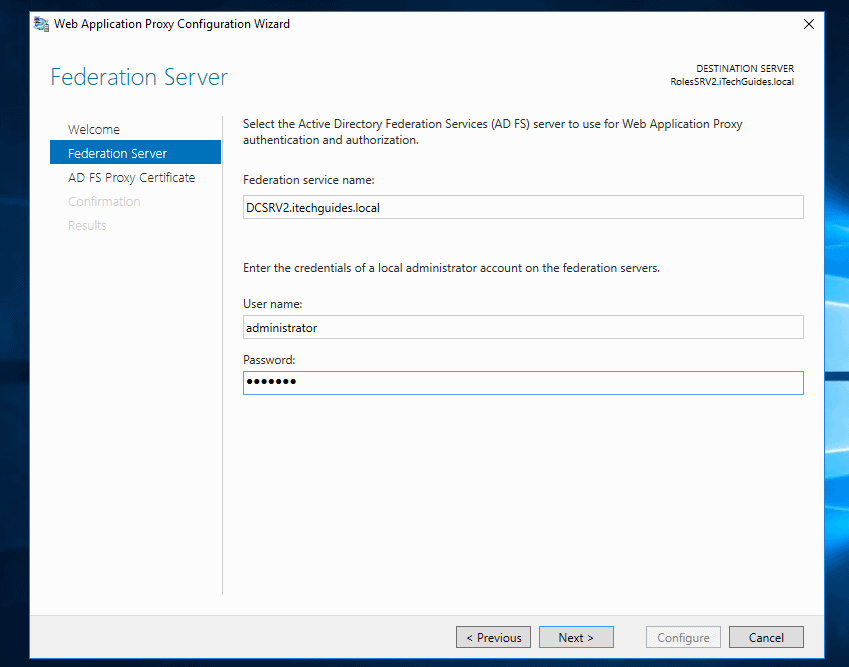
- Enter the details of the AD FS server you configured earlier. Then type the local administrator’s details and click Next.
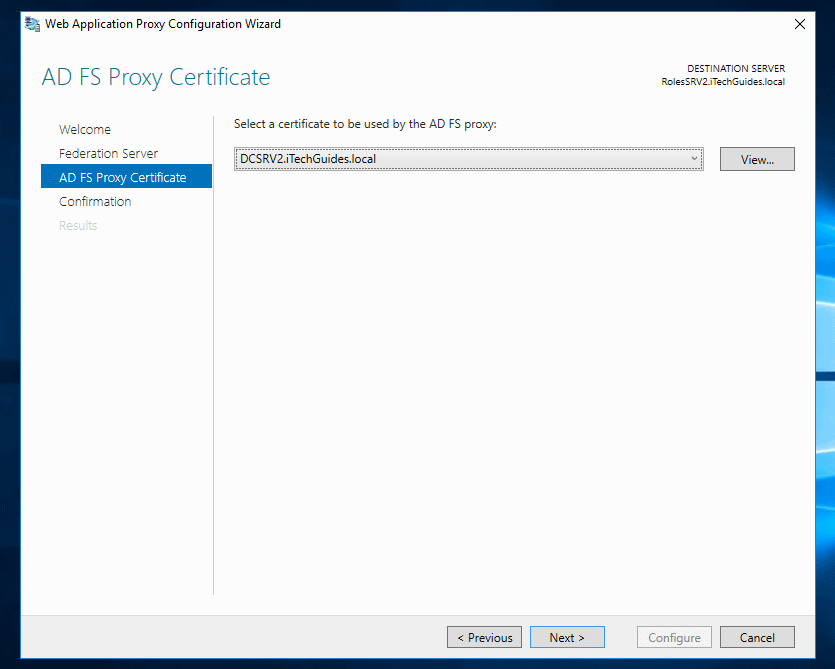
- Click the drop-down below Select a certificate to be used by the AD FS proxy and select the certificate you imported in the last section. To continue, click Next.
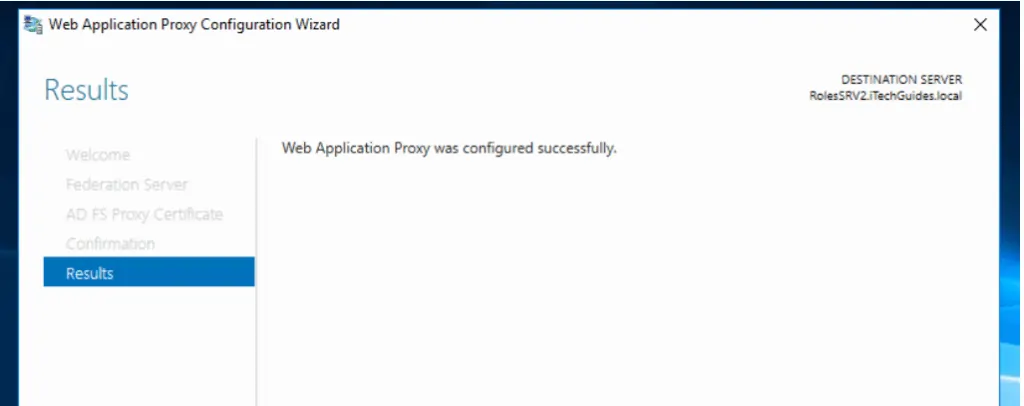
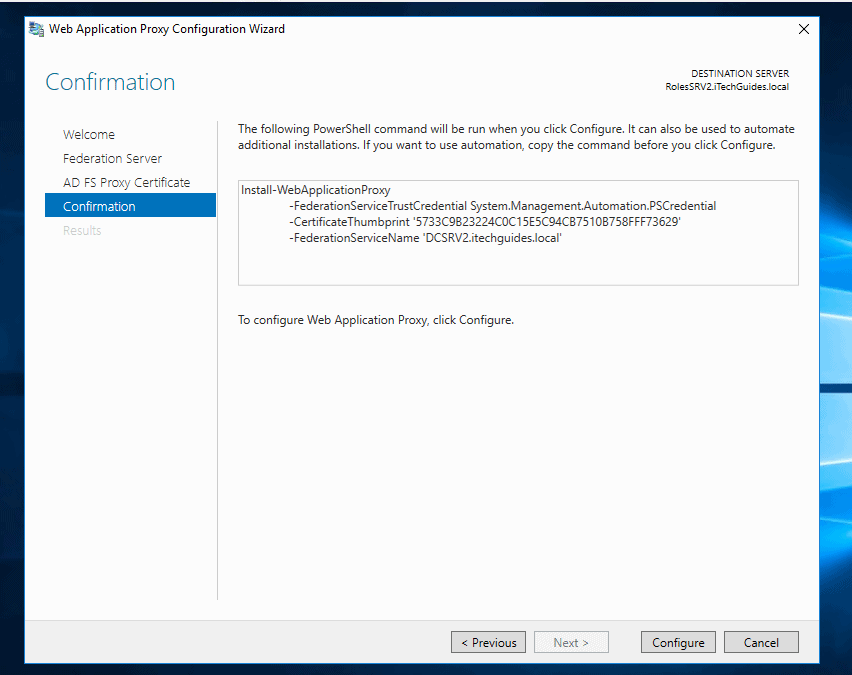
- On Confirmation screen, click Configure.
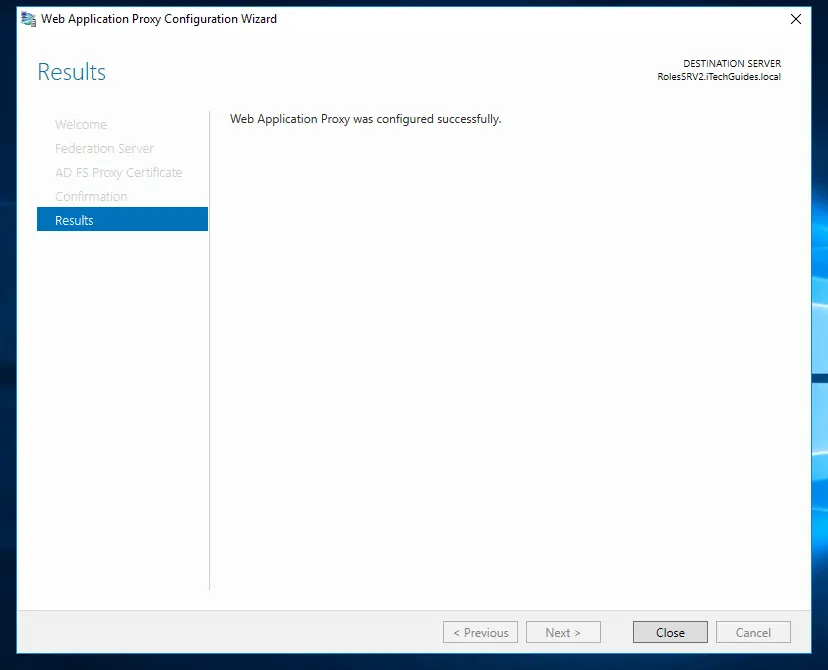
- Here is the final confirmation you have been looking for: Web Application Proxy was configured successfully!
Conclusion
This is part 4 of 4 in our Routing and Remote Access in Windows Server 2016 series.
This last part covered setup of Web Application Proxy in Windows Server 2016. I hope you found this helpful.
To see all the series, click this search link – Routing and Remote Access.
I hope you found this Windows Server fix-it guide helpful. If you found it helpful, kindly spare 2 minutes to share your experience with our community at [discourse_topic_url].
Alternatively, you could ask a question, leave a comment or provide feedback at [discourse_topic_url]. Our team and other community members will respond to you as soon as possible.
Want more Windows Server guides? Visit our Windows Server Fix page.