Have you struggled to install Linux Mint on Hyper-V on your Windows 11 PC? You’re not alone!
Overview
I had some problems when I tried installing Linux Mint on HyPer-V but eventually got it, so I’ll share my experience in this guide.
Here are the steps I used to install Linux Mint 21.2-cinnamon-64bit on Hyper-V (Windows 11).
This installation step is for Linux Mint 21.2-cinnamon-64bit. I cannot guarantee that these exact steps will work for another version but I suspect it should.
Step 1: Download The Linux Mint ISO
Follow these steps to download the ISO installation image.
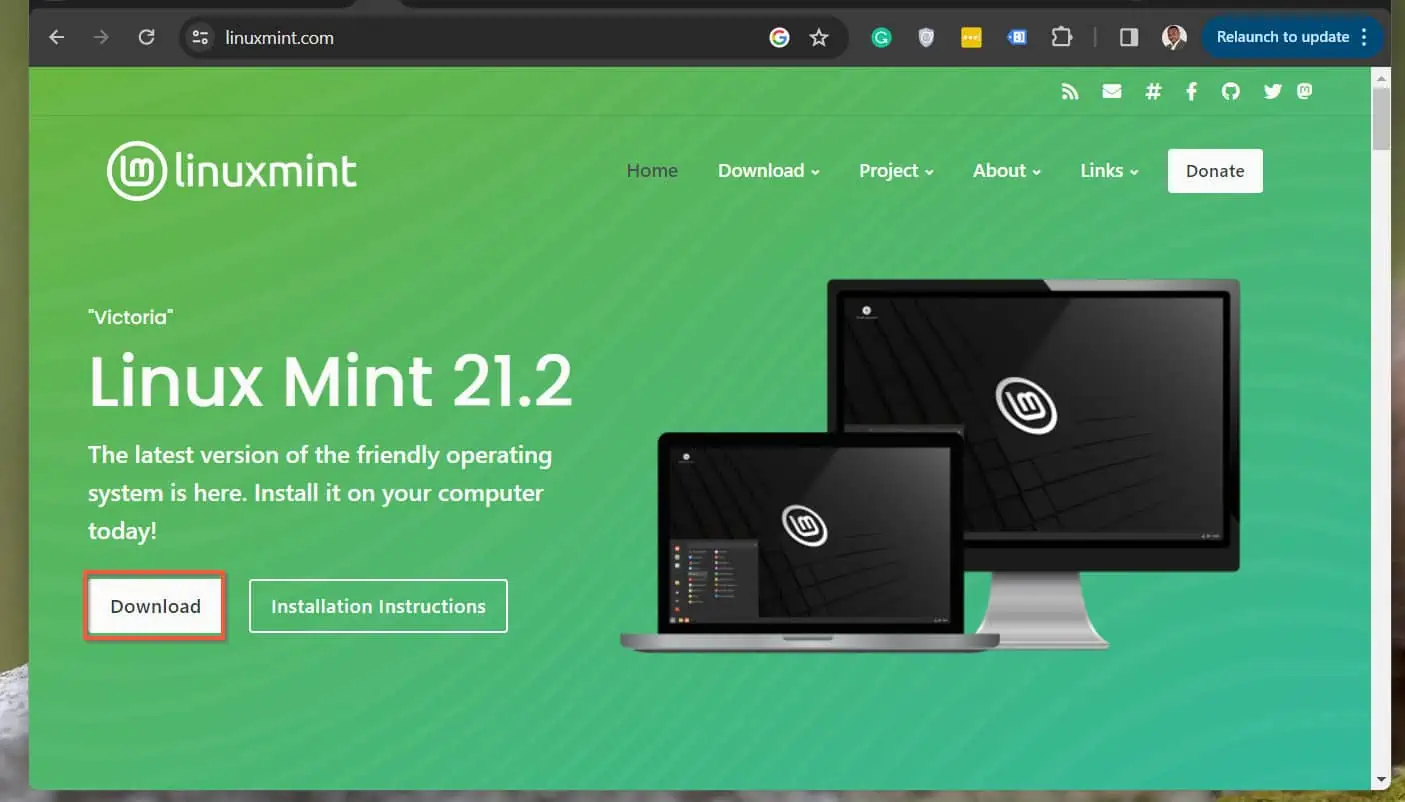
- Open LinuxMint.com, hover over Download and click the link for the latest version.

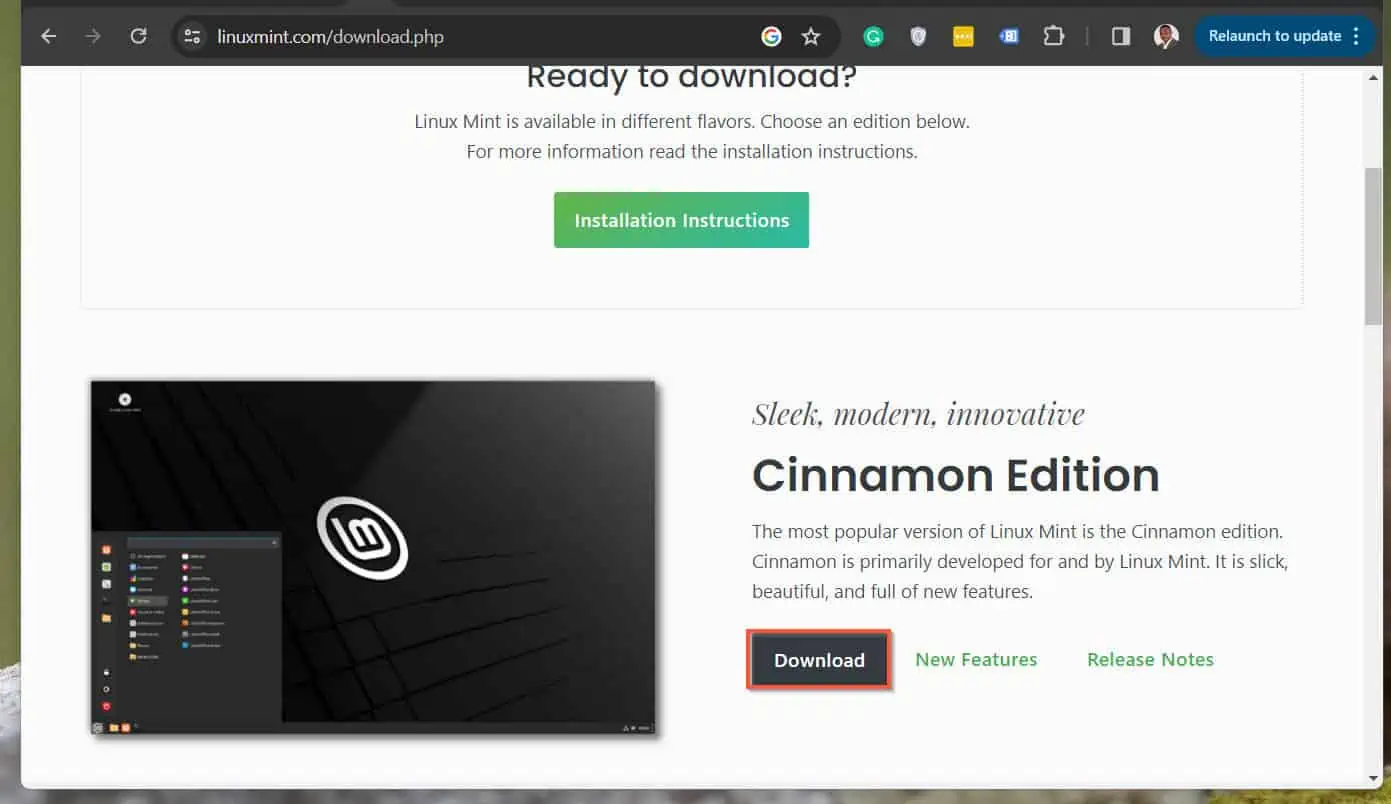
- After that, click Download. Then, on the main download page, scroll down to the “Cinnamon Edition” and click the Download link.
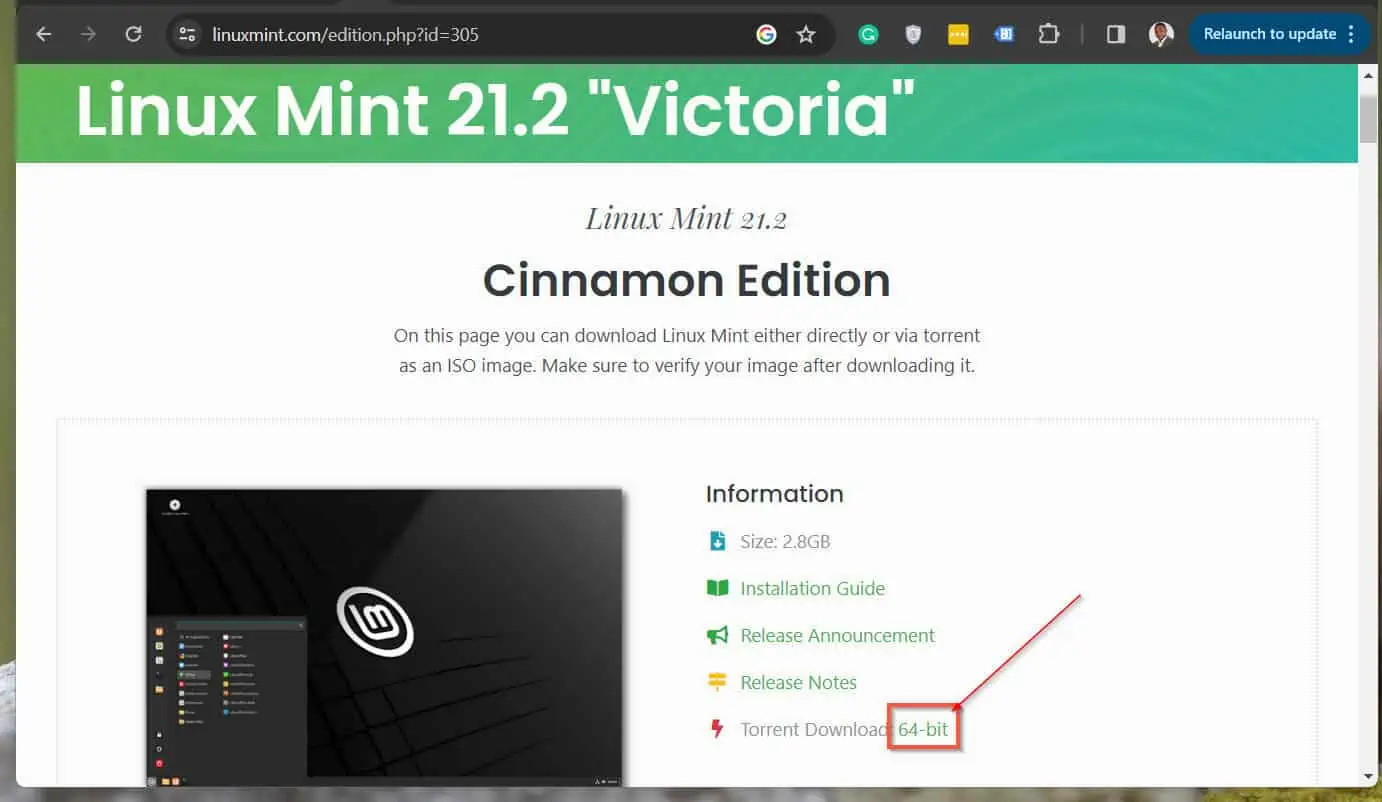
- Finally, to download the Linux Mint “Cinnamon Edition,” click the “Download link”64-bits” link next to “Torrent Download.”
Step 2: Create a Gen 2 Hyper-V VM
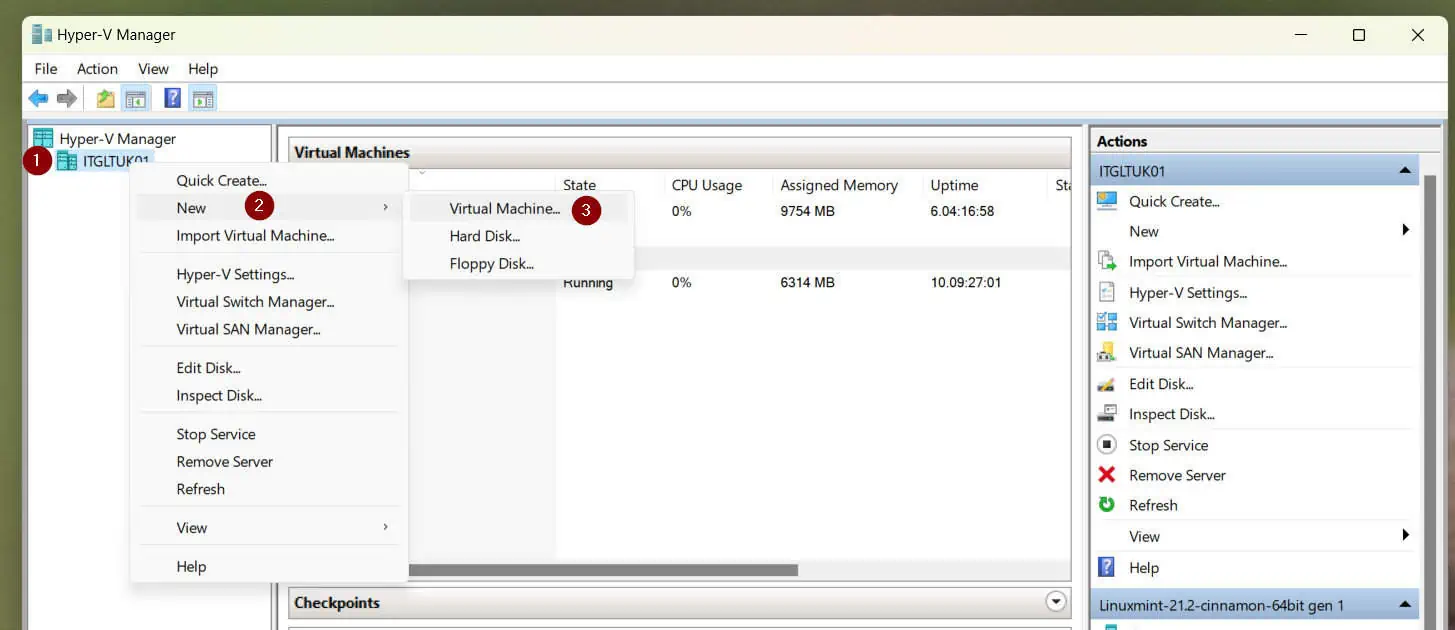
After downloading the ISO image, before you install Linux Mint, you must create a VM in your Hyper-V Manager. Here are the steps.
- Open Hy-Per Manager, right-click the computer name, point to New, and select Virtual Machine…
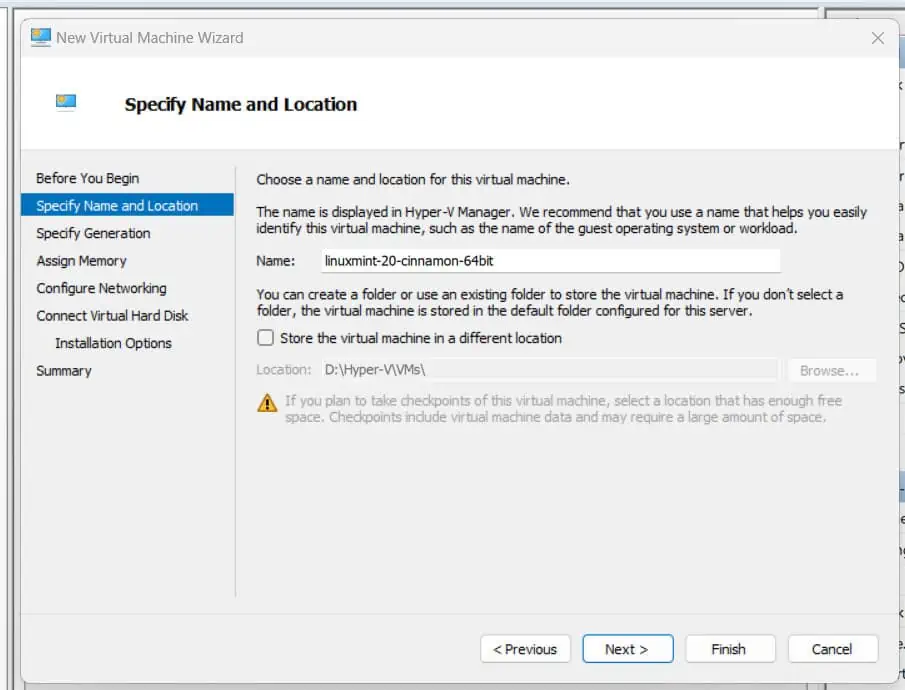
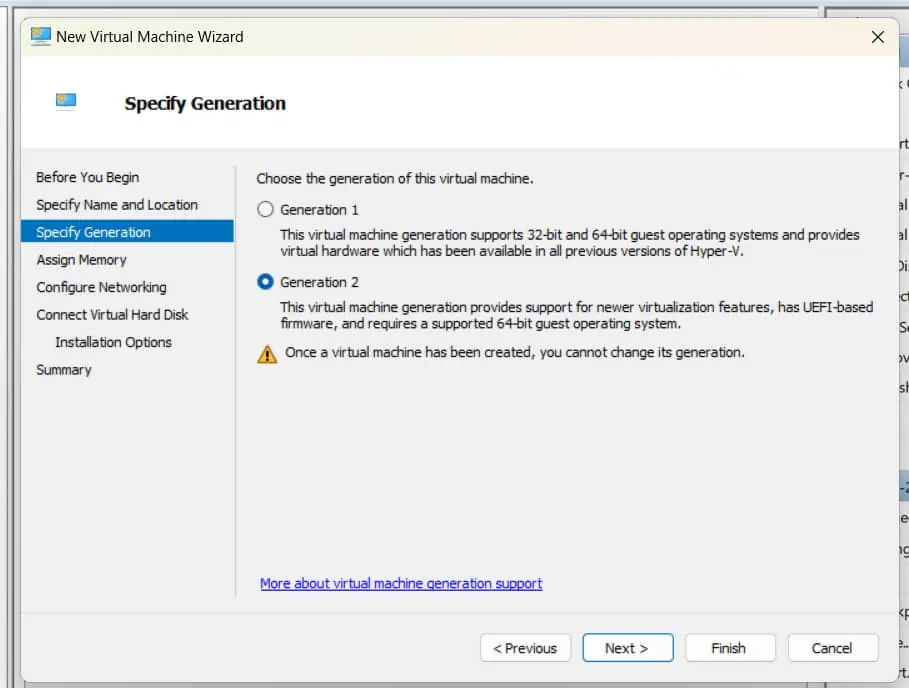
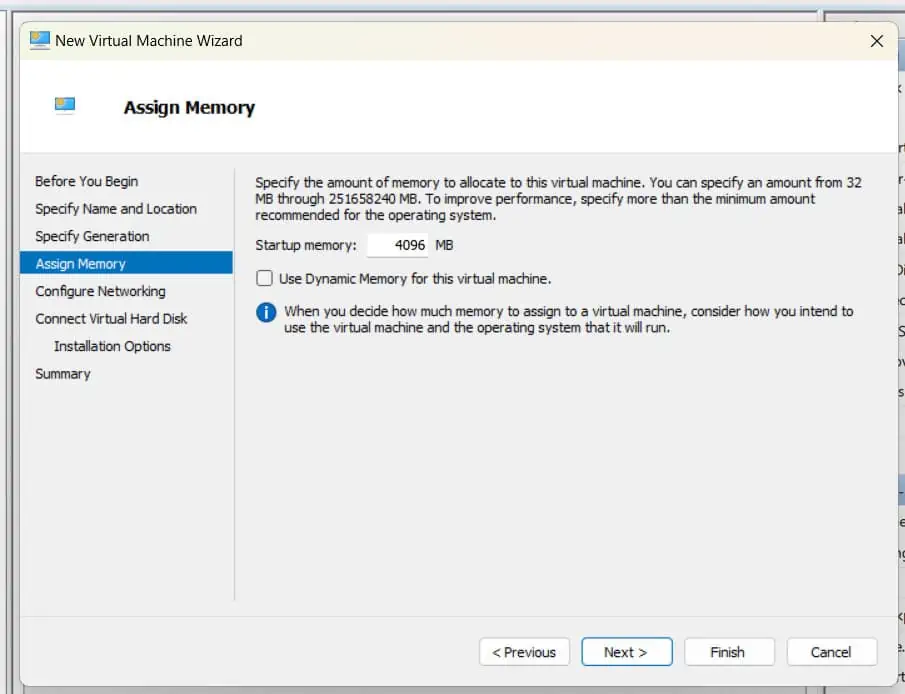
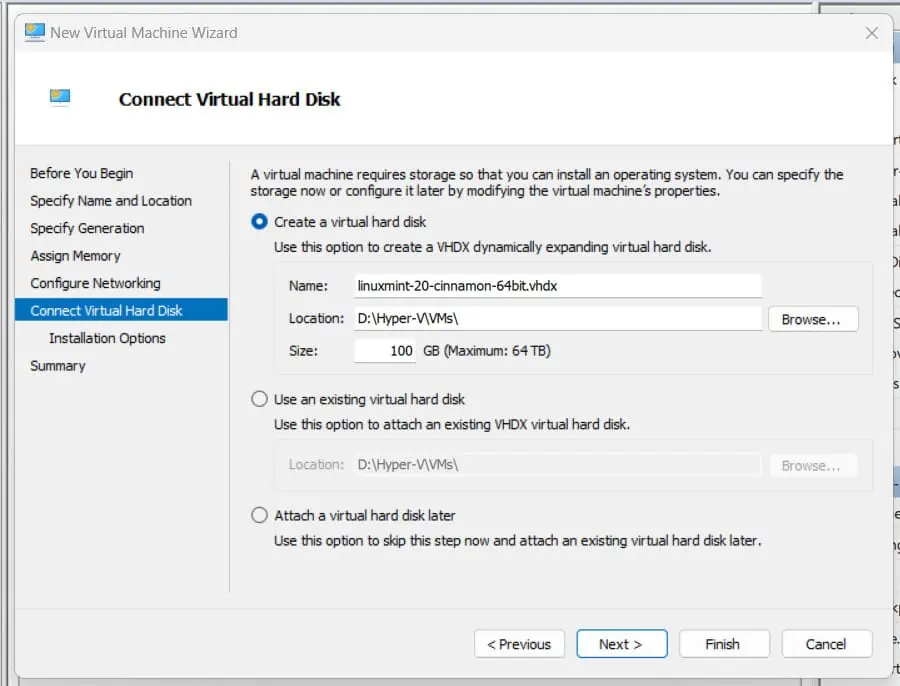
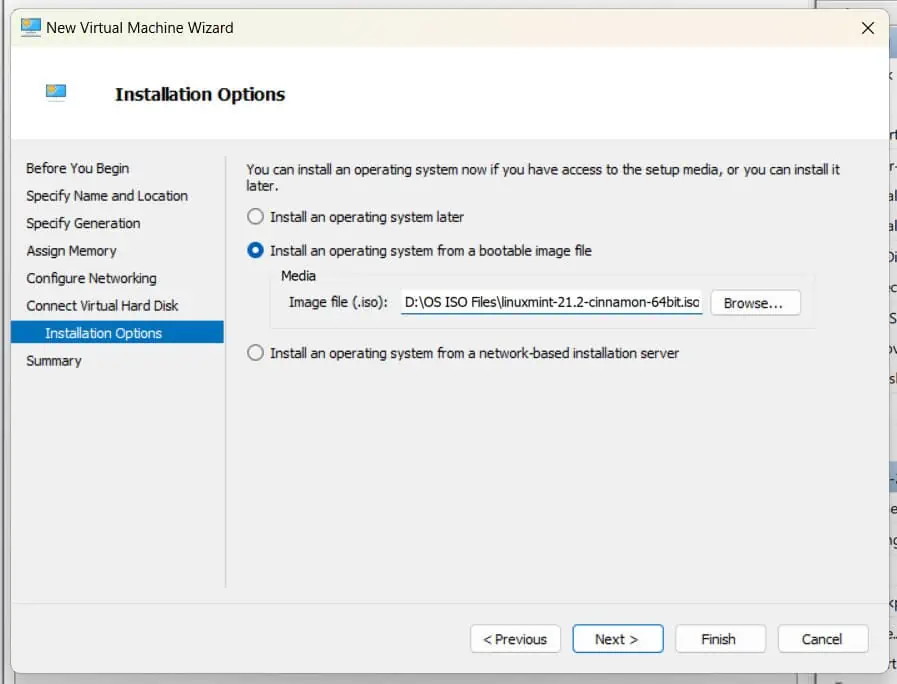
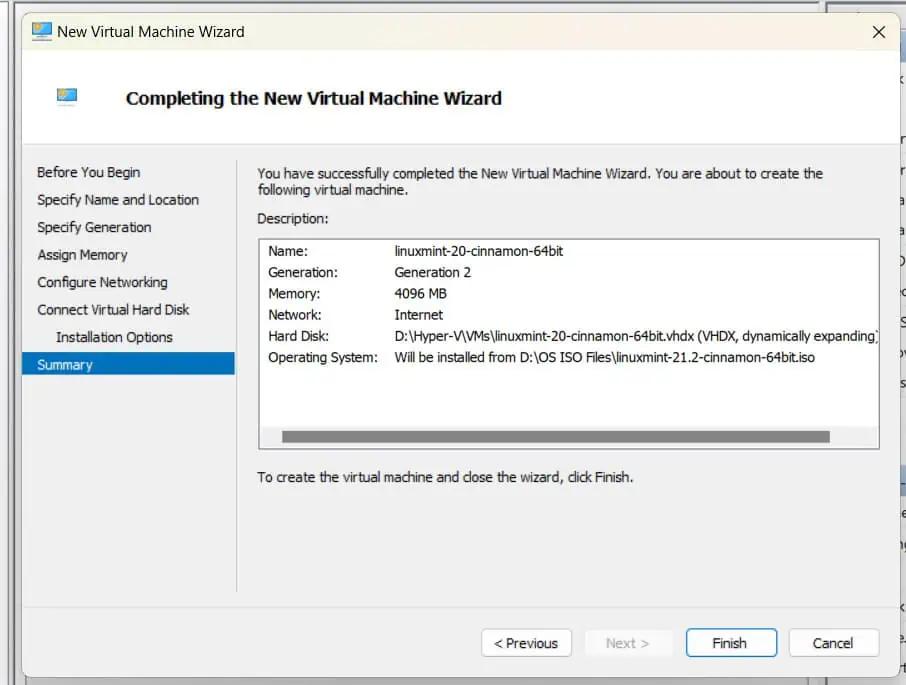
- Finally, follow the screenshots below to create a Gen 2 Hyper-V VM to install Linux Mint.
The vLAN, “Internet” in the 4th screenshot is connected to the Internet. Similarly, in the 6th screenshot, use the ISO image you downloaded in the previous section.
- After creating the VM, open the Settings page (right-click the VM and select Settings).
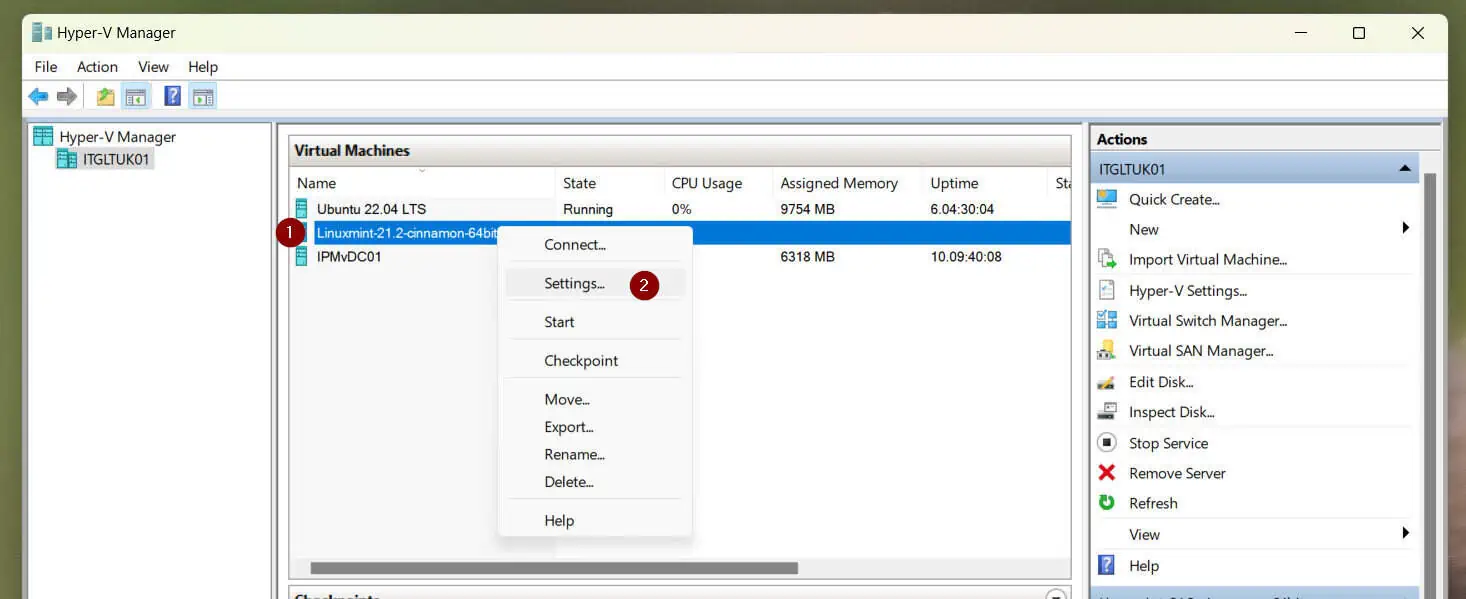
- Then, disable Secure Boot following these screenshots.
Step 3: Install Linux Mint on the Gen 2 Hyper-V VM
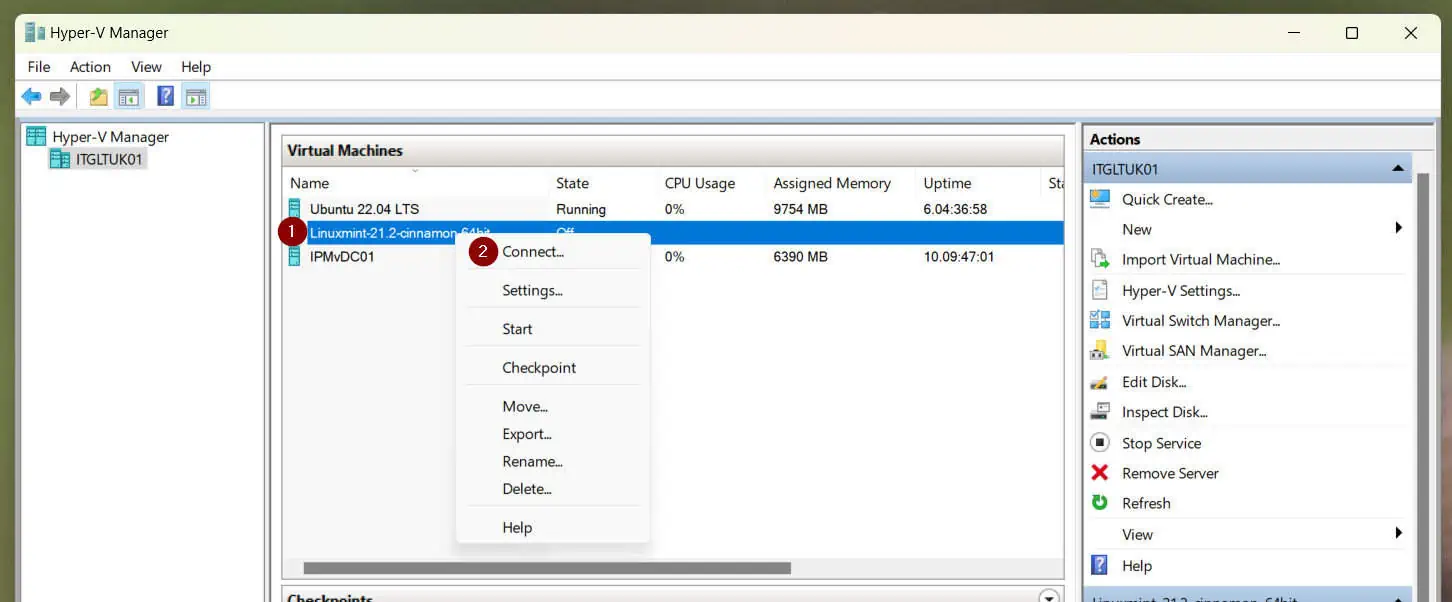
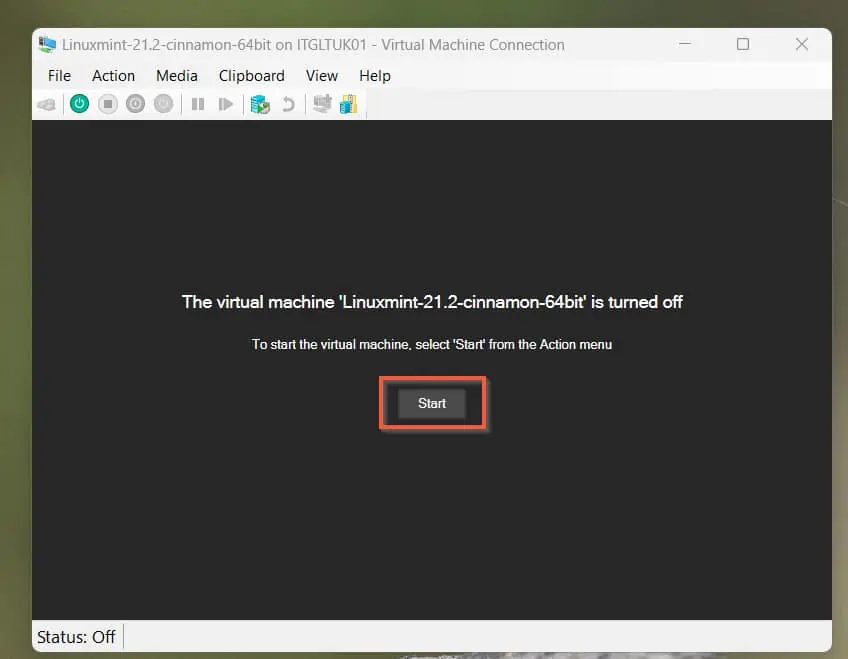
- Right-click the VM and select Connect.
- Then, when the VM’s console opens, click Start.
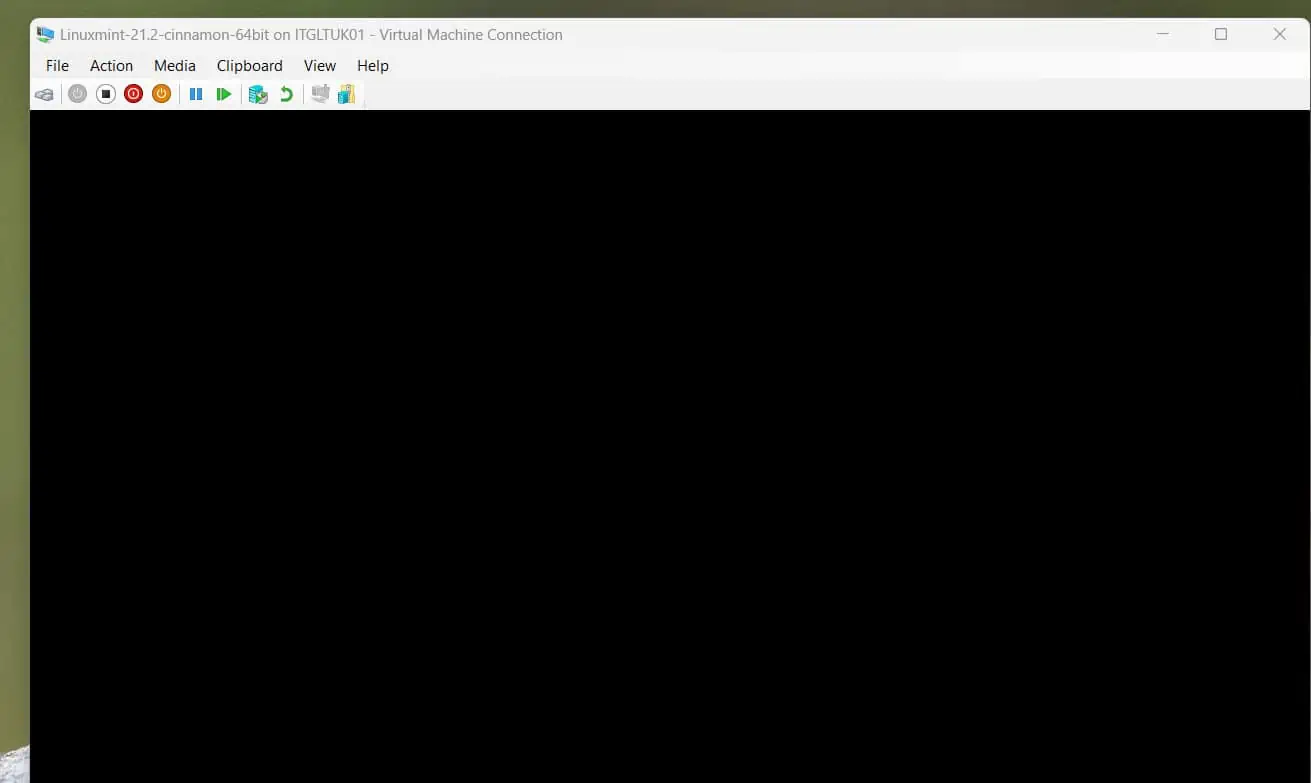
When you start the VM, the installer is supposed to display a selection window, but it just splashes and disappears. The walk-around is to click the ENTER key, which selects the first option. See my second screenshot below. Wait for the installer to load a desktop, then proceed to step 3 below.
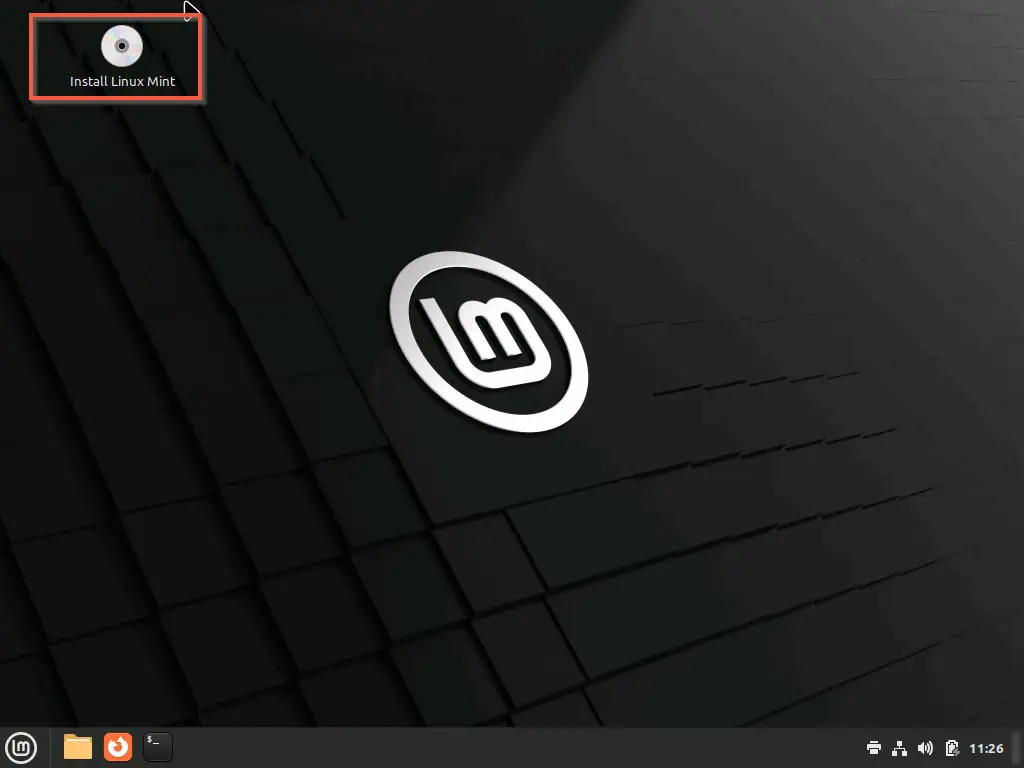
- On the desktop, click the “Install Linux Mint” DVD. It may take w while to load the installer.
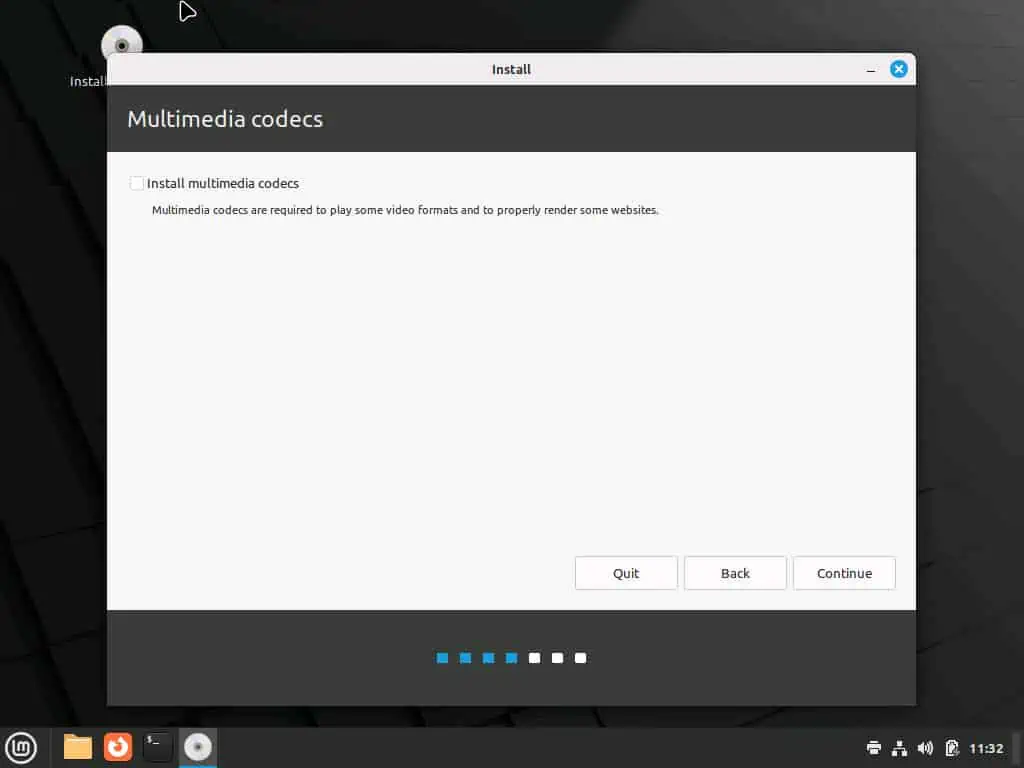
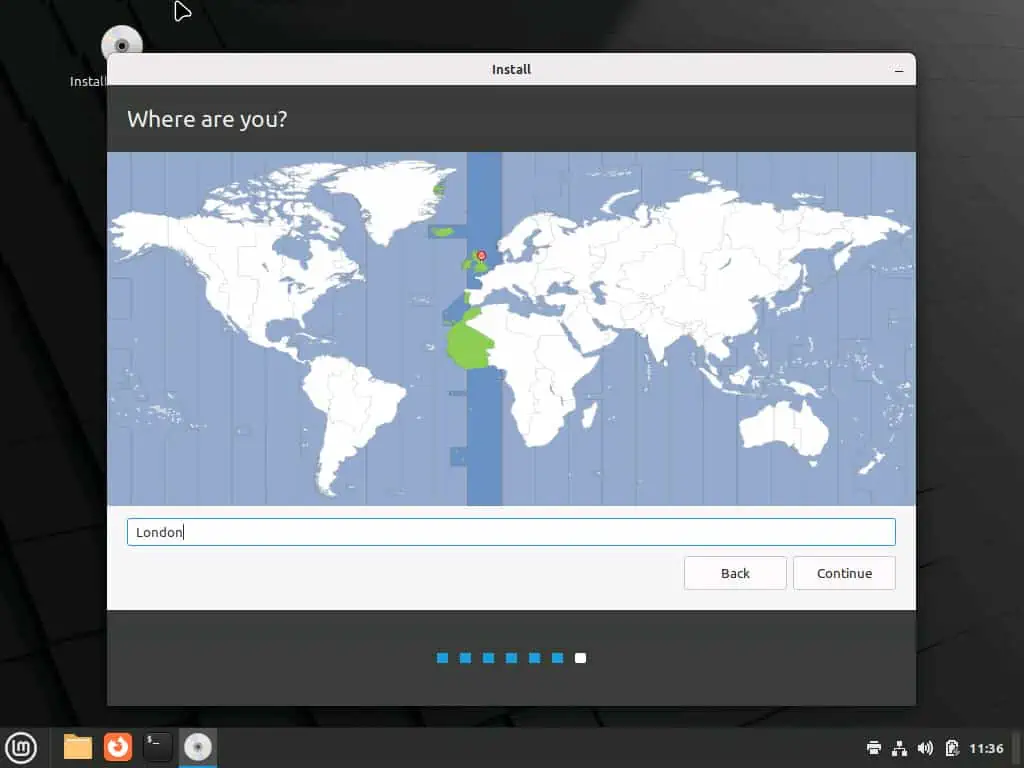
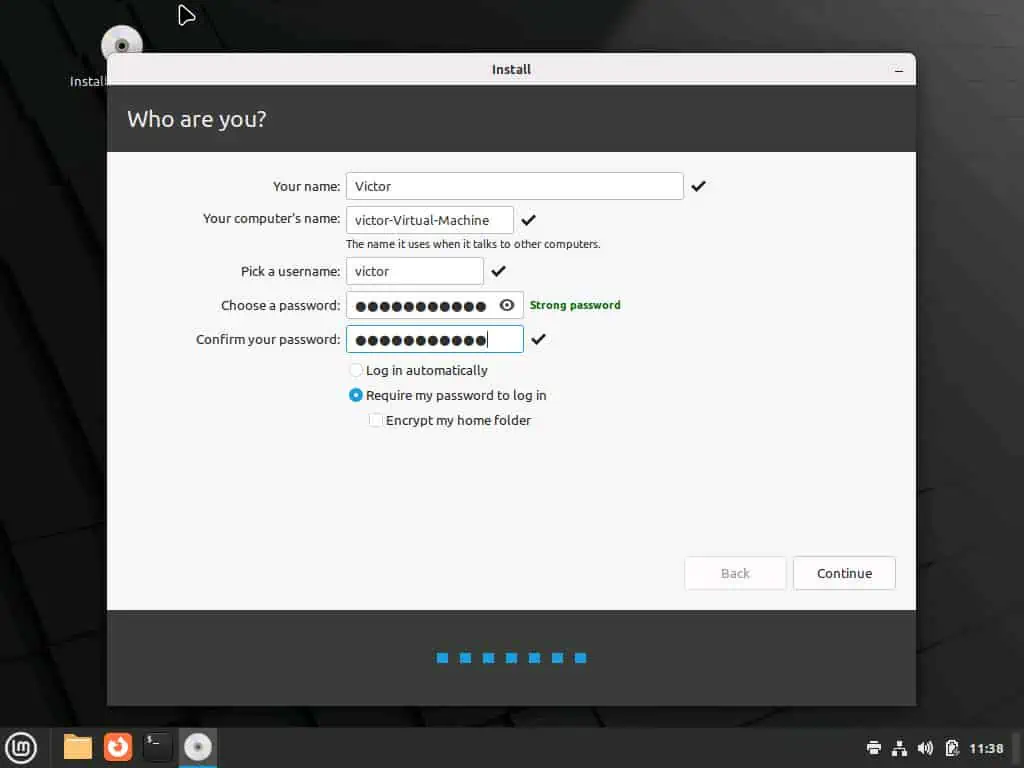
- From this point, the installation should be straightforward. I have included my screenshots as a guide. Note that some of the selections will depend on your location, keyboard, and the rest.
My “Installation type” screenshot has an additional option because I had started an installation that I stopped.
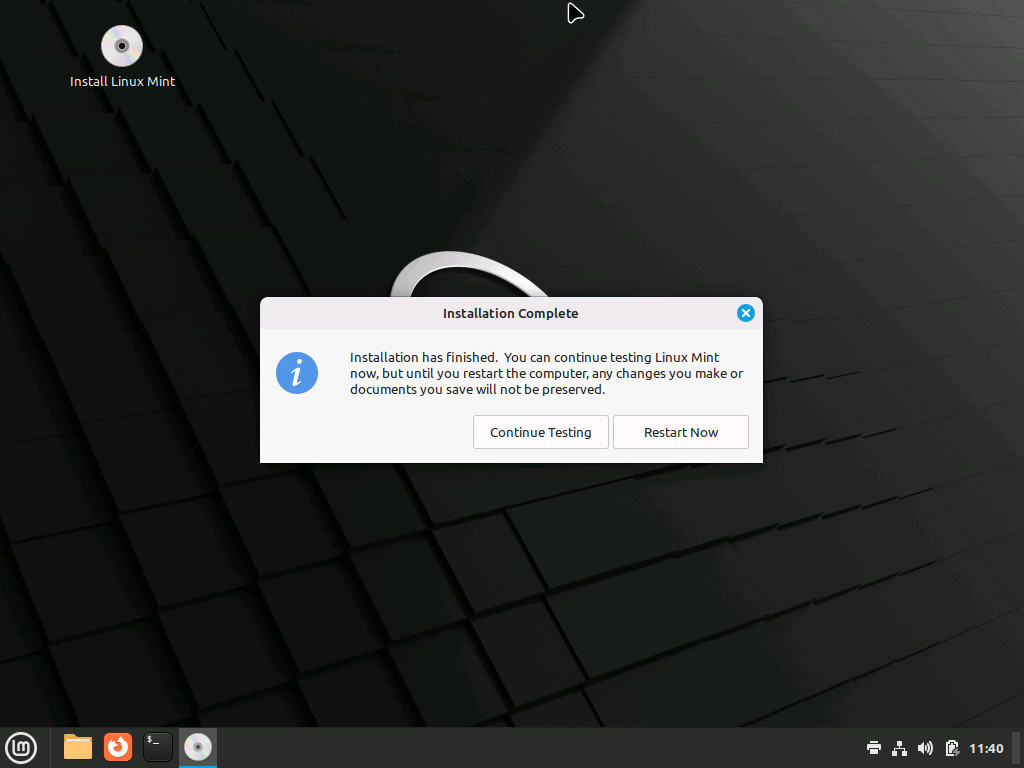
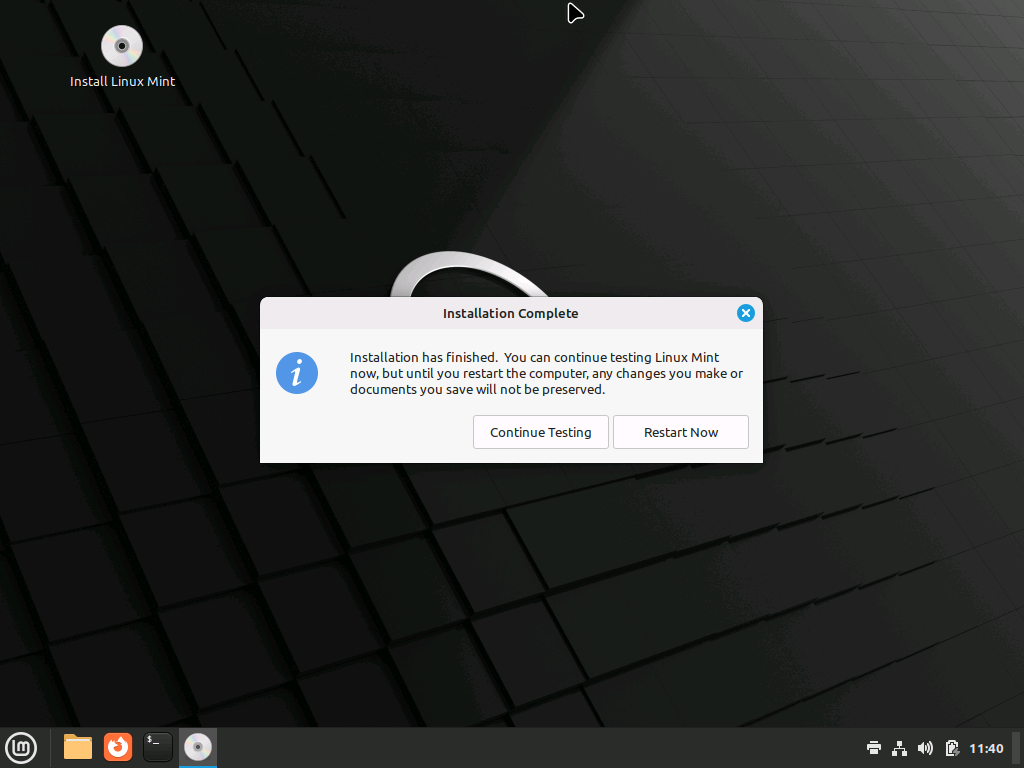
- Finally, wait for the installation to complete.
- When the Linux Mint installation is completed, click Restart Now.
- The installer will request to remove the installation medium, then press ENTER:
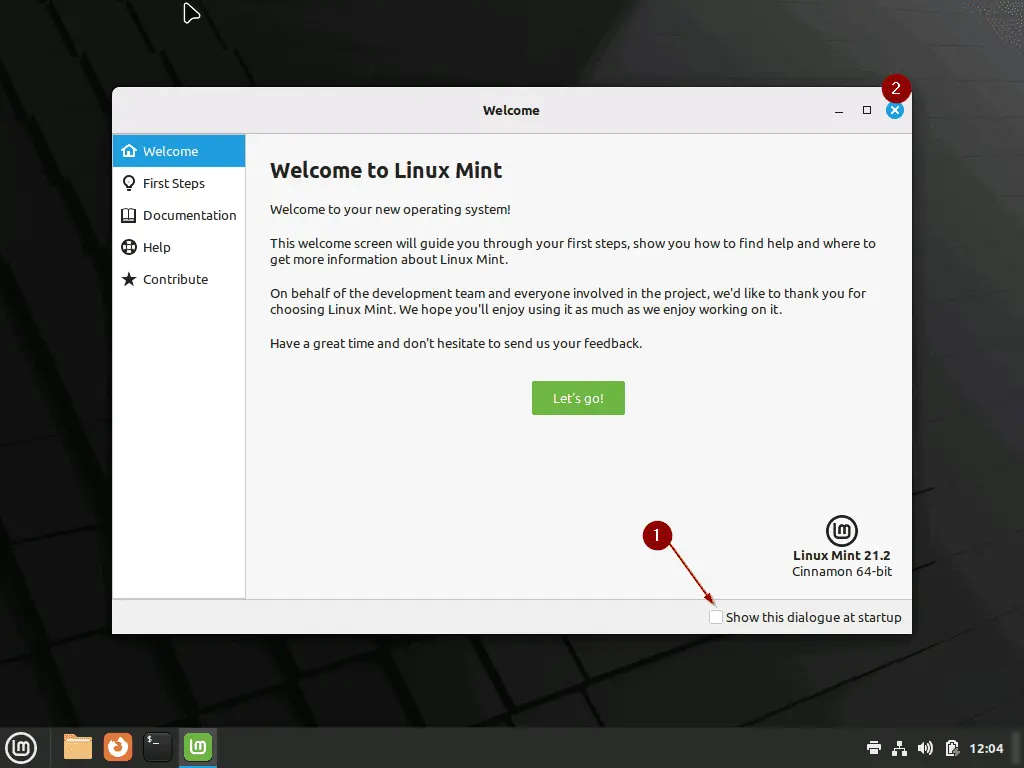
When the OS restarted, it threw multiple errors. To force it to boot, I turned off the VM and restarted it. Finally, I was greeted with this welcome message! Close the welcome message and continue using your Linux Mint installation on Hyper-V!
If you have questions or comments, head over to the comments form (“Leave a Reply”) at the bottom of this page. You could also use the “Was this page helpful?” buttons below to give us your feedback.