In this Itechguide, I will teach you how to change DHCP lease time in Windows 10. The guide covers 6 steps to change DHCP lease time in Windows 10.
Quick Steps
If you are the Windows Server administrator, follow the steps below to change DHCP lease time for Windows 10 clients:
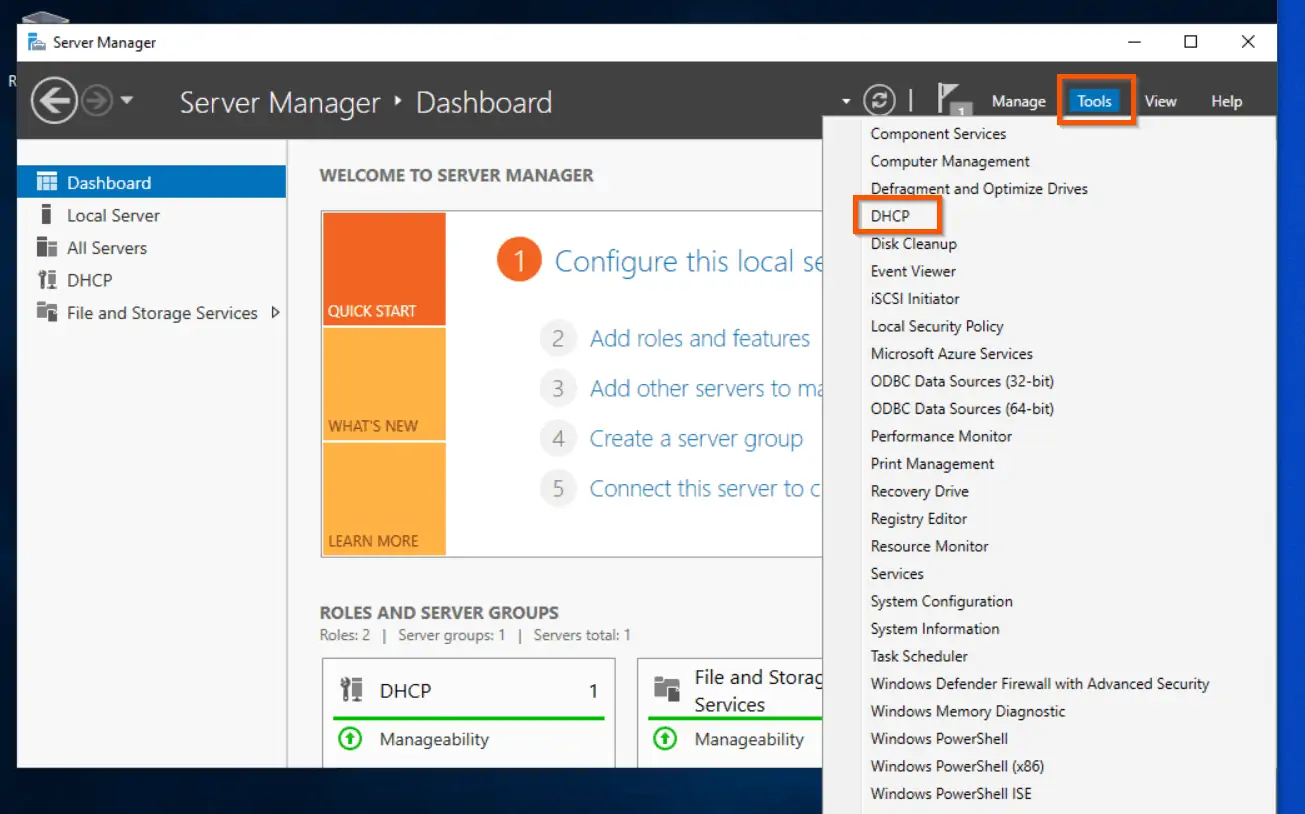
- Log in to your Windows Server and open Server Manager. Then, on the top right of Server Manager, click Tools and select DHCP from the displayed options.
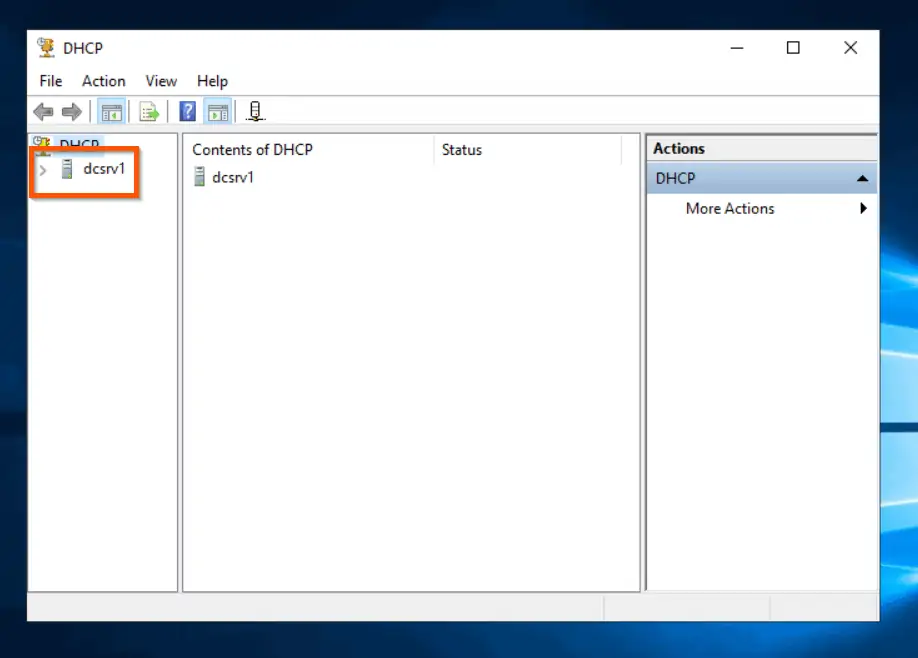
- When the DHCP manager console opens, click on the server name to expand it – more options will also be displayed on the right pane.
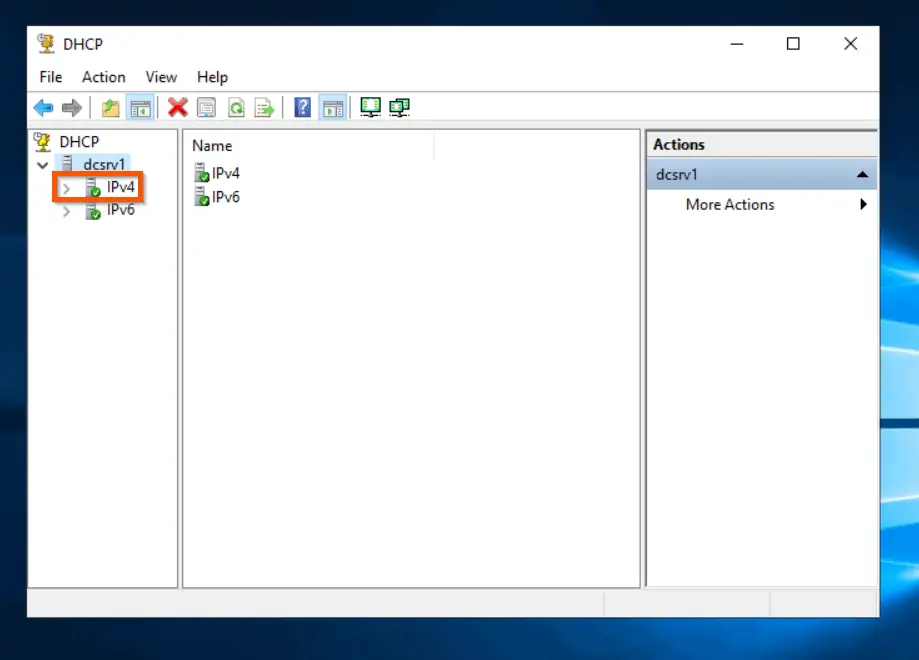
- Then, from the displayed options, click IPv4 to further expand it.
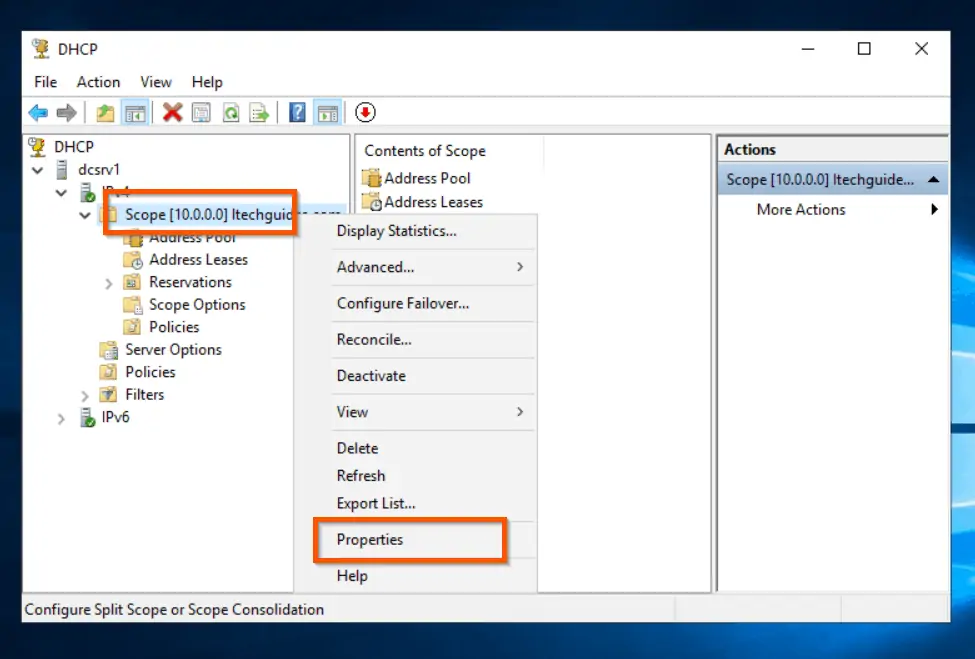
- When iPv4 options opens, left-click on the DHCP scope that you want to change its lease duration to display its details. Then, right-click the scope and select Properties.
- Finally, when the DHCP scope Properties opens, change DHCP lease time for Windows 10 clients, on the “Lease duration for DHCP clients” section of the General tab, modify the “Limit to” fields to the new lease time.
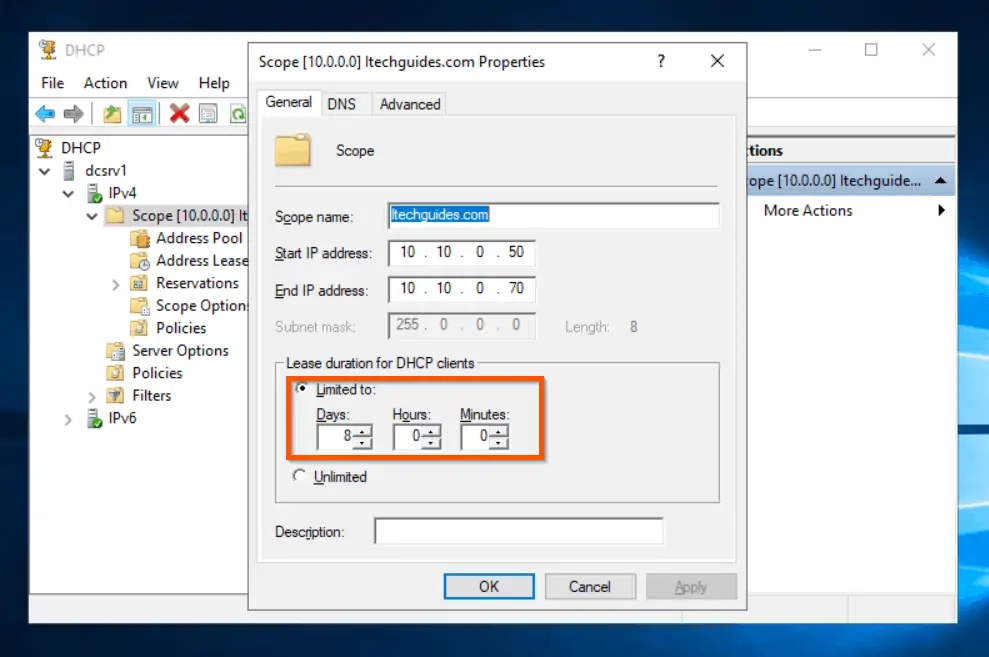
- To save your changes, click OK.

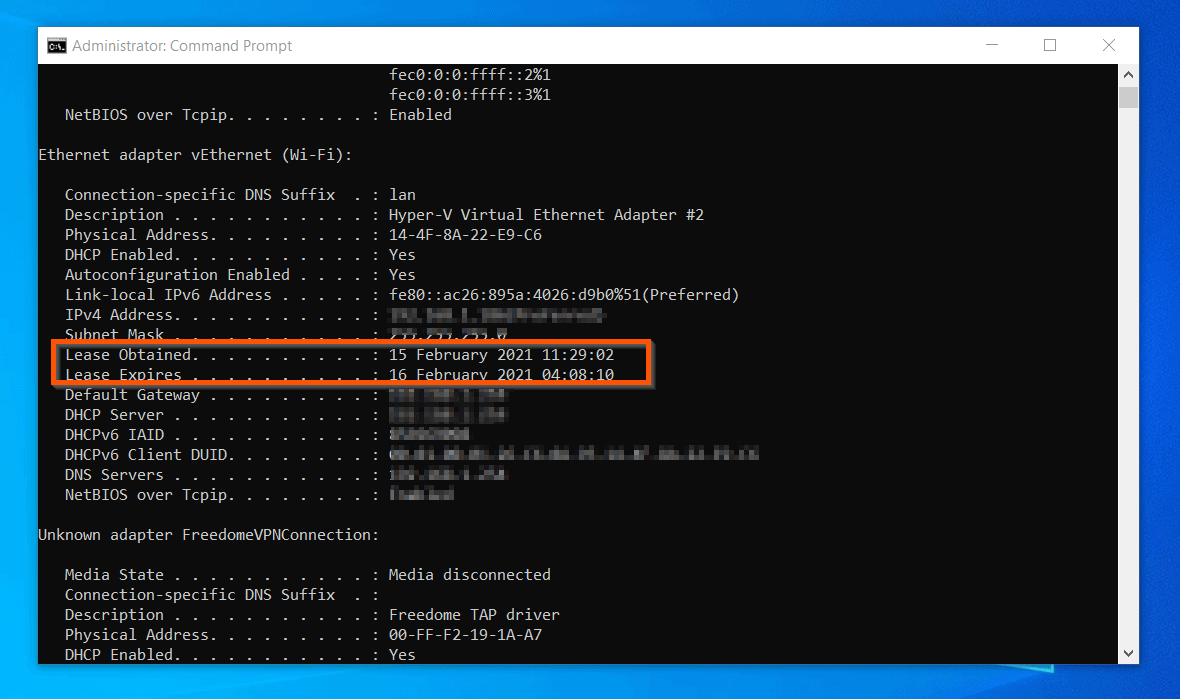
After modifying the lease duration on the DHCP server, head over to the Windows 10 PC and open command prompt as administrator.
Then, run the 2 commands below – wait for the first command to complete before running the second command.
IPCONFIG /release
IPCONFIG /renew
The first command gives up the current IP address leased to the Windows 10 PC. Additionally, the second command requests for new IP address from the DHCP server.
The new IP address leased to the Windows 10 PC will have the new lease duration.
Conclusion
I hope you found the guide helpful. If you found it helpful, kindly share your experience by responding to the “Was this page helpful?” question below.
Finally, for more Windows 10 guides, visit our Windows 10 How-to page. You may also find our Windows Server How-To page very helpful.