This guide demos how to add more rows to a table in Word. It also has a section with steps to add more rows to a table in Google Docs.
Option 1: Add More Rows in Word
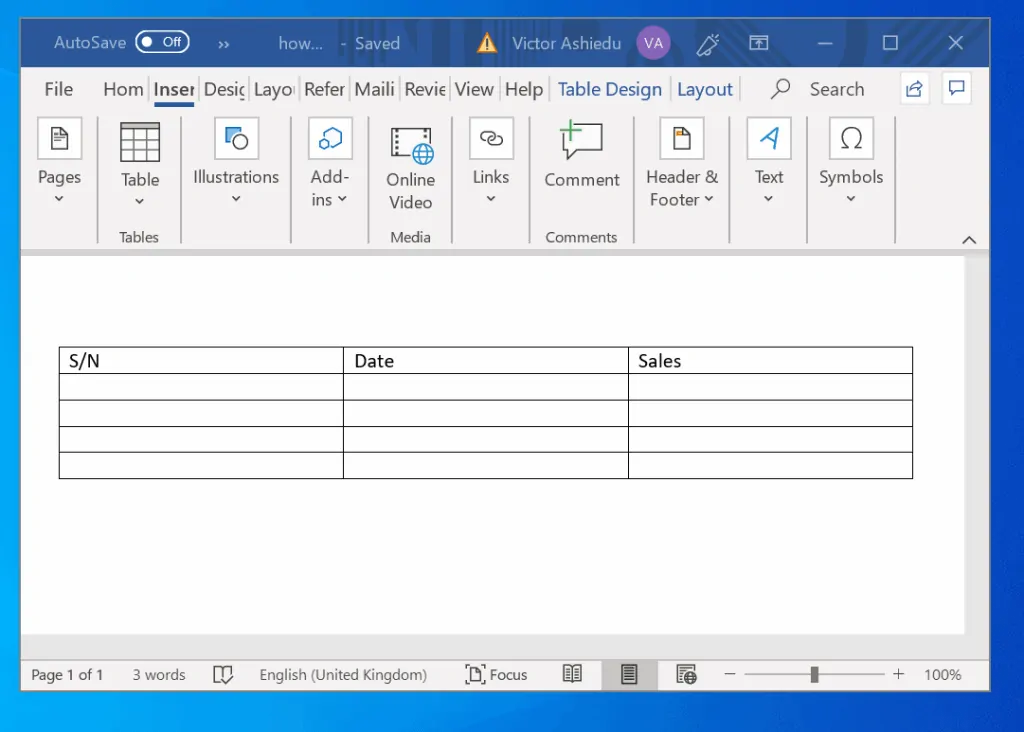
I will use the table below to demo how to add more rows to a table in Word. This table currently has 5 rows.
There are two methods you can use to add more rows to a table in Word:
- Right-click Method
- Tab key method
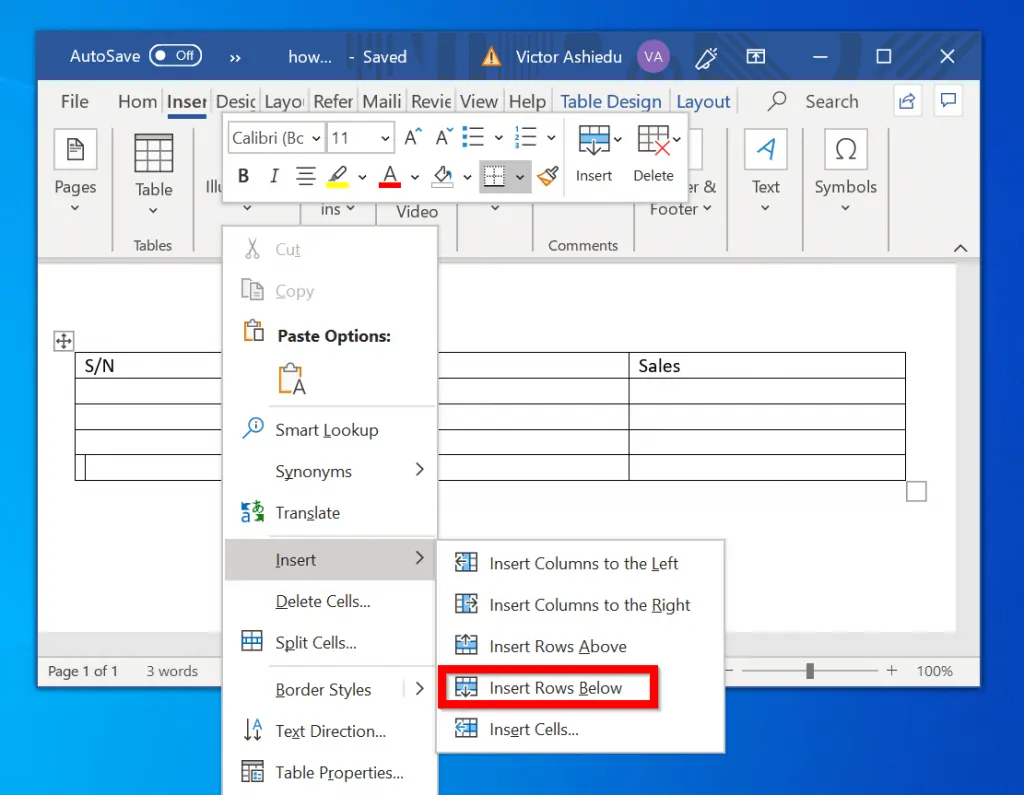
Method 1: Add More Rows with Right-click Method
You can add more rows above or below a row.
Here are the steps to do this by right-clicking a row…
- Right-click the row you want to add a row above or below it. In this example, I want to add one row below row 5. So, I right-click row 5. Then point to Insert and select Insert Rows Below.
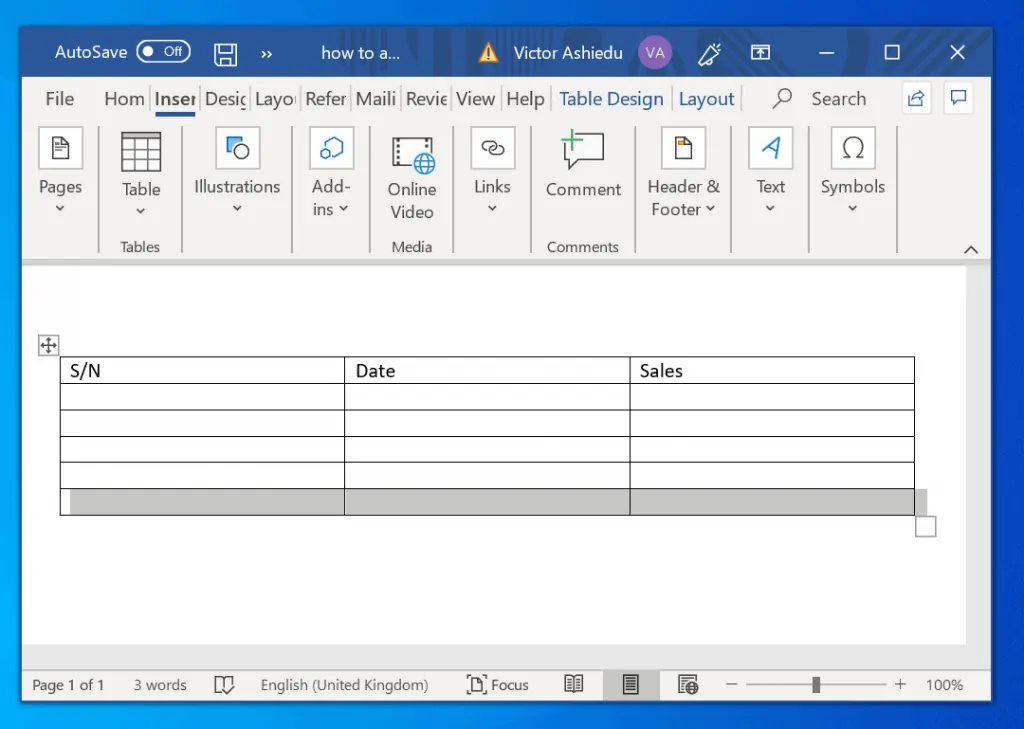
- The 6th row will be inserted and highlighted.
Method 2: Add More Rows with Tab Method
You can also add additional rows to a table in Word using the Tab key. The only limitation with this method is that you can only use it to add rows to the last row in the table.
Here are the steps.
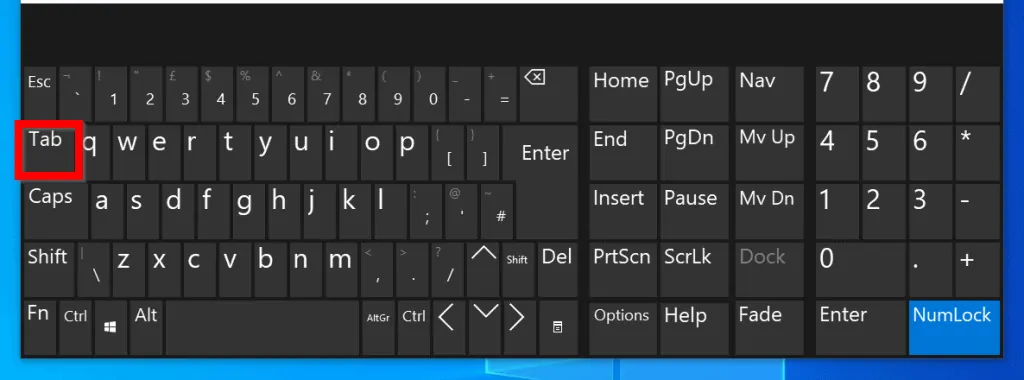
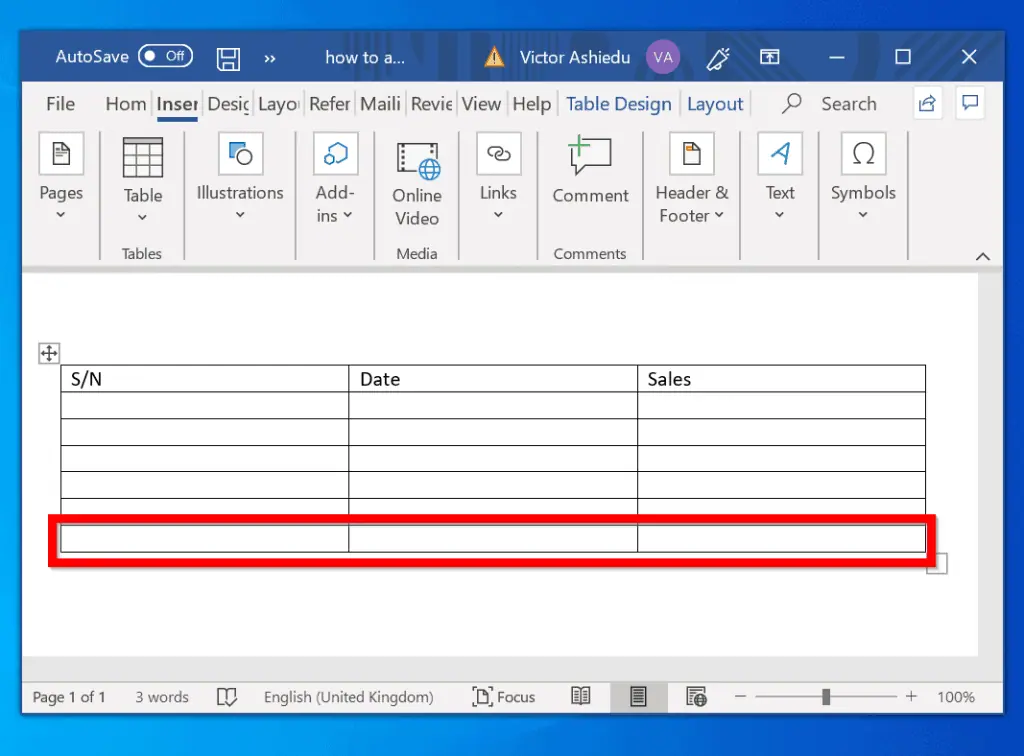
- Click on the last row/column in the table. In this example, I will click row 6 (column 3).
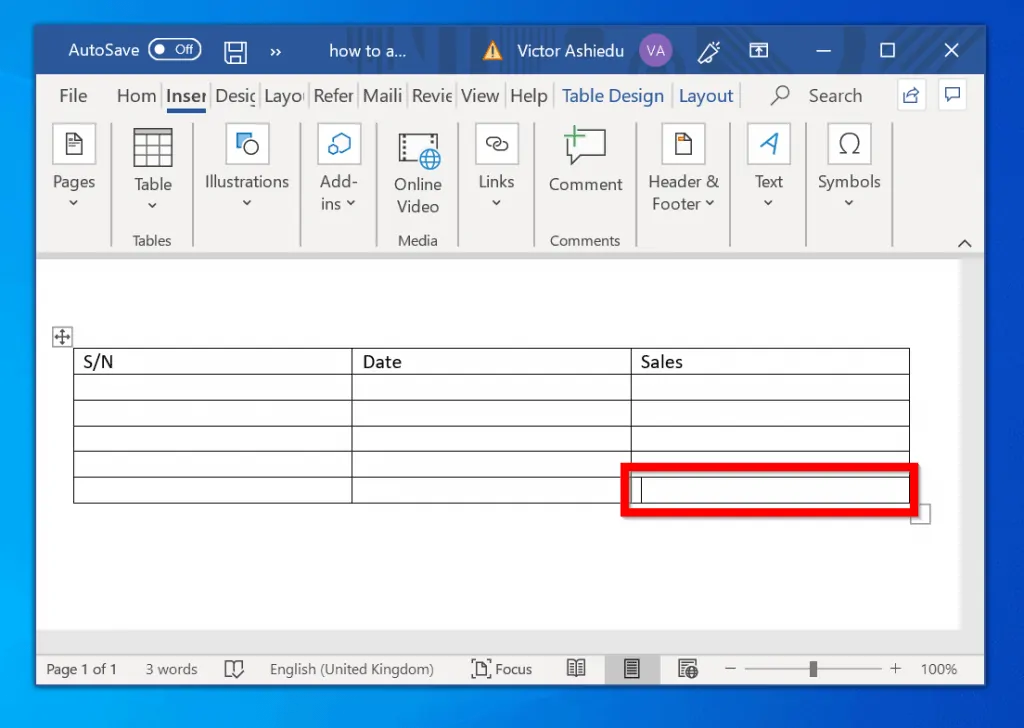
- Then click the tab key on your keyboard. Once you click the tab key, a row will be inserted to the table. See the second image below. The new row is highlighted in red…
Option 2: Add More Rows in Google Docs
Google Docs is similar to Microsoft Word. It compares to Word in so many ways and because it is free it is becoming increasingly popular.
Just like in Word, you can insert more rows in Google Docs in two ways:
- Right-click Method
- Tab key method
Method 1: Add More Rows with Right-Click Method
Here are the steps to add more rows to a table in Google Docs with this method.
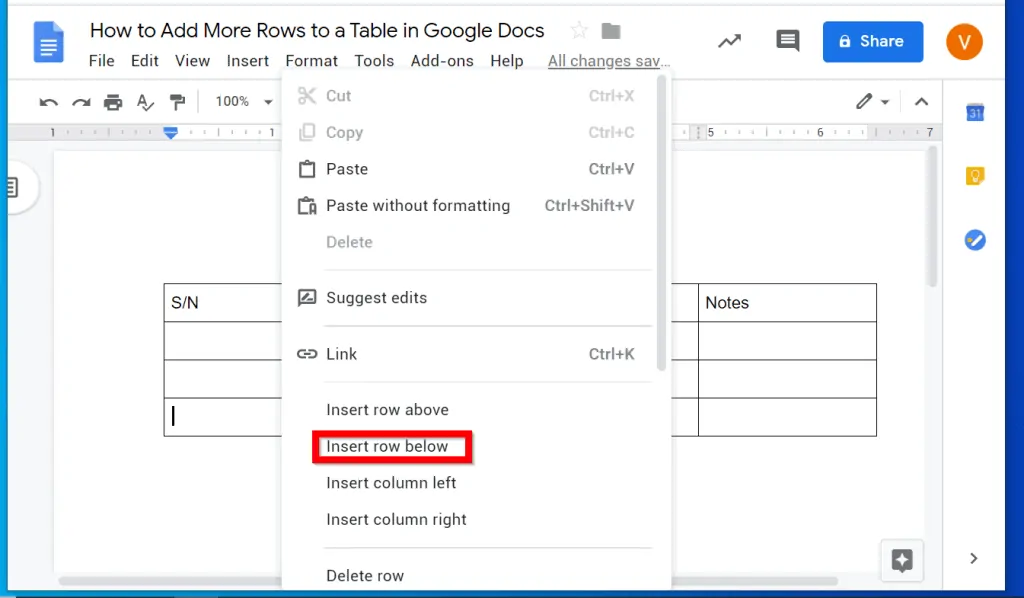
- Right-click the row you wish to insert a row above or below. In this example, I want to add a row below row 4. To do this, I right-click row 4. Then click Insert row below.
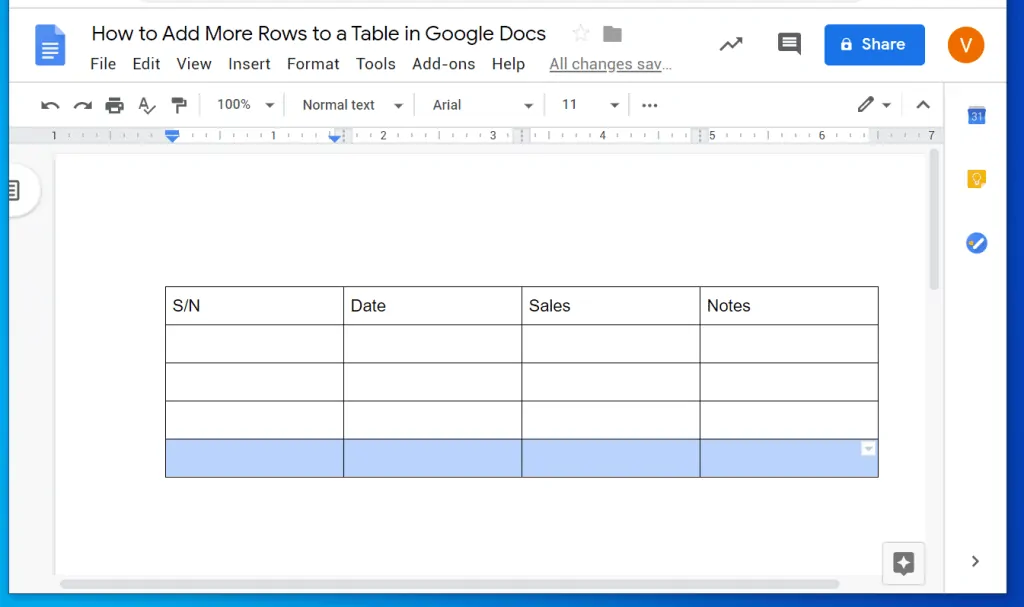
- A new row will be inserted below the row. I have highlighted the newly inserted row in the image below.
Method 2: Add More Rows with Tab Key Method
To insert a new row in Google Docs with Tab key, follow the steps below:
- Click on the last row/column in the table. In this example, I will click row 4 (column 4).

- Then click the tab key on your keyboard. Once you click the tab key, a row will be inserted to the table. See the second image below. The new row is highlighted in red…

The methods in this guide demonstrated how to add more rows to a table in Word and in Google Docs.
I hope you found this article helpful. If you did, click on “Yes” beside the “Was this page helpful” question below.
You may also express your thoughts and opinions by using the “Leave a Comment” form at the bottom of this page.
For more productivity guides visit our Microsoft Office How-to page.