Do you want to learn what Docker run does and how to use the command? In this article, I’ll explain and show you how to use this everyday Docker command.
Overview
If you’re new to containerization or Docker, you may benefit from understanding the difference between a Docker image and a Docker container.
A Docker image is an application package with its configuration and dependencies. Specifically, a Docker image has a set of instructions (commands) – generated using Dockerfile – used to create a Docker Container.
The moment you start the Docker artifact in the image, you create a Docker Container. Essentially, the command that starts a Docker container from the image is “Docker run.”

Before I move on from this section, I like to mention that Docker images are primarily available on the Docker Hub repository. However, you can save (push) Docker images on public cloud repos like Amazon ECR or private repos like Nexus.
Note that the moment you start a container, Docker downloads (pulls) it from the repository and stores a copy of the image on your computer.
Usage and Options of the Docker run Command
The usage of this command is pretty simple. Below is the usage (or syntax) of this all-important Docker command:
docker run [OPTIONS] IMAGE [COMMAND] [ARG...]
The first two words are the command. After that, you must provide the options for the command. To learn about all the available options, visit the options section of the Docker document for this command.
Beyond learning the command options via the above link, you can see the options by running the command below:
docker run --help
My screenshot below shows a portion of the result of the above command.
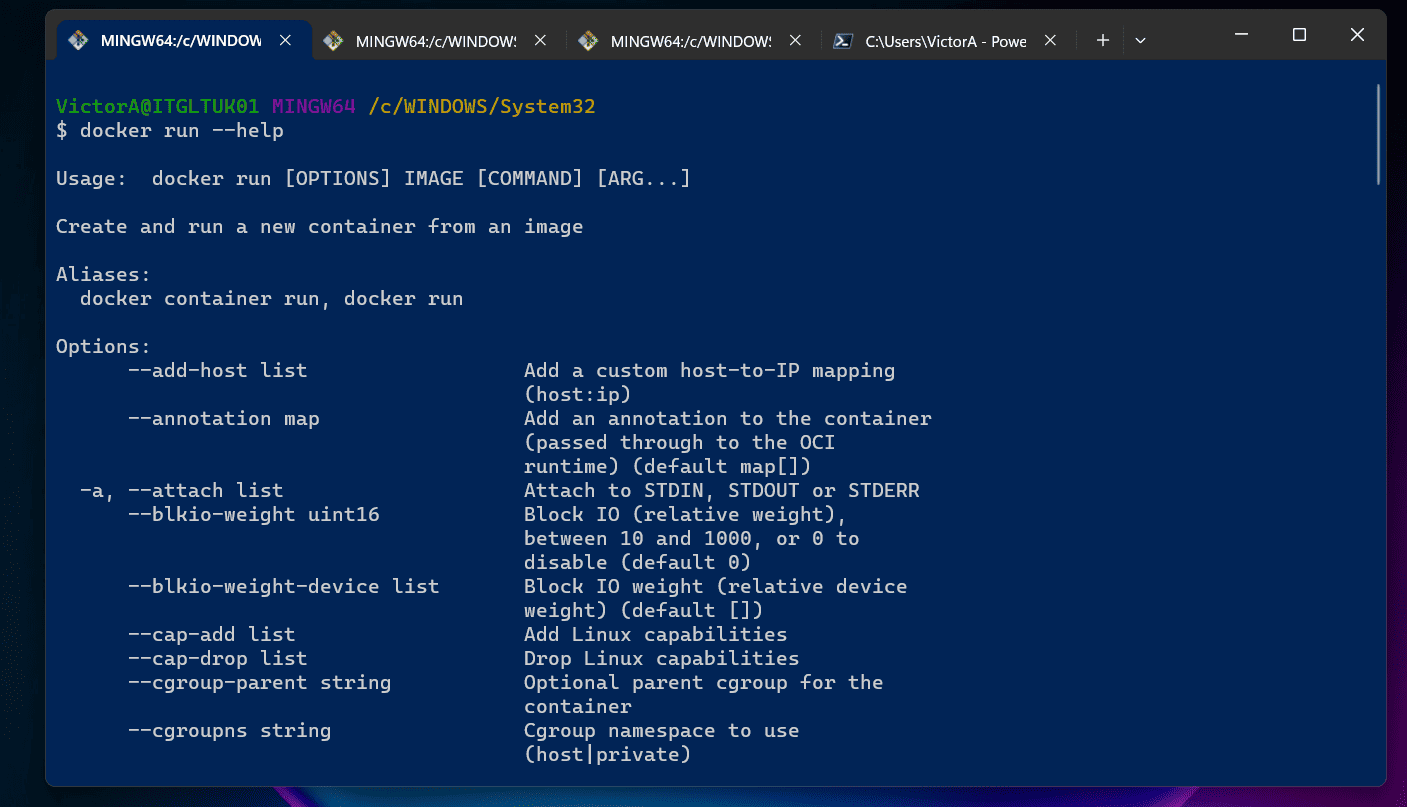
After specifying the options, you then enter the name of the image, followed by any additional commands and arguments you wish to provide.
As you may have noted, there are loads of options for this command but you only need a few of them to start working with Docker Containers.
The first required option is the –name option. Use this to specify the name of the container.
This is the name that will be returned when you execute the Docker ps command.
Another important option of the Docker run command is the -d or –detach. This option allows you to start the container in the background.
If you do not include the -d option, the container will start on the terminal and if you close the terminal, it terminates the container.
Next up are two options you use to interact with the command. These are the -i or –interactive, and -t or –tty options. The -it option allows you to start the container and open sign-in to its terminal – similar to the Docker Exec -it command.
The final options I like to mention are the -v or –volume and -e. The -v option is used to mount a volume on the container to a named volume on the host. On the other hand, -e is used to specify environment variables for the container.
Docker run Command Examples
If you made it this far, you probably should be able to start a Docker container from an image.
Well done if you have!
Despite that, you will still benefit from some of the examples I share in the following subsections.
Start a Docker Container in the Terminal
In this first example, we will look at how to use the docker run to start a MySQL container on the terminal. By starting the container on the terminal, I mean that we will not specify the -d option.
The command below starts a MySQL container on the terminal.
docker run --name mysql_1 -e MYSQL_ROOT_PASSWORD=test mysql
mysql_1 is the name of the container that starts from the mysql Docker image. The MYSQL_ROOT_PASSWORD environment variable is required by mysql.
This is the root password for the mysql instance. When you execute the command, Docker run pulls the mysql image from the Docker hub.
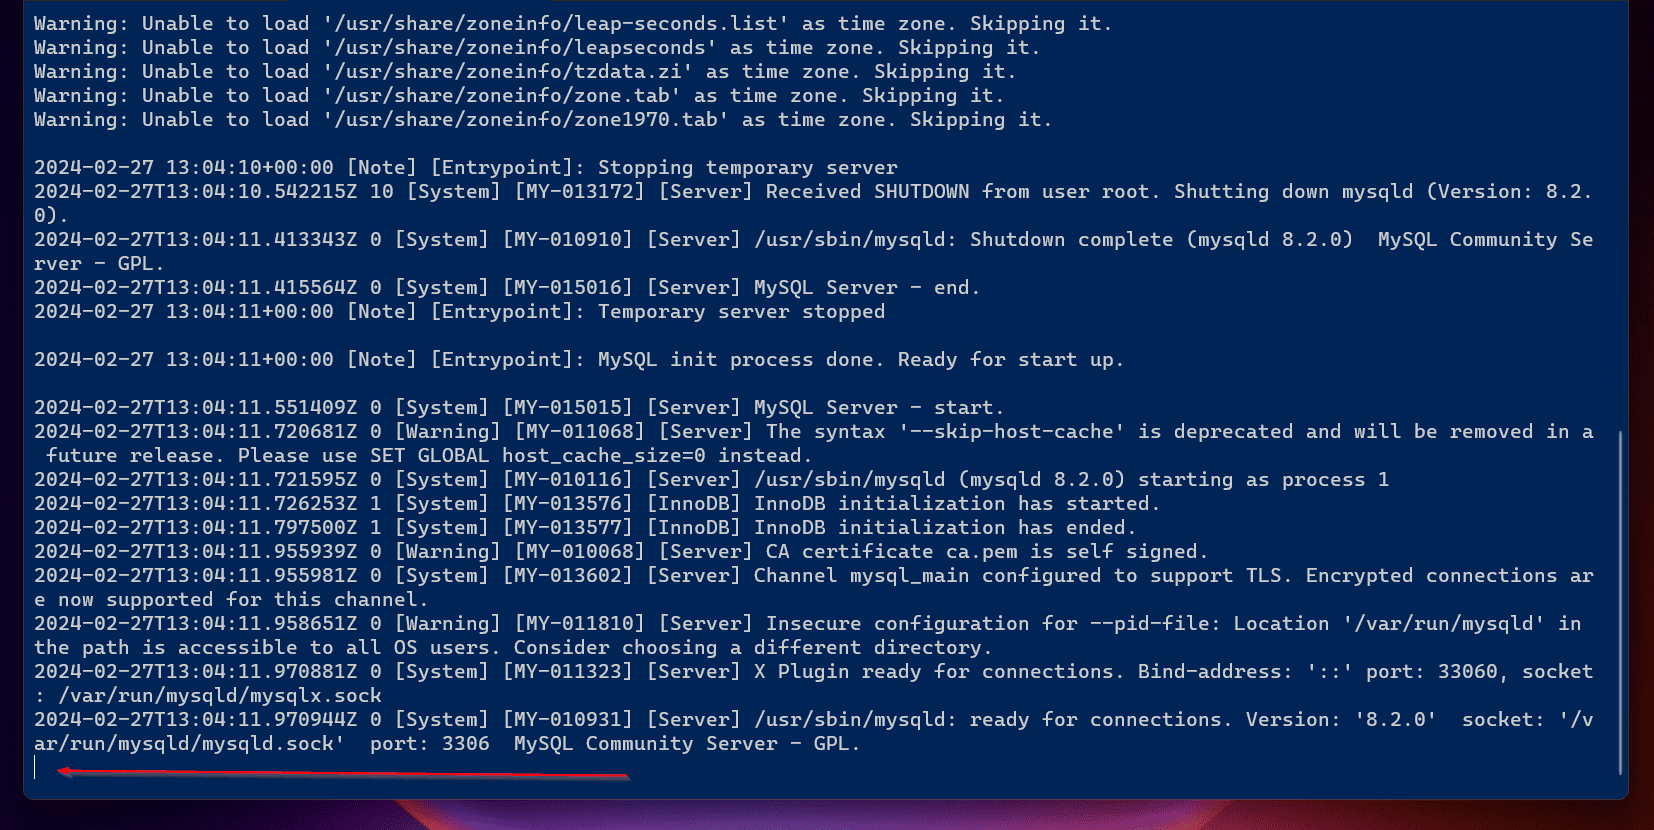
Then, it starts the container. To confirm that the container is running on the terminal – and not on the background – scroll down and see that it is still “hugging” the terminal.
In other words, the terminal is not available for me to use.
However, we can confirm that this container is running by executing the “docker ps” command on another terminal.
I have highlighted the name we gave the container – mysql_1. Additionally, I highlighted the portion of the result that indicates that the container was created 7 minutes ago.

To stop the container, run the “docker stop” command.
docker stop mysql_1
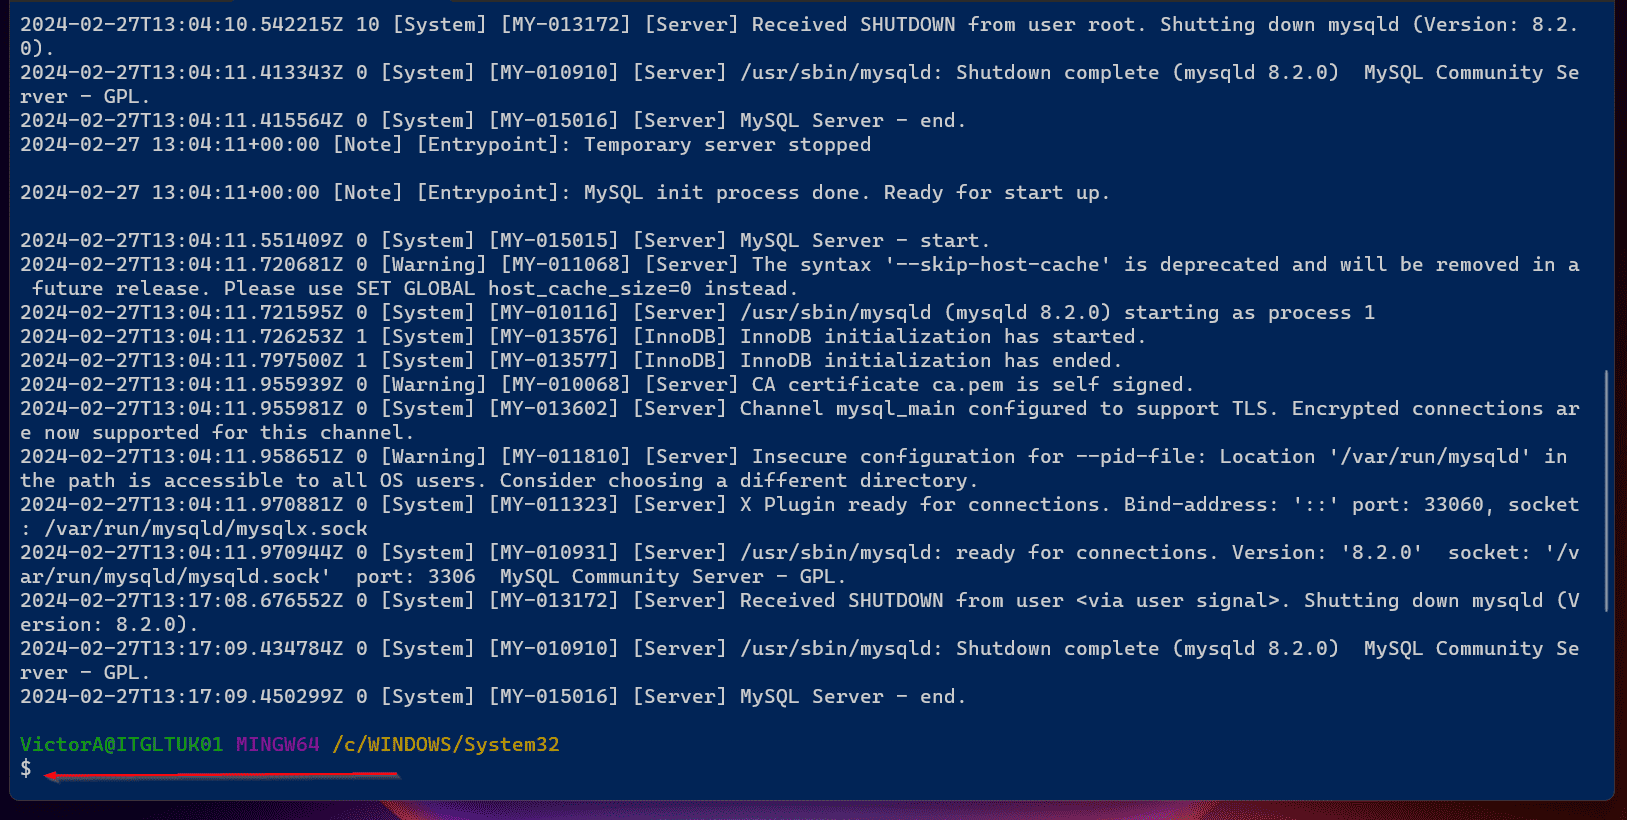
After running the “docker stop” command, if you returned to the terminal where you started the container, the container would have exited.
Docker run -d: Start a Docker Container on the Background
We will now start a new container in the background. To do this, I will run the last command but this time, I’ll include the -d option.
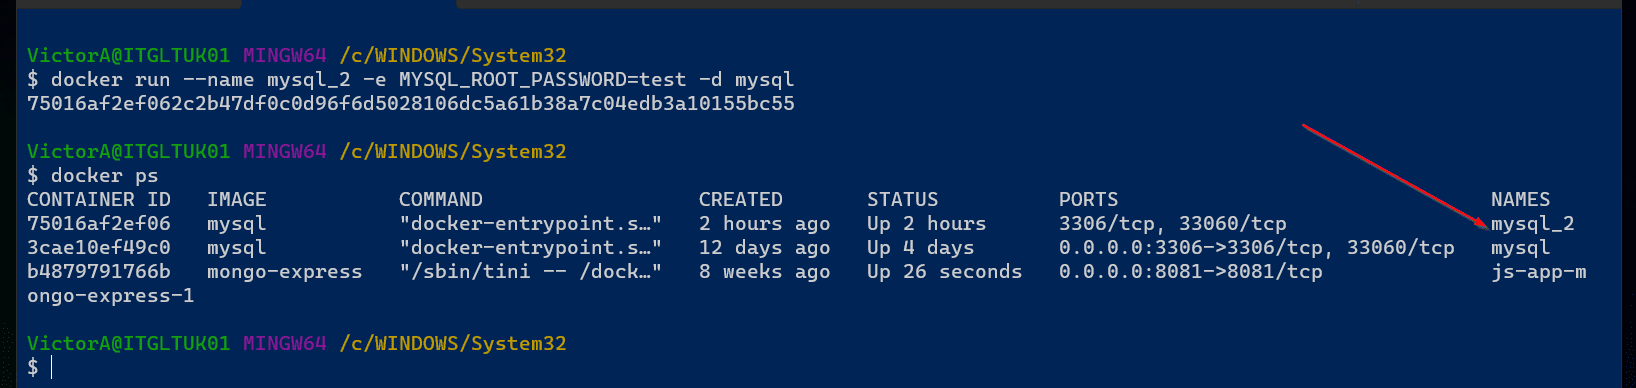
docker run --name mysql_2 -e MYSQL_ROOT_PASSWORD=test -d mysql
This time, the container starts but does not hold on to the terminal.

So, we can run the “Docker ps” command on the same terminal. And there is my container!
If you’re running the commands in this guide, before you move on, execute the commands shown below. The first command stops the container while the second deletes the container.
docker stop mysql_2
docker container rm mysql_2
Start a Docker Container and Open a Terminal to the Container
In this example, I’ll modify the last Docker run command to include the -it options. As I explained earlier, the -i option creates an interactive STDIN session and keeps it open.
Similarly, the -t option allocates a pseudo-TTY.
Putting it simply, including the -it options starts the container and logs into the container.
Here is my sample command…
docker run -i -t --name mysql_2 -e MYSQL_ROOT_PASSWORD=test mysql bash
When you execute the command, a Bash terminal is opened for the container.

To exit the container, execute the “exit” command. I must mention that doing this also exits (or stops) the container because we did not run the command with the -d option.
Unfortunately, you cannot start a terminal on the container with the Docker run command if you specify the -d option. In essence, the use case for using the -t -i options is when you need to start the container and run some quick checks on it before exiting it.
Before I end this section, I like to point out that in the last command, I specified the -t and -i options separately. However, you can also combine them like “-it” and it will work.
See the modified command below.
docker run -it --name mysql_2 -e MYSQL_ROOT_PASSWORD=test mysql bash
Start a Docker Container and Bind a Named Docker volume
In this last example, I will show you how to bind a Docker Volume when you start a container. This is achieved by including the -v option.
The command below starts a mysql container and creates a named Docker volume called mysql-data.
docker run --name mysql_2 -e MYSQL_ROOT_PASSWORD=test -v mysql-data:/var/lib/mysql -d mysql
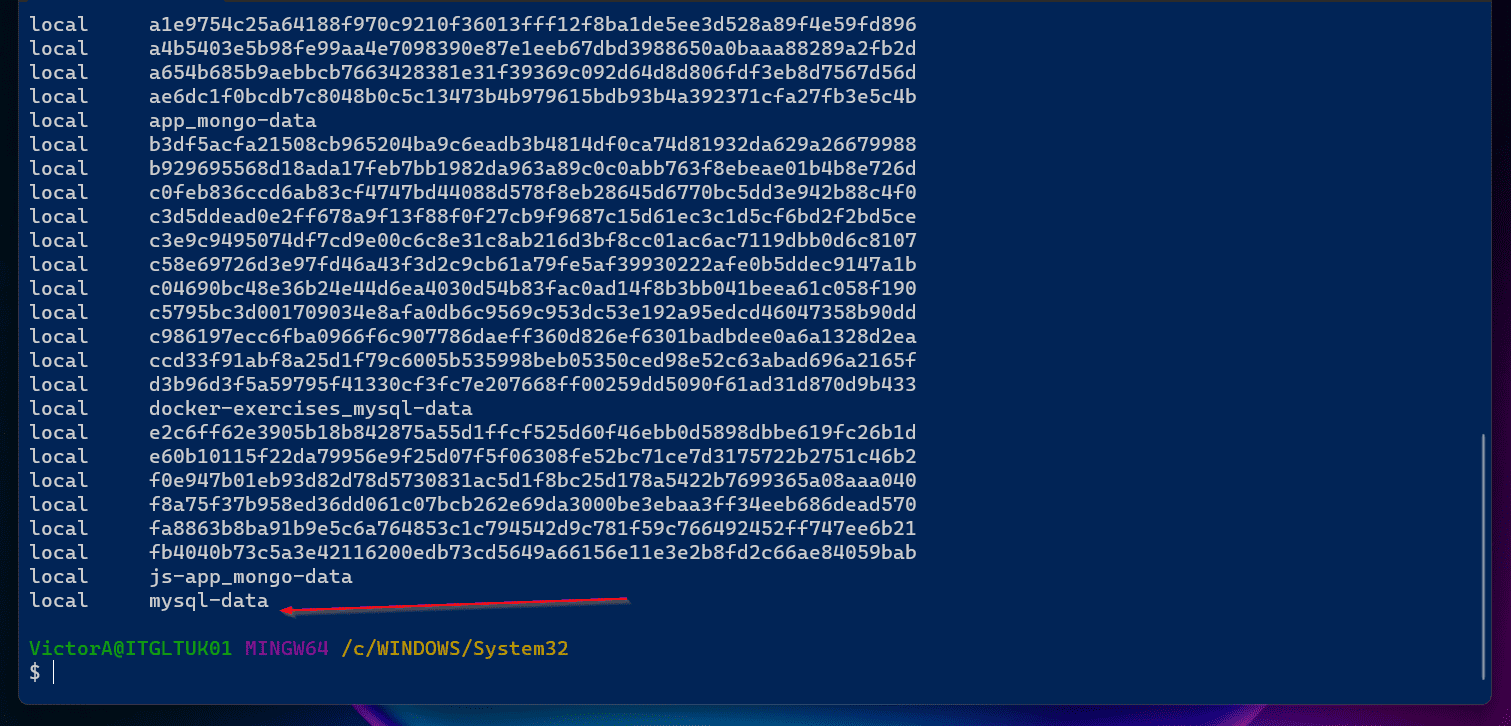
To see the volume created by the last command, execute “docker volume ls.” When I executed the command, it listed all Docker Volumes on my Docker instance.
The new volume is located right at the bottom of the list.
To see some information about this volume, run the “docker volume inspect” command:
docker volume inspect mysql-data
I like to highlight the Mountpoint. The “Mountpoint” is the path on the Docker host where the container data is synched.
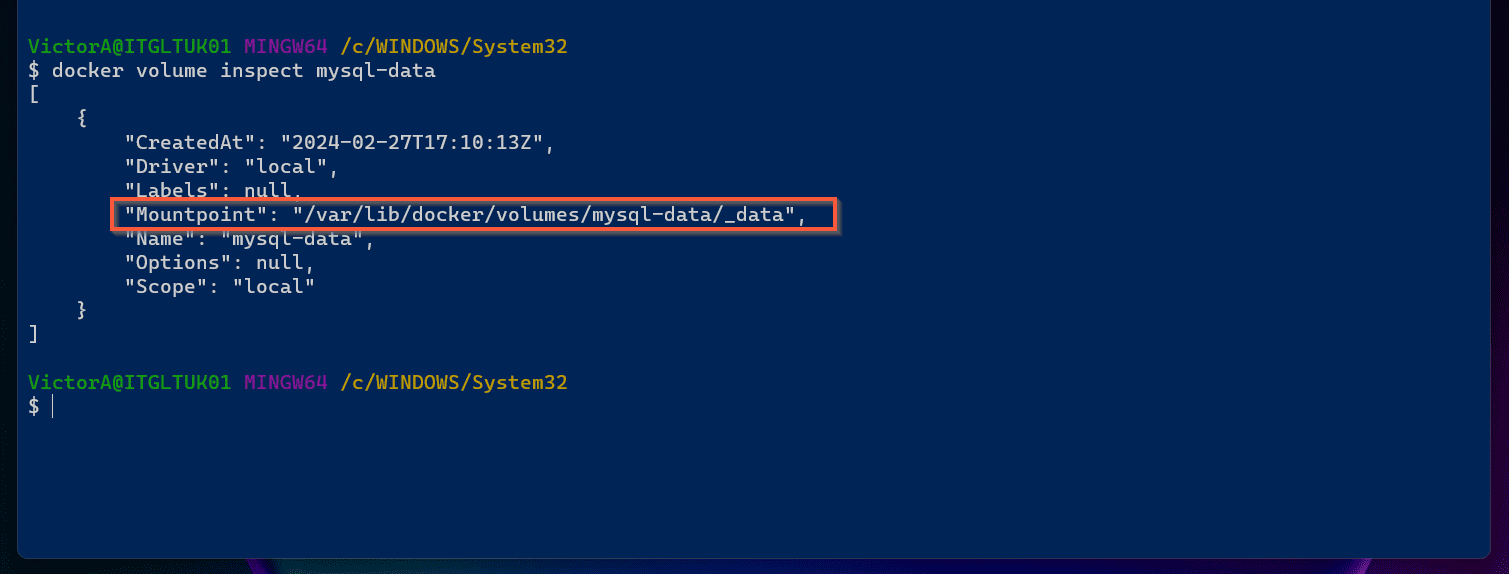
Since the container is bound to this volume, when next you start it with the “Docker start” command, the data in the host’s path – “/var/lib/docker/volumes/mysql-data/_data” – will be copied to the container’s path – “/var/lib/mysql.”
Frequently Asked Questions
Yes, if you install Docker Desktop, it makes all Docker commands, including “Docker run” available on Windows.
I like to use Git Bash to execute Docker commands on my Windows PC. If you’ve not installed Git Bash, I strongly recommend you install it.
Yes, you can run Docker on Windows without Docker Desktop. However, you can only do this via Ubuntu on Windows Subsystem for Linux.
a) Install Docker Desktop.
b) Execute the “docker run” command to start a container from a Docker image.
The quickest way to check if Docker is installed on Windows is to run the “Docker –version” command. If Docker is installed, the command displays the installed version.
Yes, you can run an Ubuntu Docker image on Windows. Docker Desktop on Windows has two options – Linux Containers and Windows Containers.
To run an Ubuntu Docker image on Windows, you must be running the Linux Containers version of Docker Desktop.
Thank you for reading. Kindly let us know what you think about this article. You could use the “Leave a Reply” form at the bottom of this page.
Alternatively, you can respond to the “Was this page helpful?” question below.