Do you need help building a WordPress site on Azure? This article walks you through creating a WordPress site with Azure App Service.
Overview
Azure App Service is a Platform as a Service (PaaS) platform that includes WordPress. With Azure’s WordPress PaaS, you do not need to worry about the underlying infrastructure hosting your site.
All you do is deploy the app, and Microsoft Azure takes care of the VMs, storage, Virtual Networks, and gateways.
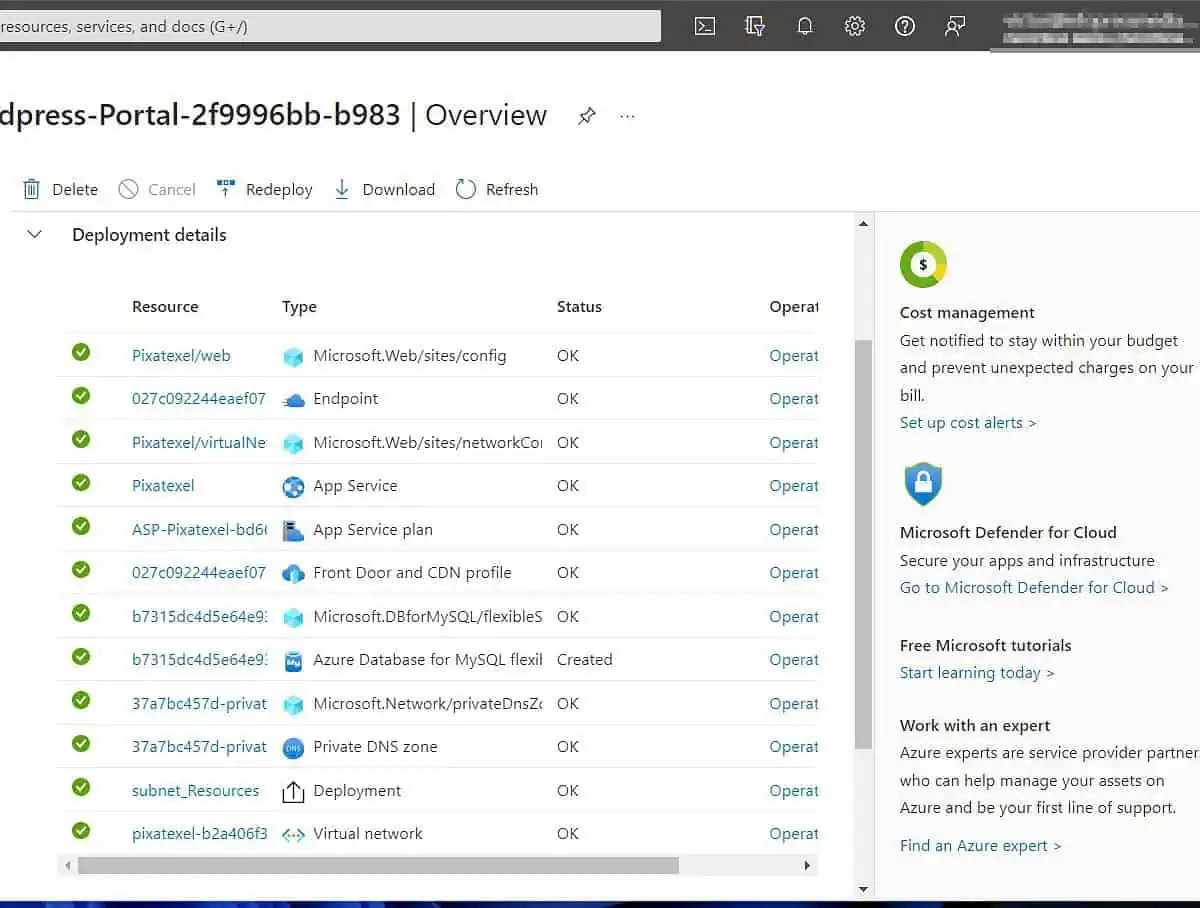
When you create a WordPress site with the Azure App Service, it creates the Azure resources shown in the screenshot below.
Step 1: Deploy WordPress Site on Azure App Service
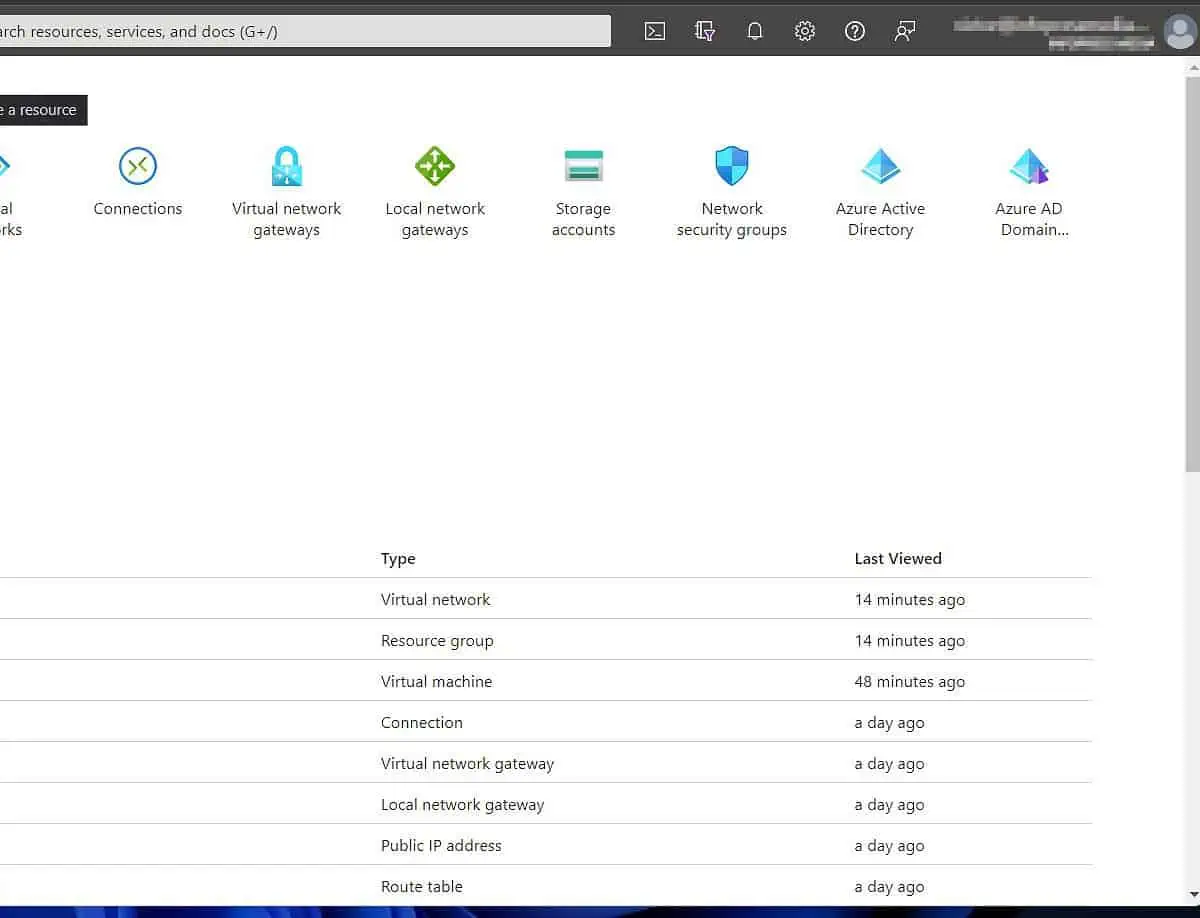
- Open portal.azure.com and sign in. After signing in, click the menu and select “Create a new resource.”
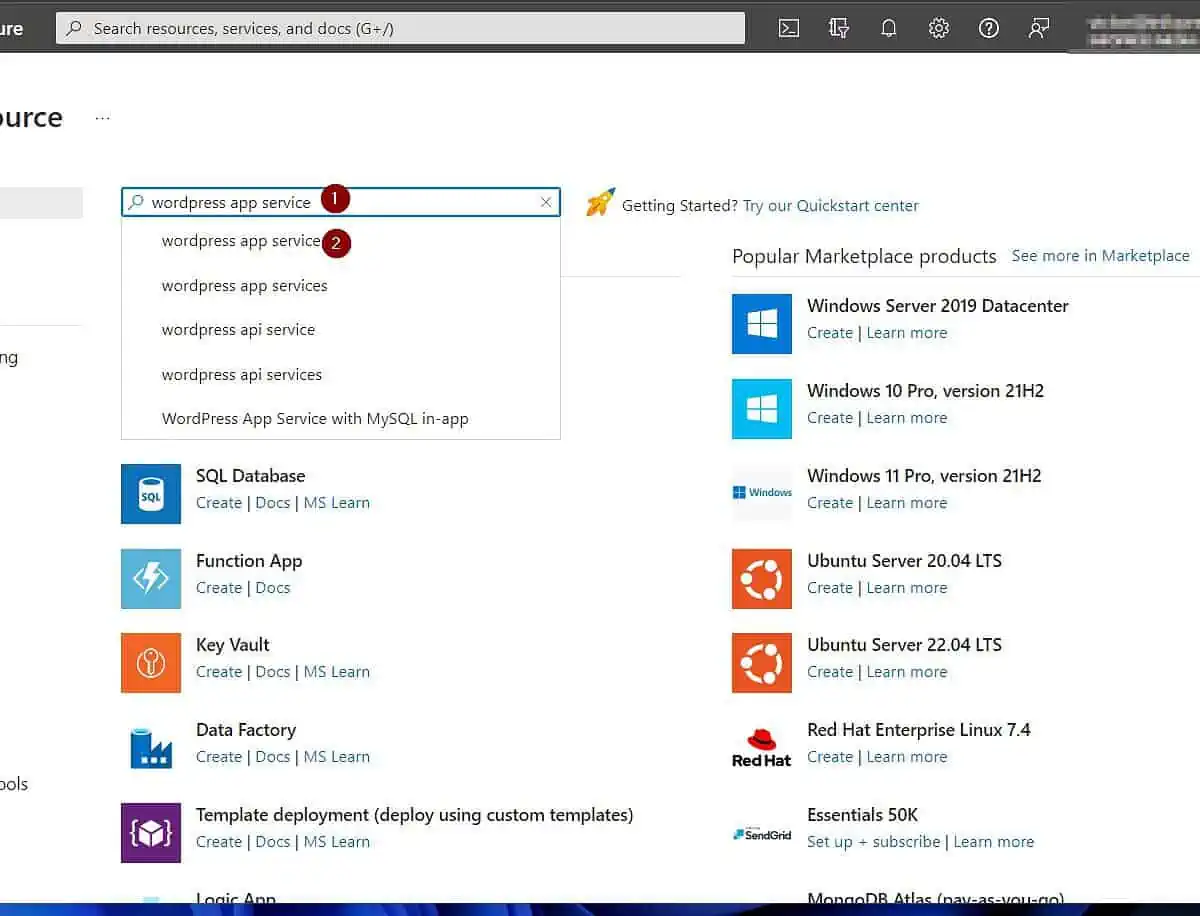
- Then, search “wordpress app service” and select it.
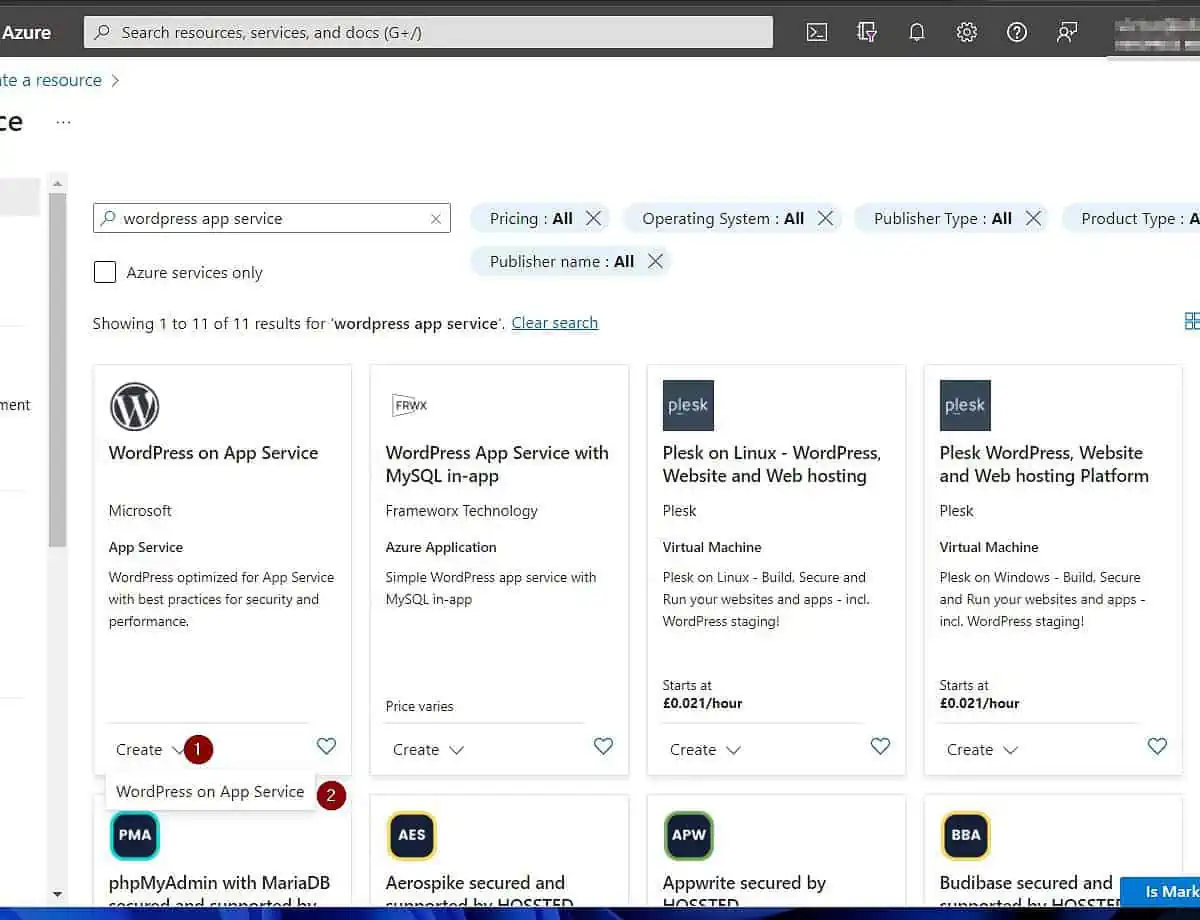
- Once the Azure Marketplace opens, click the “Create” drop-down on the “WordPress on App Service” resource by Microsoft – then choose “WordPress on App Service.”
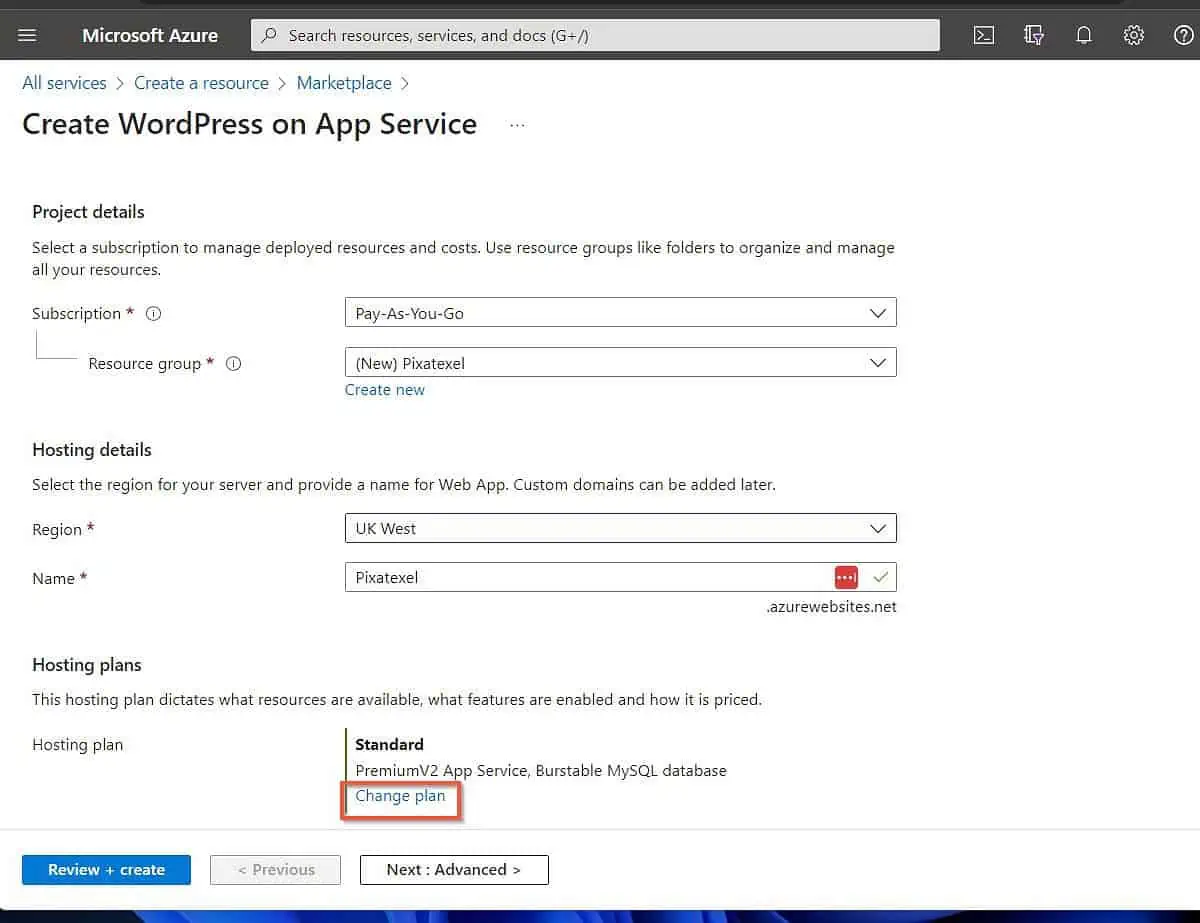
- On the new app page, select a subscription and a Resource group. If you do not have an editing Resource group, click “Create new” to create a new one.
Additionally, select the Azure Region to host the name and the app’s name. Also, choose an Azure WordPress hosting plan.
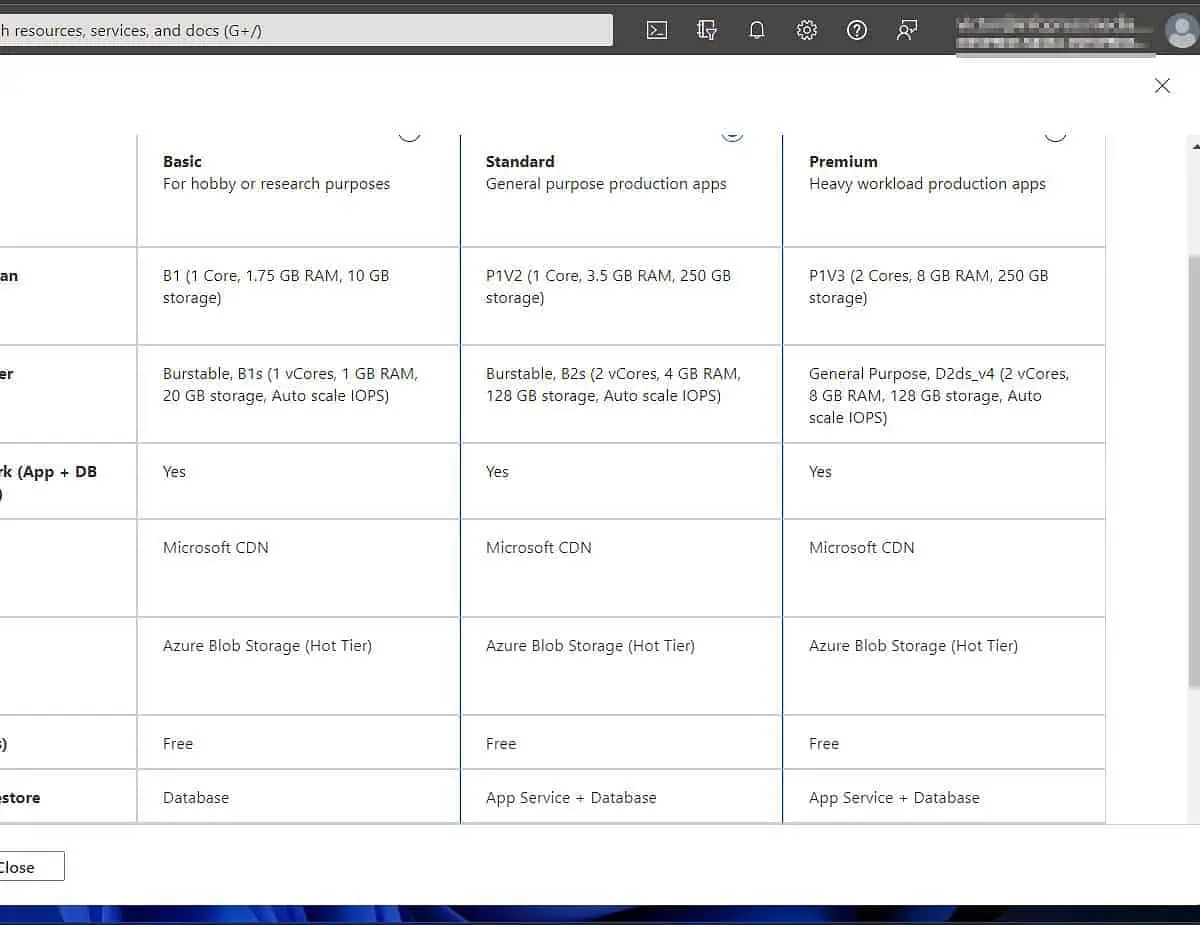
Azure selects the “Standard” hosting plan by default. To review the hosting plans and choose a different one, click “Change plan.”
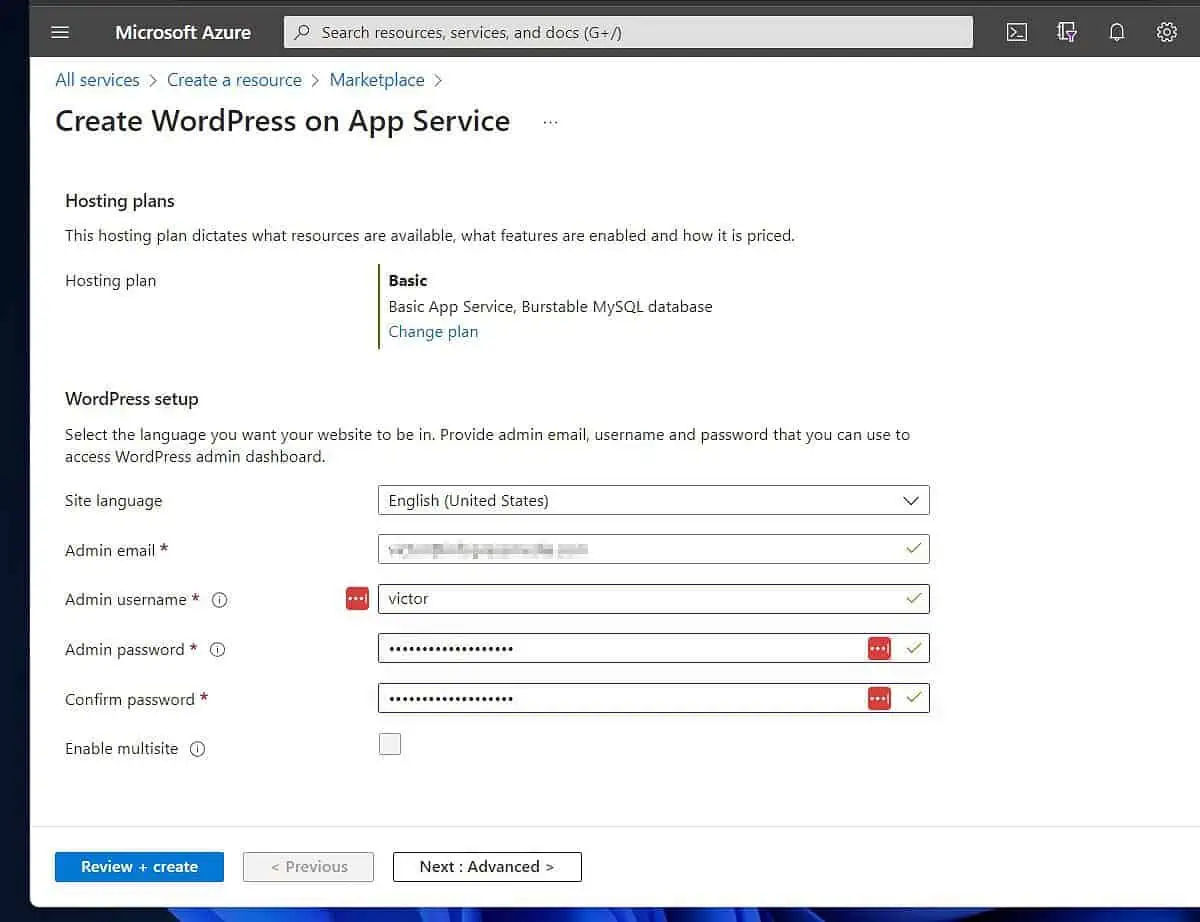
- After that, scroll down to the “WordPress setup” section and enter the required details. When you finish, click “Next: Advanced >.”
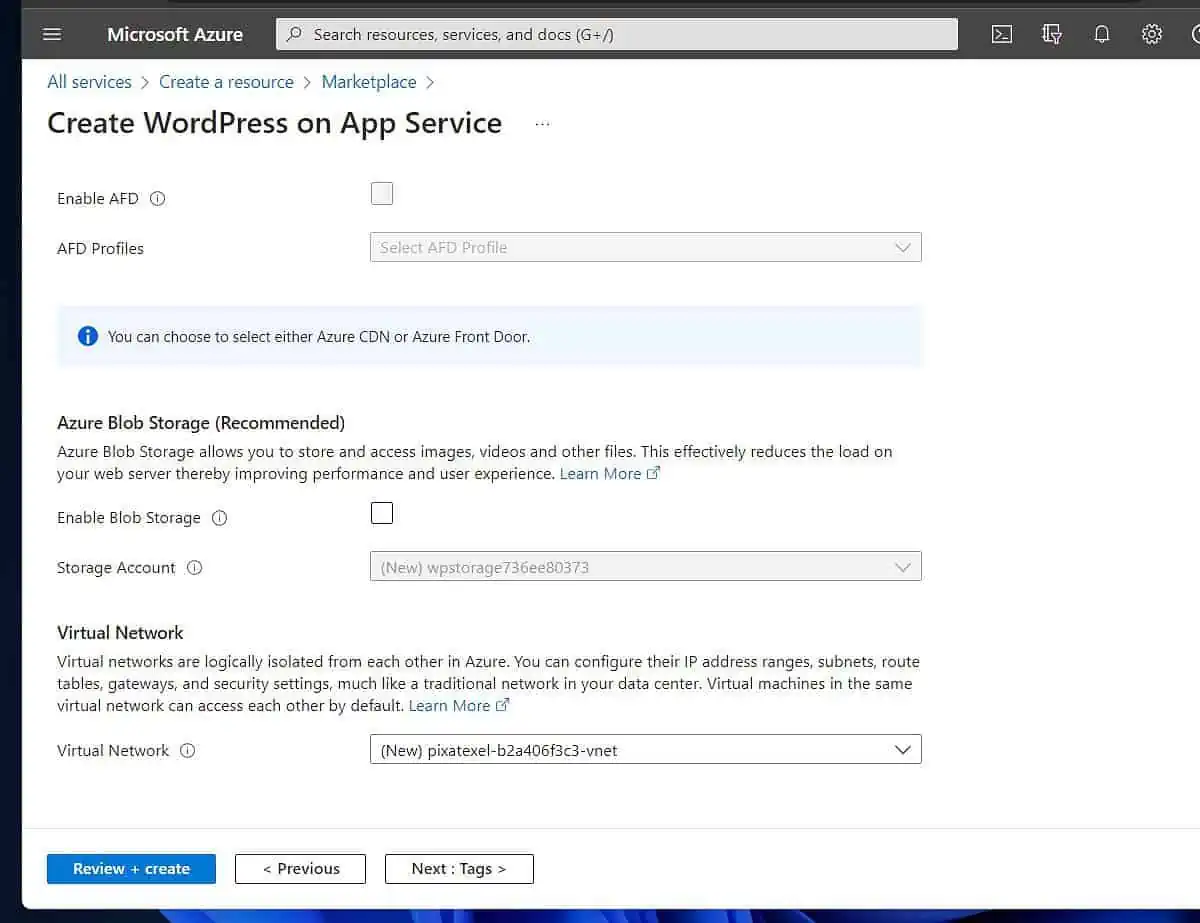
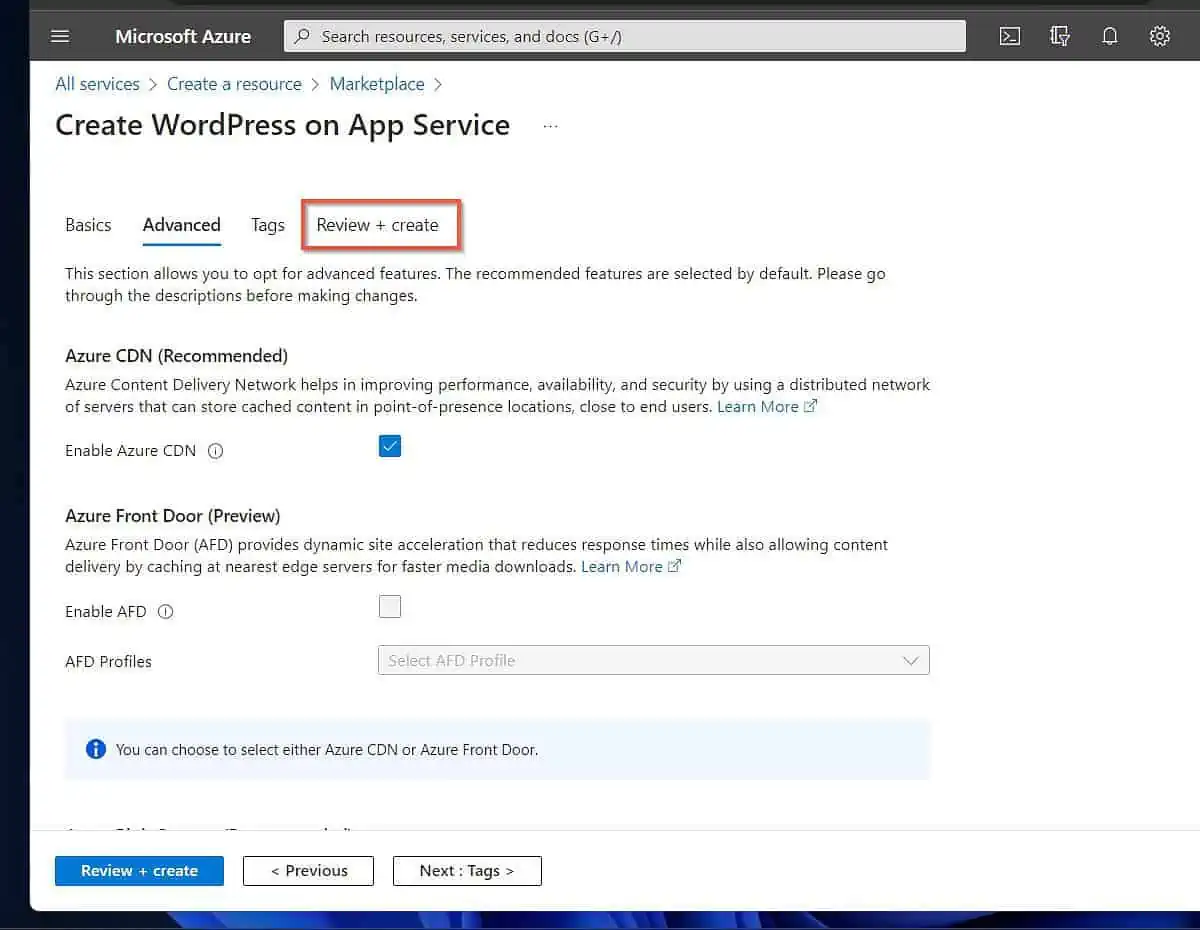
- The advanced page of the wizard offers the option to use Azure CDN or Azure Front Door.
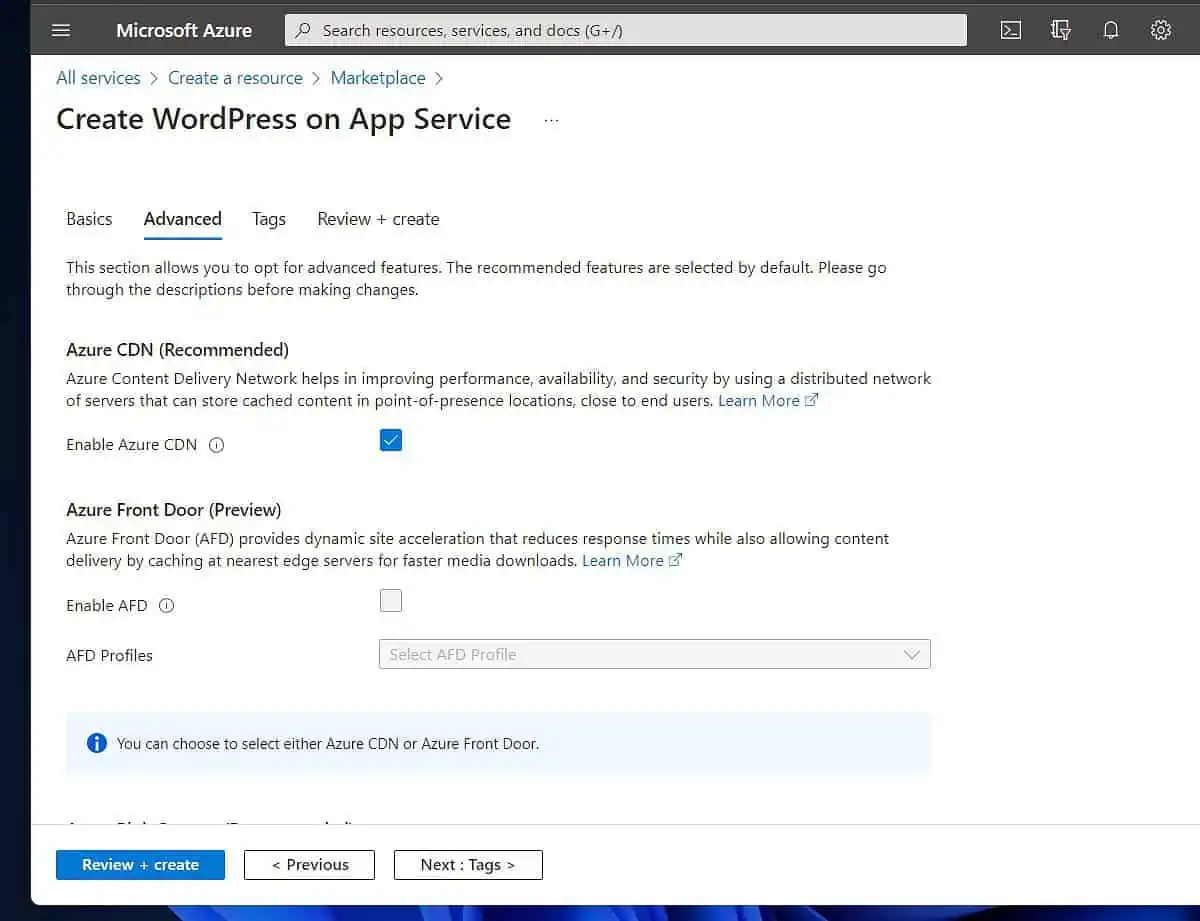
Additionally, enabling Azure Blob Storage is available on the Advanced tab. This is optional but recommended for production sites.
There is also the option to configure the Virtual Network (VNet) for the WordPress site App Service. If you do not have an existing VNet or do not want to use existing ones, Azure creates a new one.
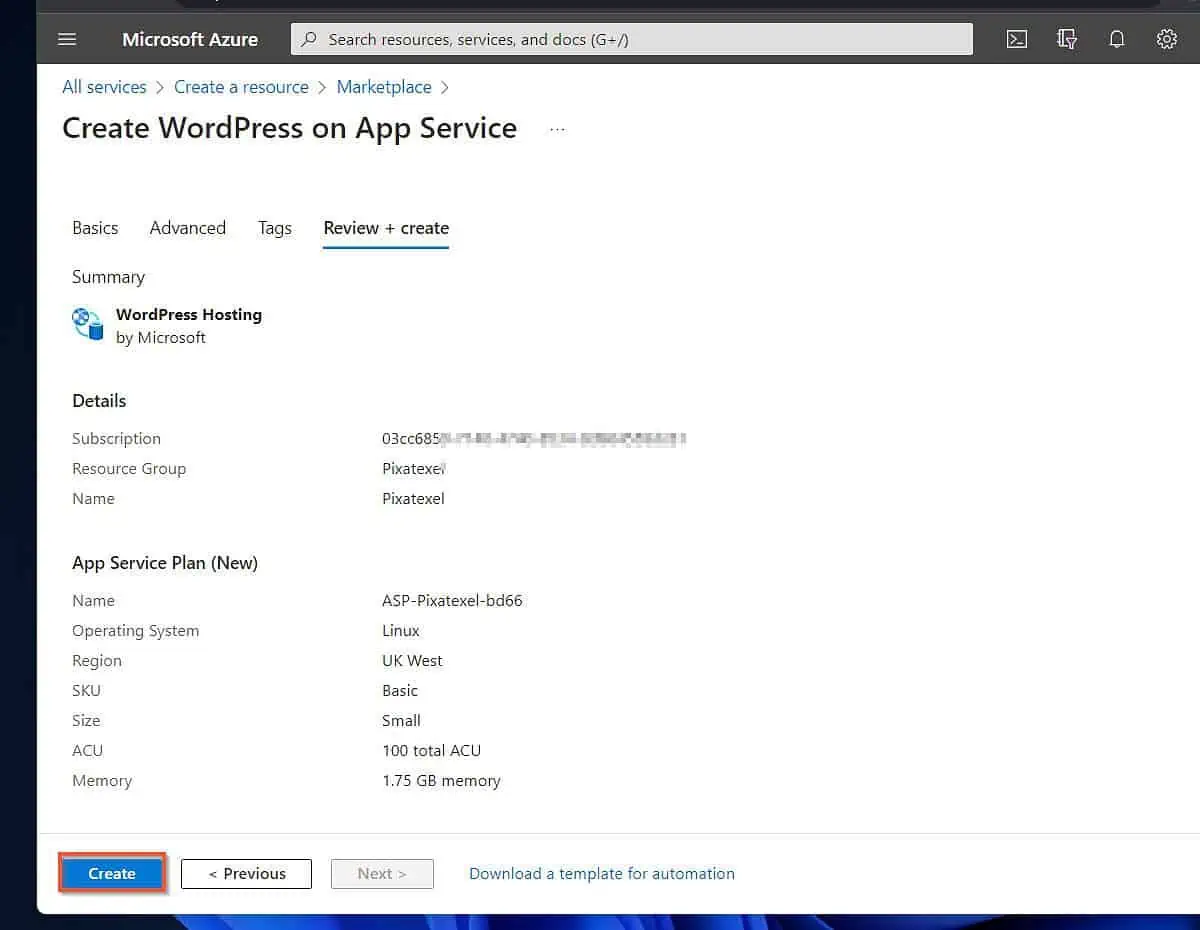
- After adding all the app details, unless you want to add tags, click “Review + create.” Then, wait for Azure to validate your configuration.
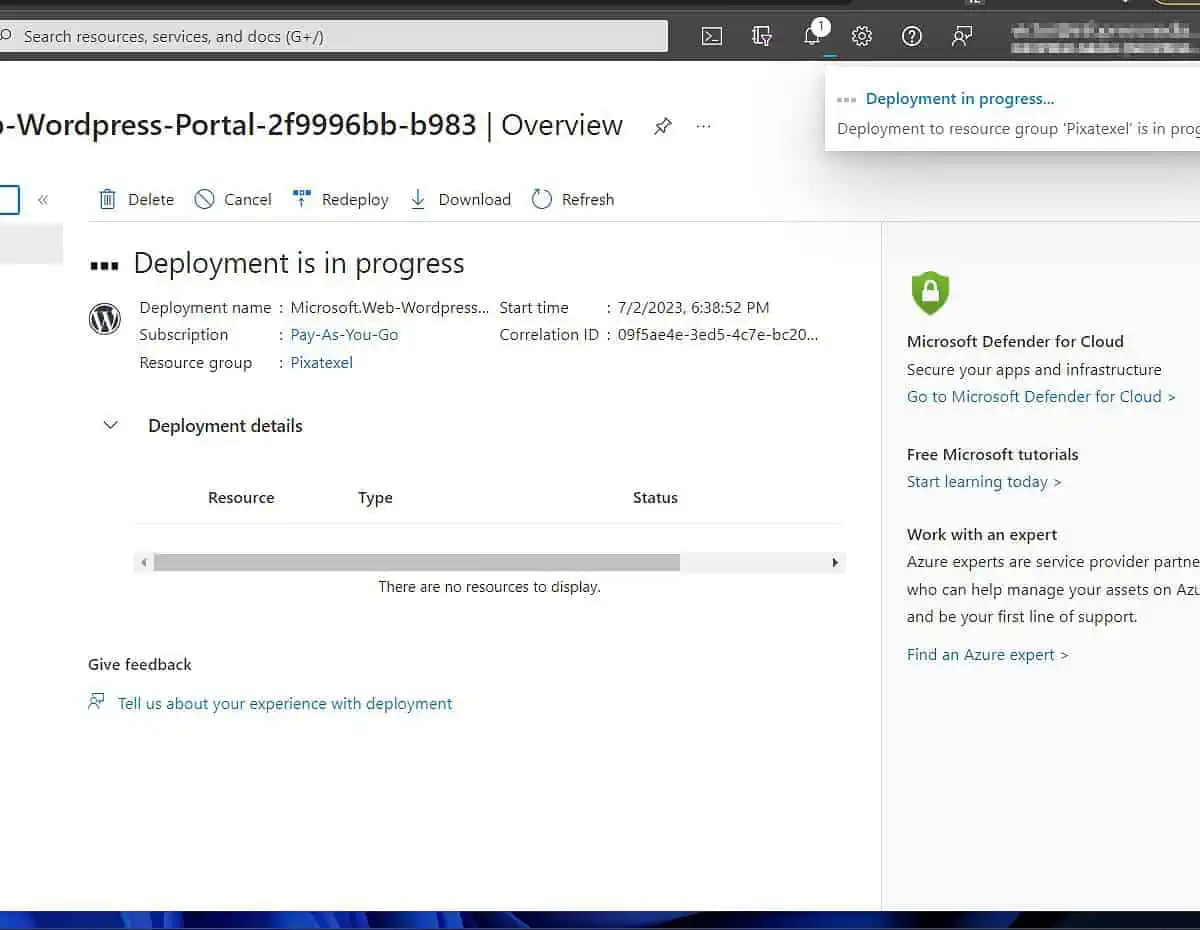
- Finally, to deploy the WordPress site with Azure App Service, click Create. Then, wait for the app to be created by the Azure portal.
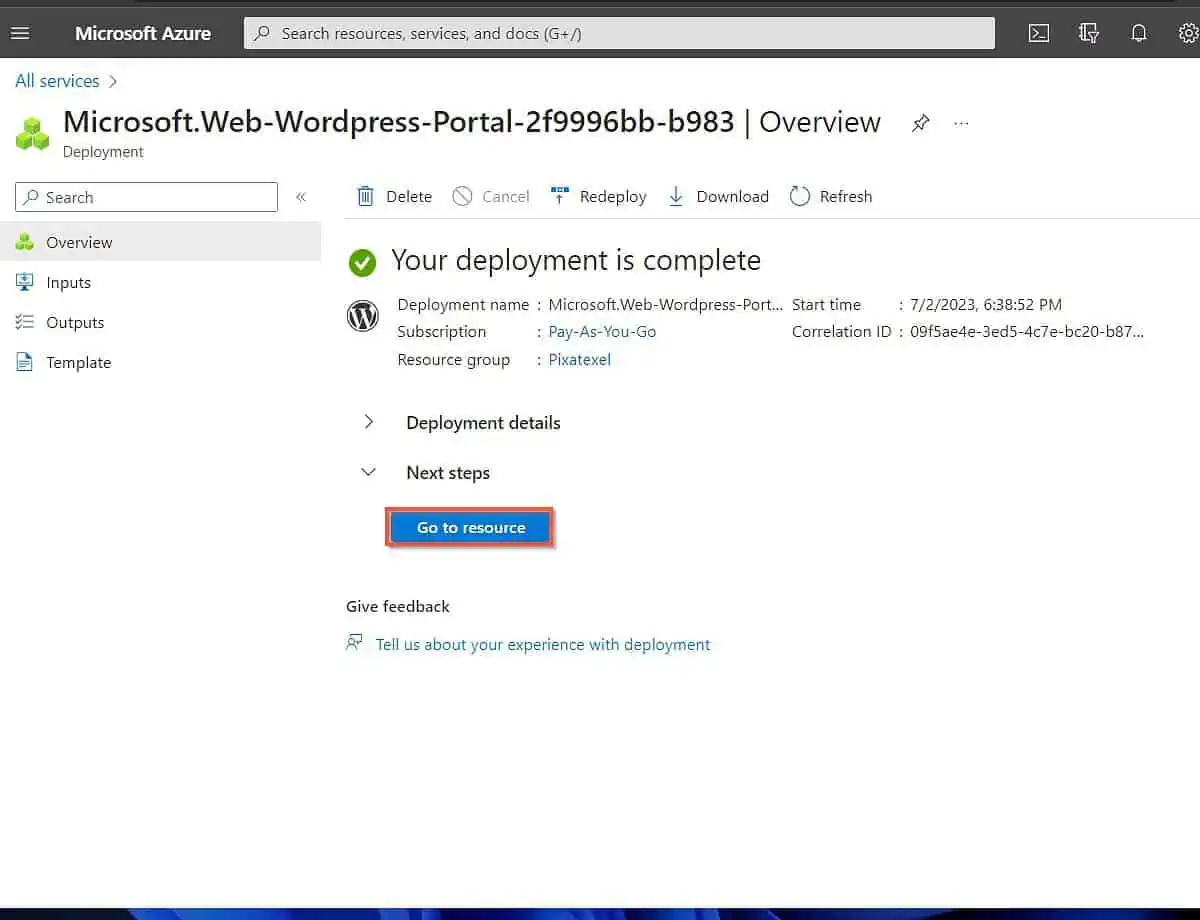
When the app deployment completes, click “Go to resource,” then proceed to the next step below.
Step 2: Add a Custom Domain and a Managed Certificate
When you set up a WordPress website on App Service, the default domain of the website is <appname>.azurewebsites.net.
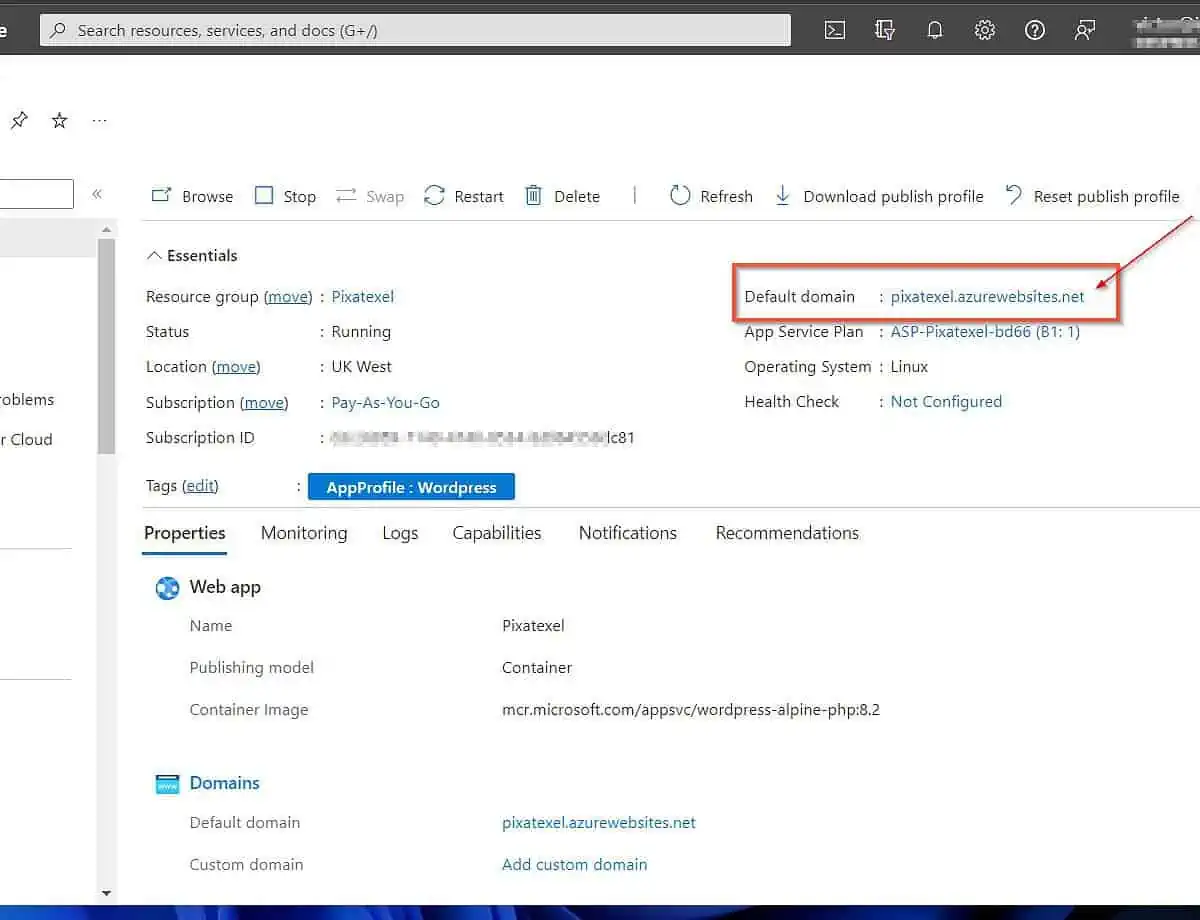
However, you can modify this to a custom domain such as DomainName.com.
The following subsections explain the steps to complete this task.
1 of 3: Add a Custom Domain to the Azure App
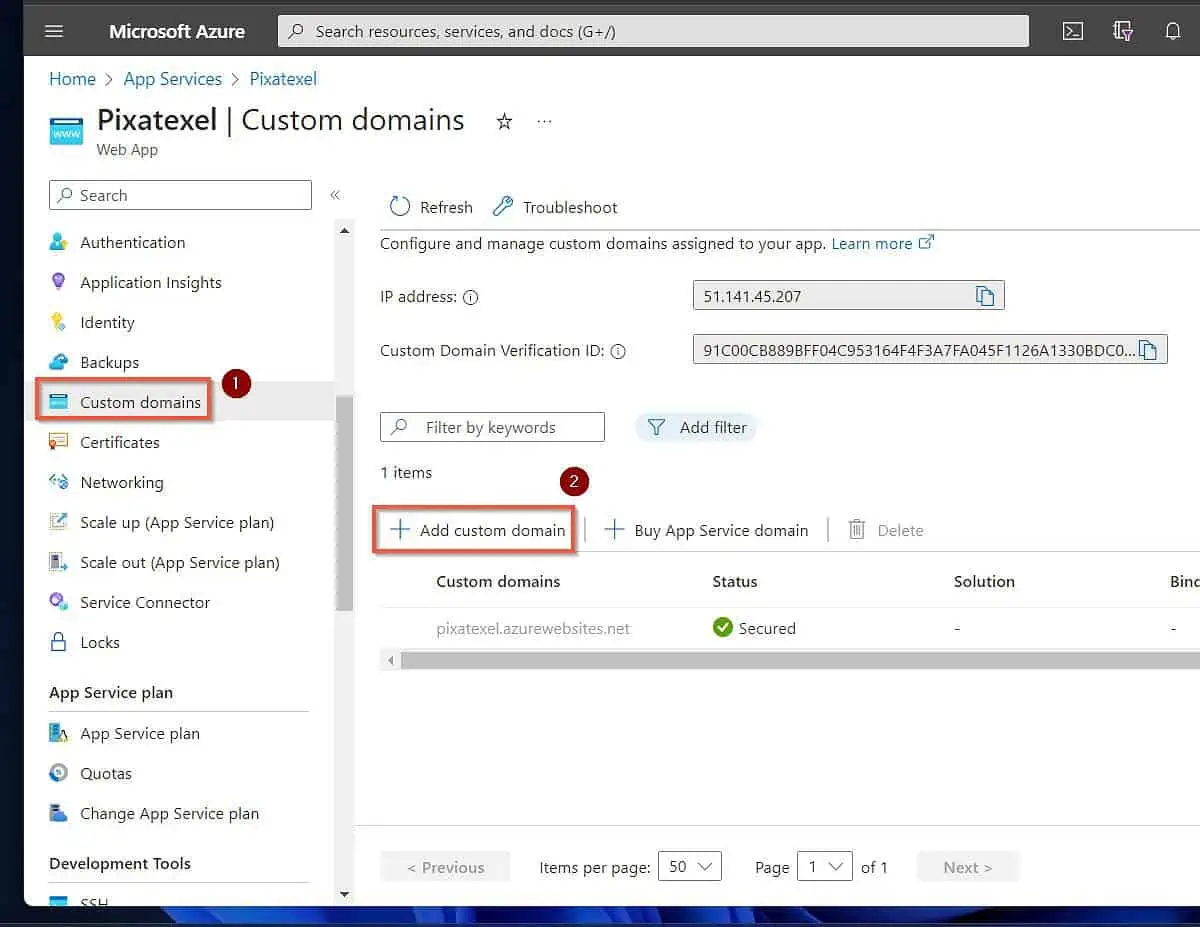
- On the left pane of the application, choose “Custom domains.” After that, click “+ Add custom domains.”
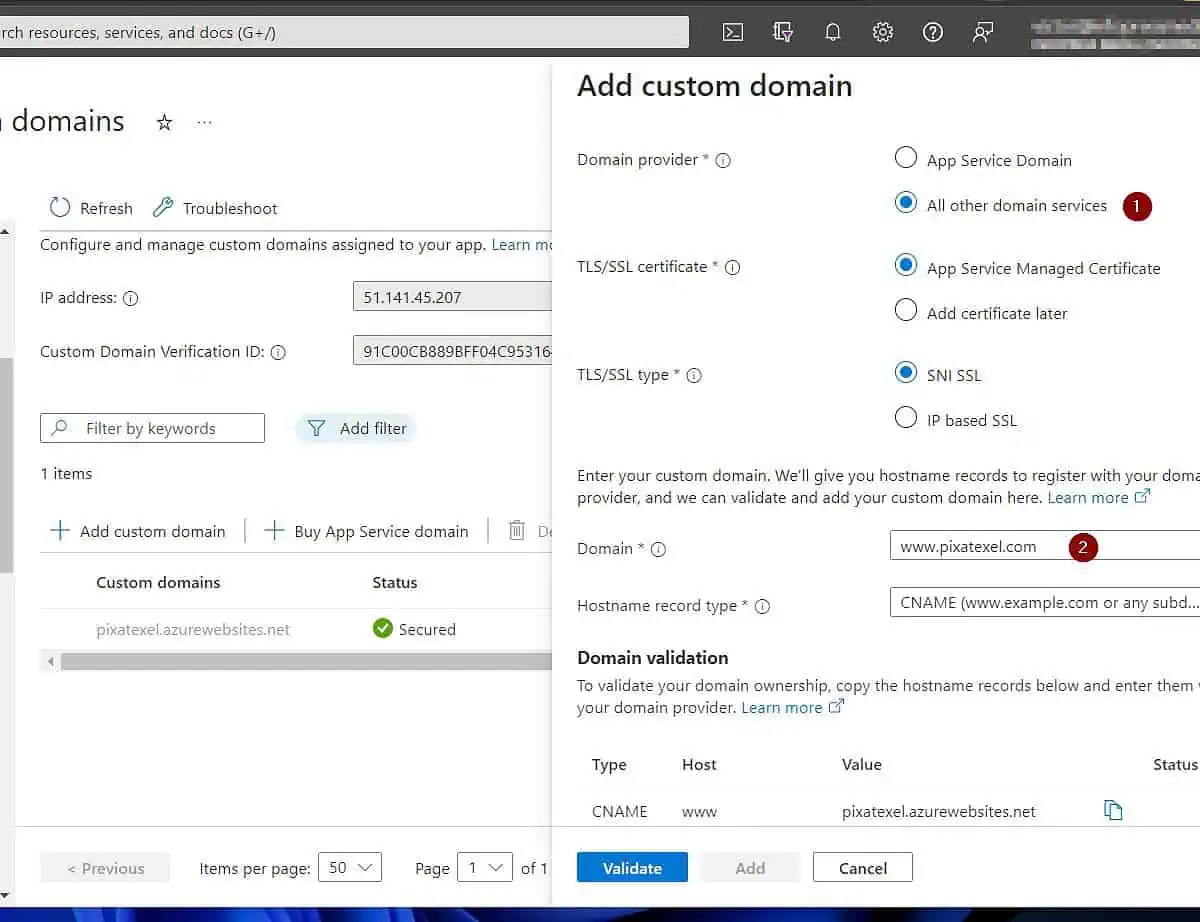
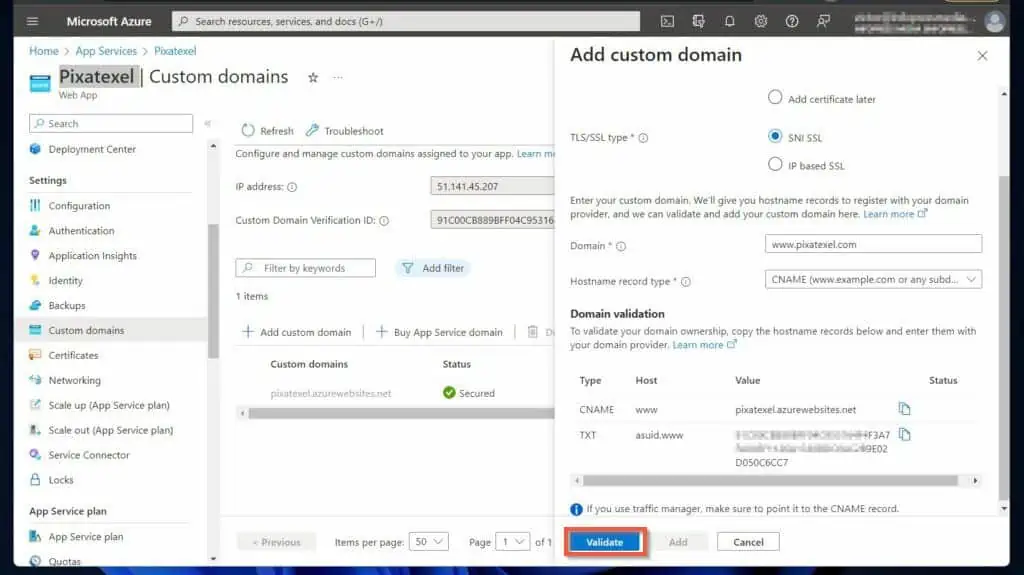
- Then, on the “Add custom domain” flyout, select “All other domain services.” After that, enter the domain name in the “Domain” field.
Once you do that, Azure displays DNS records you must create to verify that you own the domain. These DNS records are displayed on the “Domain validation” section of the flyout.
2 of 3: Create DNS Records on the Domain’s Registrar
Cloudflare manages the DNS records for Pixatexel.com. So, I’ll sign in to Cloudflare to create the verification DNS records.
The “Domain validation” section of the Azure custom domain flyout requests me to create CNAME and TXT records.
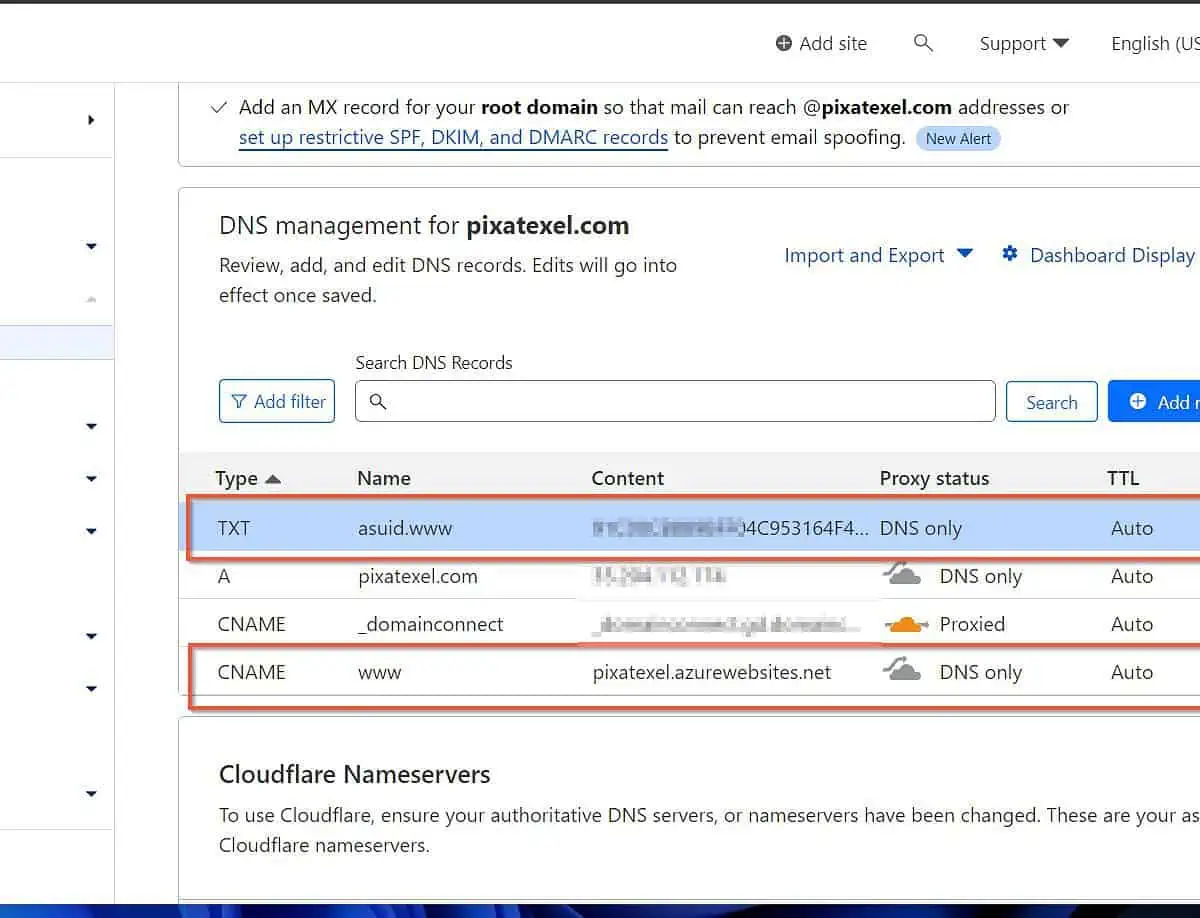
After creating the DNS records, proceed to 3 of 4 below.
3 of 3: Validate and Complete the Custom Domain Registration
- Return to the Azure App Service page for your WordPress website. At the bottom of the “Add custom domain” flyout, click “Validate.”
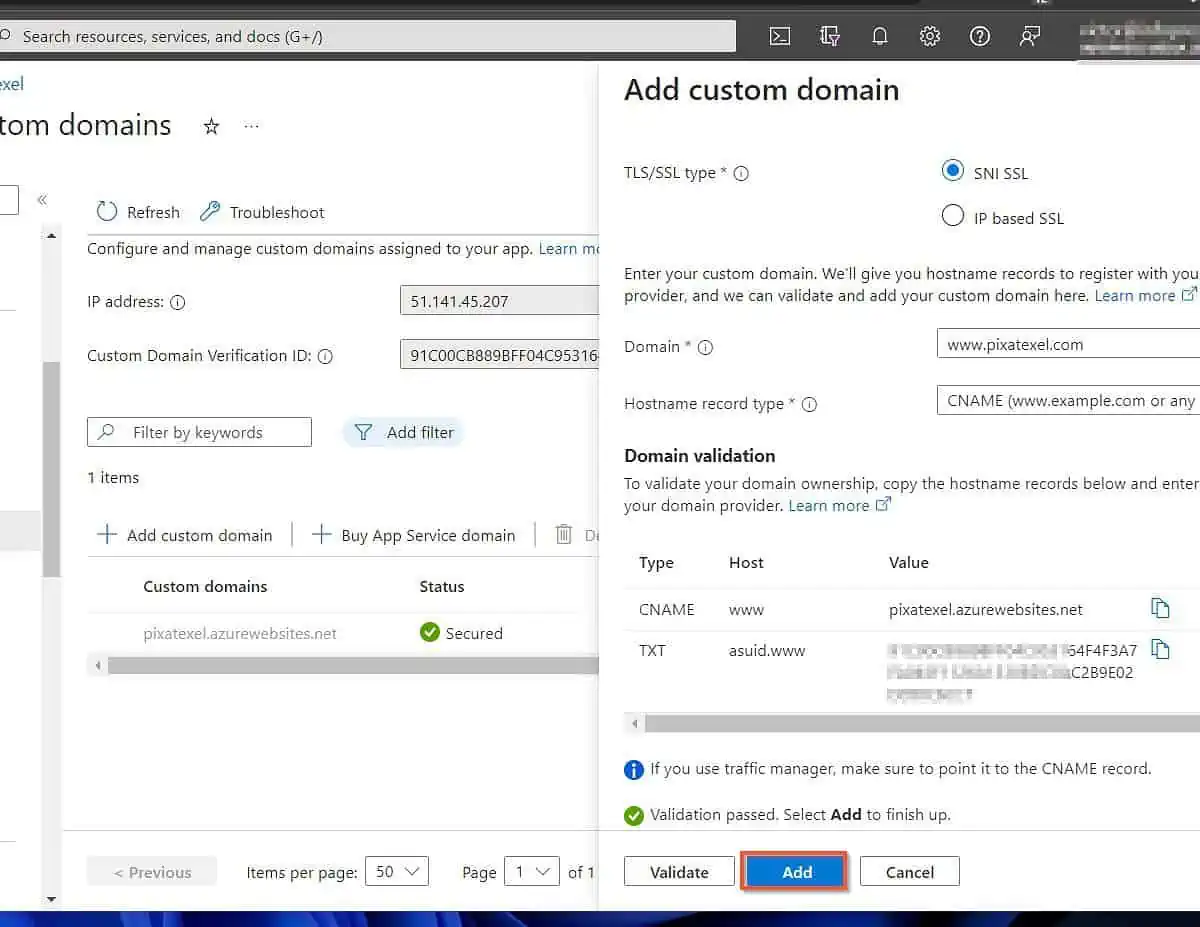
- Azure will look for the records; if it finds them, the validation will return “passed.” To finish the process, click “Add.” After that, wait for Azure to add the custom domain and register the SSL certificate.
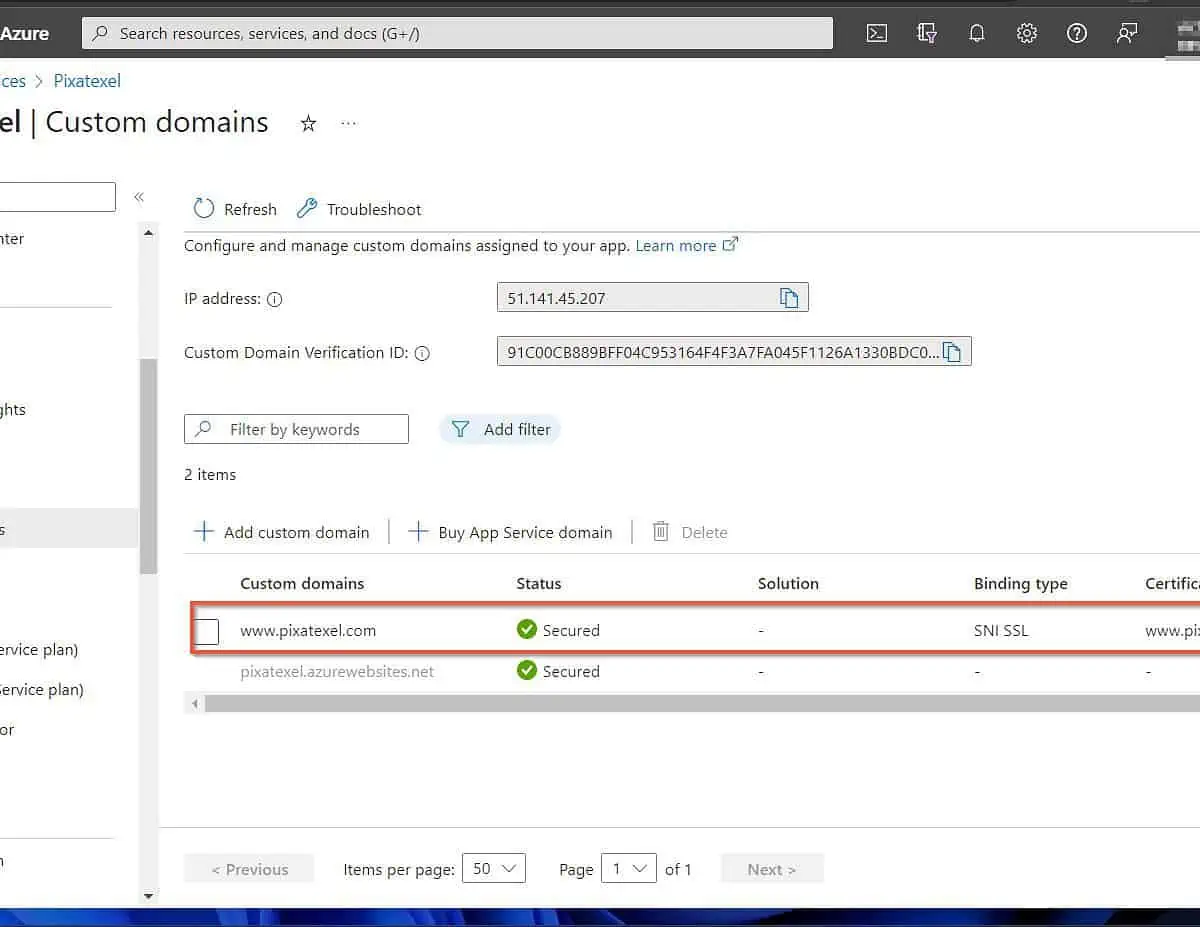
Once the custom domain registration completes, the domain will be listed.
Frequently Asked Question
Yes. Azure App Service allows you to create and host web applications in multiple programming languages.
The beauty of Azure App Service is that it is a PaaS offering, meaning you do not need to manage infrastructure like VMs.
There is no straightforward answer to this question, as the cost of hosting a WordPress website on Azure depends on multiple factors.
Firstly, the cost depends on the WordPress app hosting tier you choose. Additionally, the cost is affected by other configurations.
Having said all that, you can estimate the cost of your WordPress site by using the Azure Pricing Calculator.
Yes. Azure is excellent for hosting WordPress. However, if your WordPress website does not drive much traffic, it may be better to use low-cost WordPress hosting services.
a) Sign in to portal.azure.com, click on the menu, and choose “Create a resource.”
b) Next, search “wordpress on app service” and select it from the results.
c) Click Create and complete the app creation process.
d) After creating the WordPress app, open it and click “Custom domains.” After that, click “+ Add custom domains.”
e) Enter a custom domain for your WordPress website, verify it, and make it the default.
Follow Microsoft’s guide, host a static website on Blob Storage to host a simple website on Azure.
Conclusion
The Azure App Service is a great way to host a WordPress website without an Azure VM or managing infrastructure. All that is required is creating a WordPress on App Service app.
After that, add and verify a custom domain for your WordPress website. Finally, open the site and complete the WordPress installation.
We believe you have been able to host your WordPress site on Azure by following the steps in this guide.
The “Leave a Reply” form at the bottom of this page awaits your input – feel free to share your thoughts.
You could also use the “Was this page helpful?” buttons below to give us your feedback.