Writing outputs to text files is a common PowerShell scripting task. In this article, I share 17 scenarios and examples.
Option 1: Write to Text Files with Out-File
Writing output to a text file is as simple as piping the output of the first command to Out-File and specify the path to the text file.
In my first example, I will enter a text in PowerShell prompt then, pipe it to Out-File.
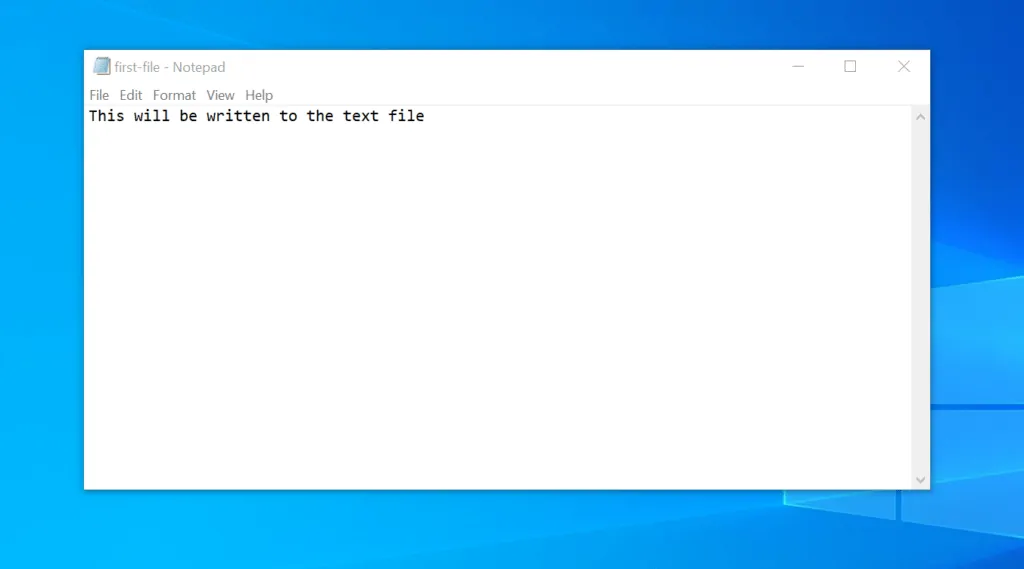
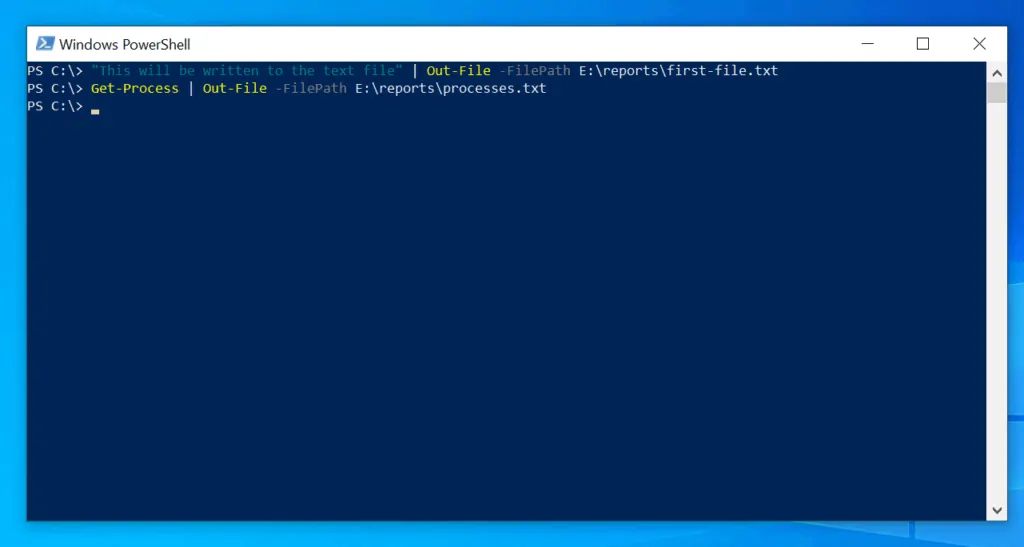
"This will be written to the text file" | Out-File -FilePath E:\reports\first-file.txt
The command will execute and return to PowerShell prompt.

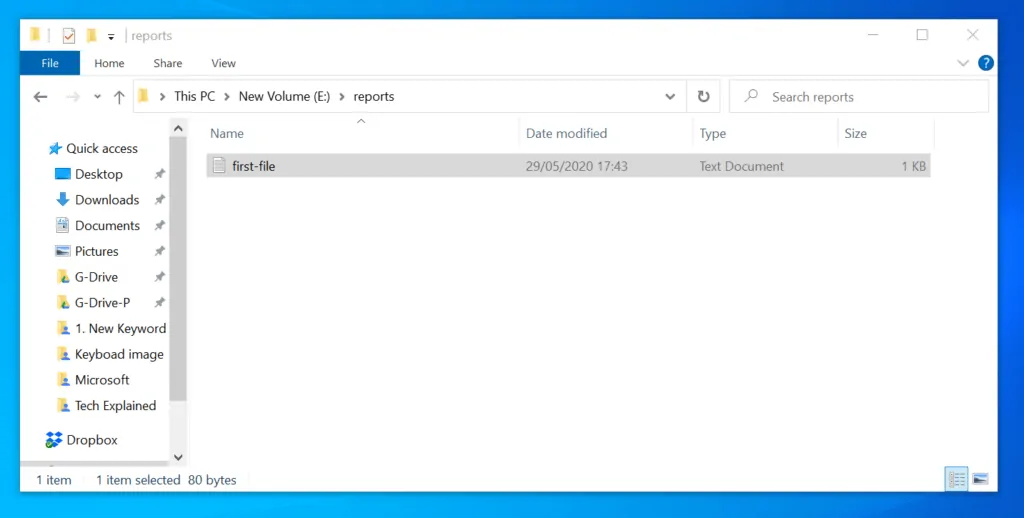
Here is the file created in the path specified. The second image is the content of the text file.
You can use this method to write the output of any PowerShell command to a text file.
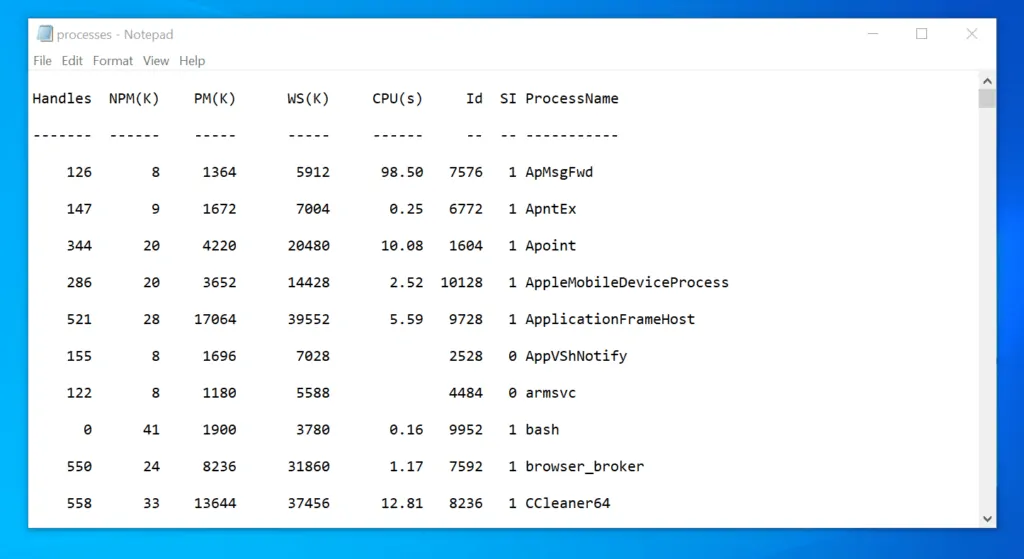
In this second example, I will write the output of Get-Process to a text file. Here is the command:
Get-Process | Out-File -FilePath E:\reports\processes.txt
The command will execute and create processes.txt file. The output is shown in the second image below:
Option 2: Append to Text Files with Out-File
Another way to use PowerShell to write to a file is to append (add more content) to an existing text file with some content.
Following on from the first example, the command below will append (add) the information before pipeline (|) to the bottom of the file, first-file.txt.
"This will be appended beneath the first line" | Out-File -FilePath E:\reports\first-file.txt -Append
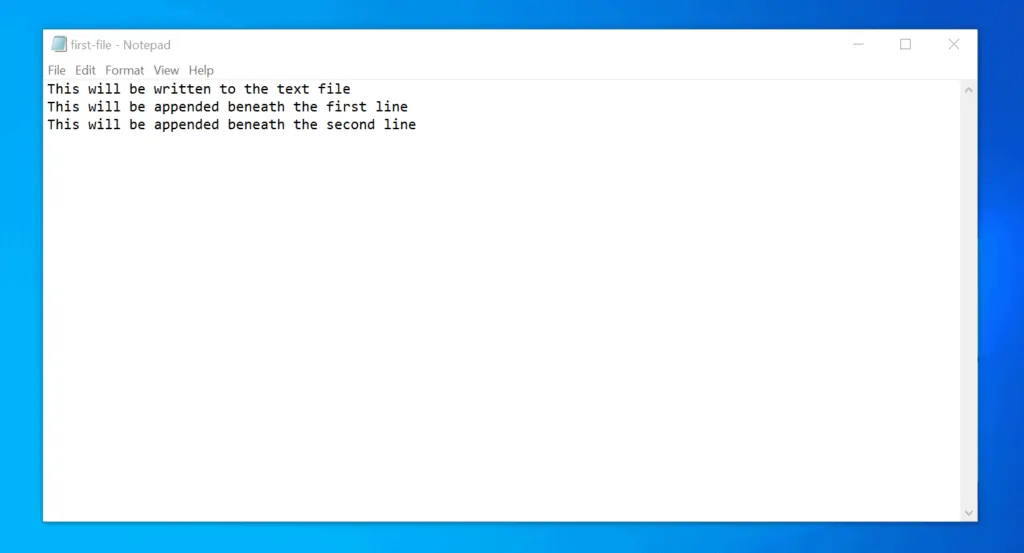
The file now has a second line, with the text “This will be appended beneath the first line”. See the image below.

Option 3: Use Add-Content to Append to Text Files
You can also use PowerShell to write to file by appending to an existing text file with Add-Content Cmdlet.
To append “This will be appended beneath the second line” to our existing file, first-file.txt, enter this command and press enter.
Add-Content -Path E:\reports\first-file.txt -Value "This will be appended beneath the second line"
The file will now have a third line with the text “This will be appended beneath the second line”. See the image below:
In the final example, I will append (write) the output of Get-Process Cmdlet to processes.txt created in the Out-File example.
In this example, I will run the commands below:
$Process = Get-Process
Add-Content -Path E:\reports\processes.txt -Value $Process
The first command saves the output of Get-Process in the Process variable. The second command appends the output from the variable to the processes.txt file.
You can use one of the methods covered in this Itechguide to write to file (or append to an existing file) with PowerShell!
Option 4: Use Set-Content to Write to Text Files
So far in this section, I have shown you how to use Out-File to write to a text file. You also saw how to use the same Cmdlet to append to a text file.
Finally, in the last sub-section I showed you how to use Add-Content to append output to a text file.
This subsection introduces Set-Content. One difference between this Cmdlet and the other 2 already discussed is that while Out-File and Add-Content can append content to a text file, Set-Content overwrites the content.
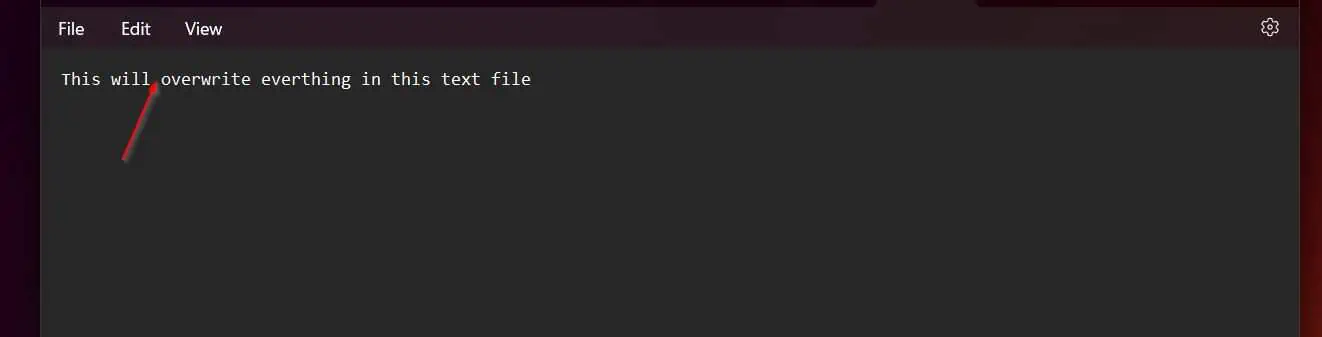
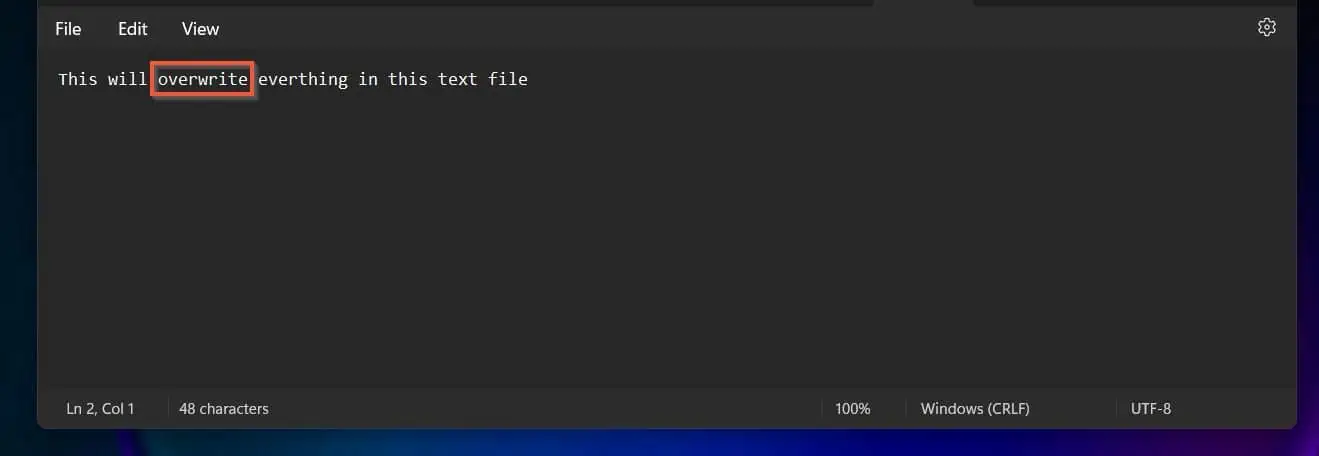
So, the command below overwrites the content of the file with a new content specified in the Value parameter.
Set-Content -Path d:\reports\first-file.txt -Value "This will overwrite everthing in this text file"
Option 5: Use the Insert Method to Append to Text Files
The general syntax of the PowerShell Insert Method is…
Insert(int startIndex, string value)
The startindex is the first character of the sub-string we want to insert a text before. Furthermore, the string value is the text you want to insert.
One easy way to determine the startIndex is to compute the IndexOf value of the string you want to insert a text around.
I know most of what I have been saying may sound like Greek to you! So, let me explain with an example in my text file.
To begin, I want to save the path to my file in a variable. This will make it easier for me to save the updated content later.
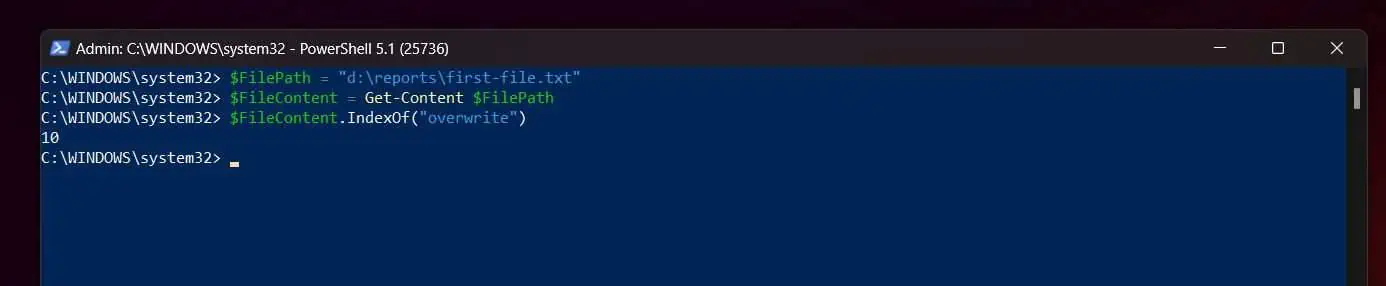
$FilePath = "d:\reports\first-file.txt"
Next, I will use the Get-Content command to list the content of the text file. Then, save the result in another variable…
$FileContent = Get-Content $FilePath
Before I proceed to the next step, let me bring back the syntax of the PowerShell Insert Method…
Insert(int startIndex, string value)
As I hinted earlier, the easiest way to determine the startIndex – the position in the text file we want to insert a text – is to use the IndexOf Method.
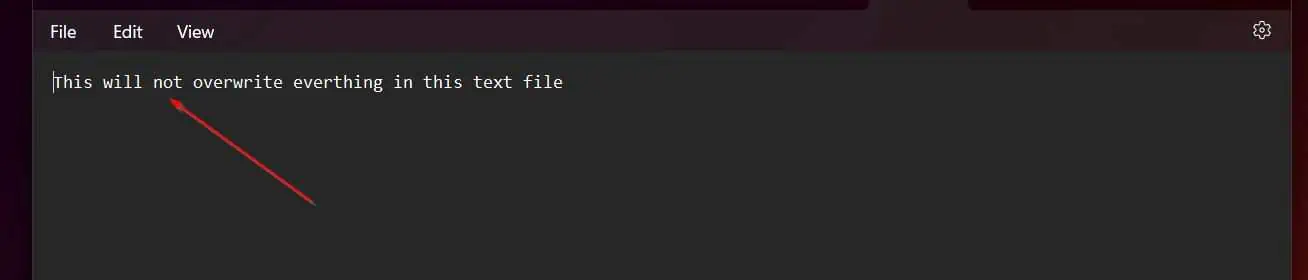
In this example, I want to insert the word “not” before “overwrite”…
The first step is to determine the IndexOf value of “overwrite”. The command below does the job…
$FileContent.IndexOf("overwrite")
The result is 10.
With this in mind, if I want to insert a string (text, numbers, characters – anything), before “overwrite”, I will use 10 as the startIndex.
Moreover, if I want to insert anything at the end of the string, “overwrite”, I will count the number of characters from the first character – in this instance “o” – to the end of the string, “overwrite” – that will be18
But for this example, I want to insert the word “not” before “overwrite”…
This is the command that does this magic…
$FileContent.Insert(10,"not ")
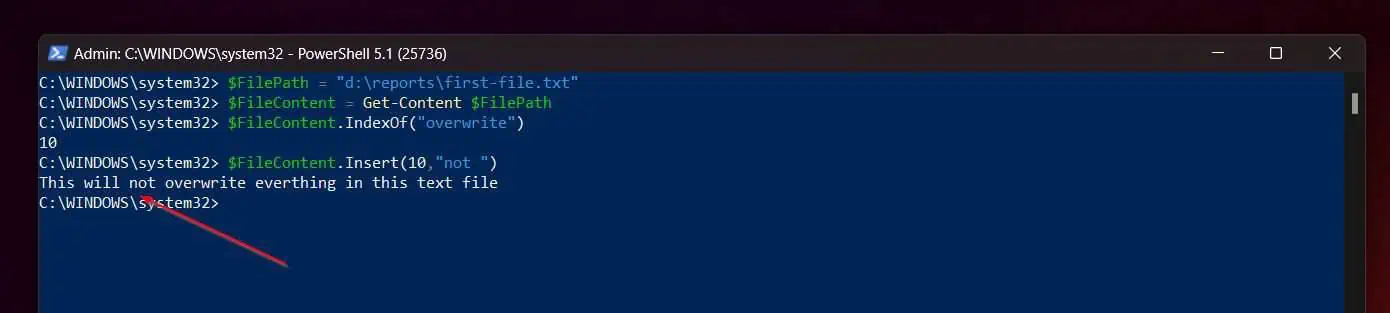
In the command, 10 is the startIndex, ” not “ is string value. This command follows the syntax of the Insert Method below…
Insert(int startIndex, string value)
And here is the result of the last command in PowerShell. The result includes the word we inserted!
But we are not done yet. The final step is to write this value into the same text file.
To do this, we need to use the Set-Content command. If you recollect, in the last section, I mentioned that unlike the other 2 Cmdlets I discussed in that section, Set-Content overwrites the content of a text file.
So, to write the output of the last PowerShell command to the same text file, run the command below…
$FileContent.Insert(10,"not ") | Set-Content $FilePath
Once I run this last command and open my text file, the word, “not” is now part of the strings in the text file!
Option 6: Use the Remove Method to Delete Strings from Text Files
When I introduced this section, I mentioned that I will give examples with the PowerShell Remove Method. In this sub-section, you will learn how to use this PowerShell Method to delete strings from a text file.
Let’s start with the syntax of the Remove Method:
Remove(int startIndex)
Remove(int startIndex, int count)
In the first syntax, you simply specify the startIndex. Moreover, in the second syntax, you have to specify the startIndex and the count.
As I explained in the last sub-section, you can get the startIndex by computing the IndexOf of the syntax you want to remove.
Additionally, for the second syntax, the count is the number of characters – from the startIndex – you want to remove.
So, say we want to remove the string, “not” added in our text file in the last sub-section. The first step is to determine the IndexOf of the first character of the string, “not”.
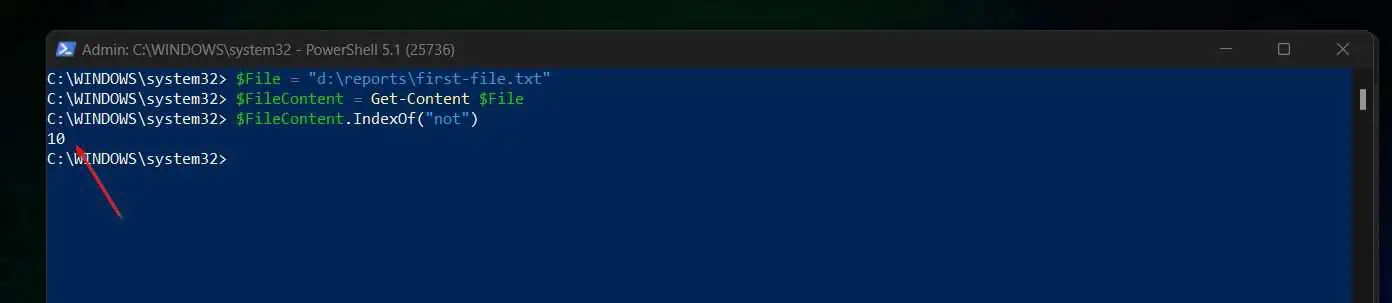
Continuing from the examples in the last sub-section, the third command below will determine the IndexOf value:
$File = "d:\reports\first-file.txt"
$FileContent = Get-Content $File
$FileContent.IndexOf("not")
The result is 10…
Moving on, to remove the string, “not”, we will use the second syntax of the Remove Method.
Remove(int startIndex, int count)
In my example, the startIndex is 10. Earlier, I explained that the count is the number of characters – from the startIndex – you want to remove.
So, we want to remove the string, “not” – which is 3 characters from the startIndex. Therefore, the count is 3.
Based on these information, the command below will remove the string, “not” from our text file..
$FileContent.Remove(10,3)
Here is the result…
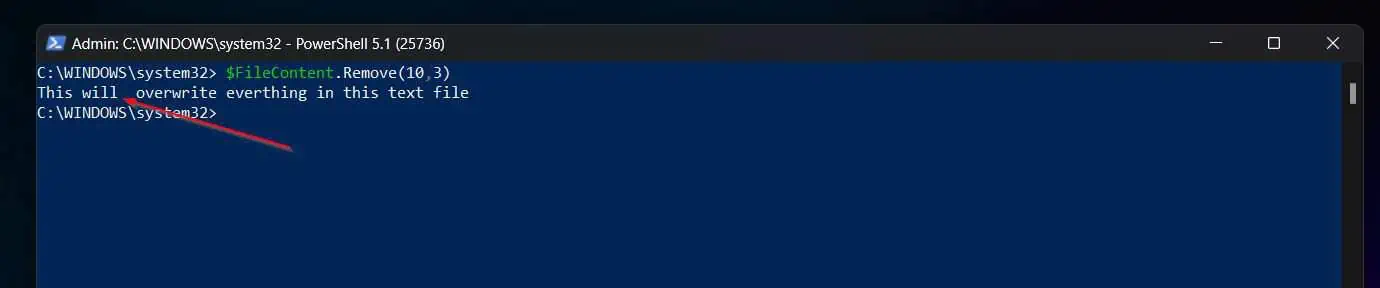
If you look at the result closely, you will notice that there is a double space between “will” and “overwrite”. To remove one of the spaces, make the count 4…
$FileContent.Remove(10,4)
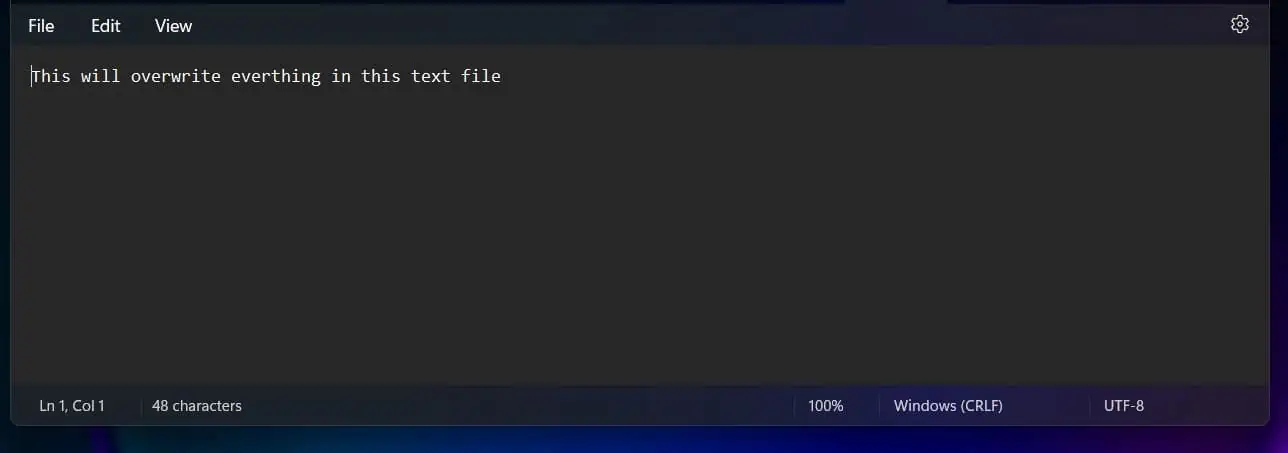
Now the space is gone!

Finally, use the PowerShell command below to write the updated text to the file…
$FileContent.Remove(10,4) | Set-Content $FilePath
After running the command, the file is updated without the string, “not”. See the screenshots below…
Option 7: Use the Replace Method to Replace String From Text Files
In the last 2 subsections of this section I taught you how to use the Insert and Remove PowerShell Methods to write to a text file.
In this last sub-section, you will learn how to replace a string with another string. As usual, let’s start with the syntax of the Replace Method:
Replace(string oldValue, string newValue)
Unlike the other 2 Methods that require you to determine startindex, or count, the Replace Method does not. All you need to replace a string is to specify the string you want to replace, then specify the new string.
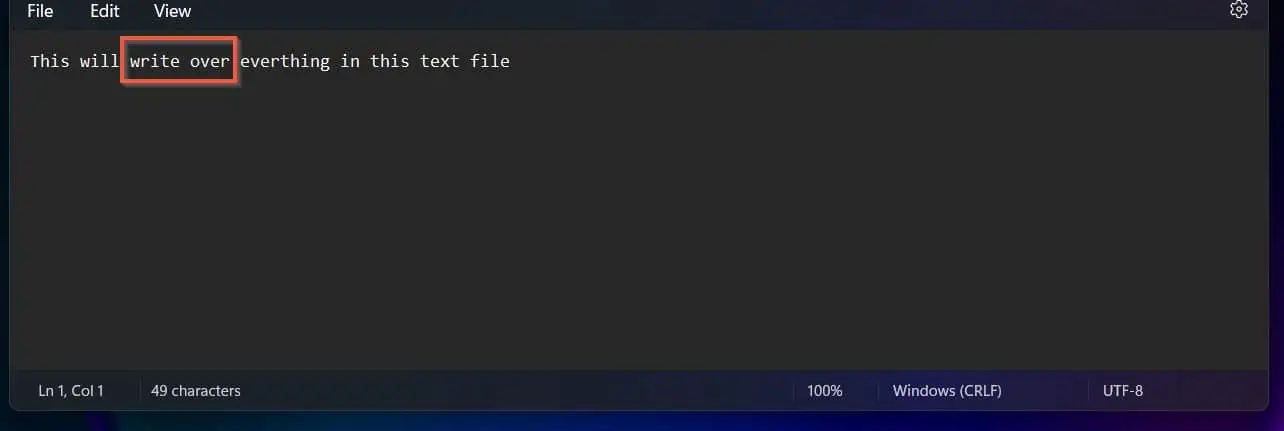
To illustrate with an example, let’s go back to our text file. In this example, I want to replace the string, “overwrite” with “write over”…
The third command below will do the job. I introduced the first two commands again, so I can get the updated version of the text file in my variables.
Additionally, the last PowerShell command writes the updated output to the same text file…
$File = "E:\reports\first-file.txt"
$FileContent = Get-Content $File
$FileContent.Replace("overwrite","write over")
$FileContent.Replace("overwrite","write over") | Set-Content $FilePath
After running the commands, the text file will be updated. See the screenshot below…
Option 8: Use Redirection Operators to Append to Text Files
Windows PowerShell has a set of redirection operators. You can use two of these redirection operators to write to or update text files in PowerShell.
To create a new text file and write to it, use the > redirection operator. If you use this operator to write a PowerShell stream to a text file, it overwrites the content of the text file.
However, if you want to update a text file without overwriting its content, you use the >> redirection operator.
To illustrate how these operators work, run the following commands.
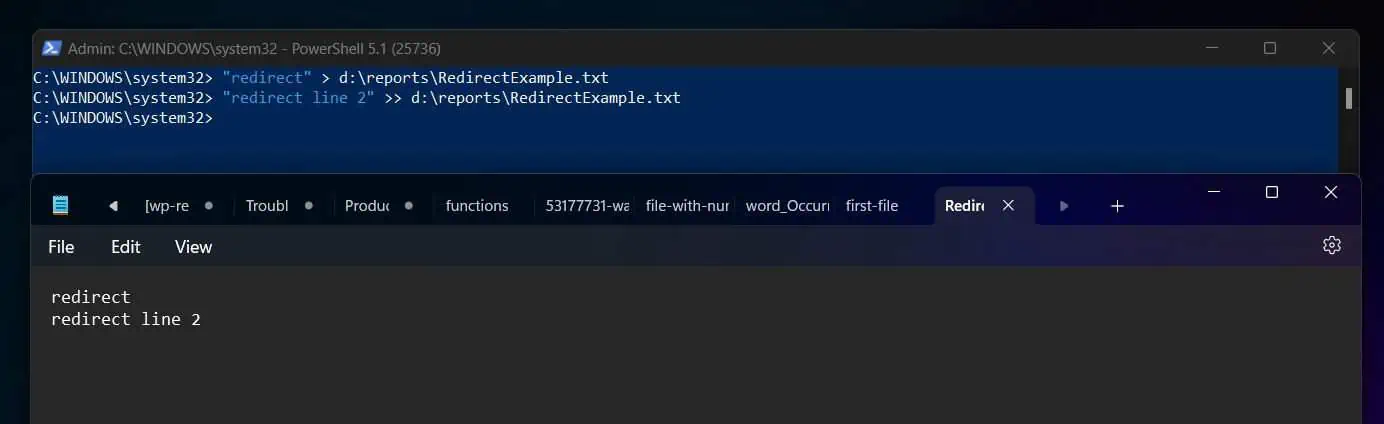
"redirect" > d:\reports\RedirectExample.txt
"redirect line 2" >> d:\reports\RedirectExample.txt
The first command creates a text file, d:\reports\RedirectExample.txt. Then, write “redirect” into the text file.
Additionally, the second command appends “redirect line 2” to the same text file. Here are the commands in PowerShell and a screenshot of the text file.
Option 9: Overwrite the Content of a Text File
There are three ways to overwrite the content of a text file. Firstly, if you run the Out-File command without the Append parameter, it will overwrite the content of the text file.
Moreover, you can overwrite the content of a text file with the Set-Content command. Finally, you can use the > redirection operator to overwrite the content of a text.
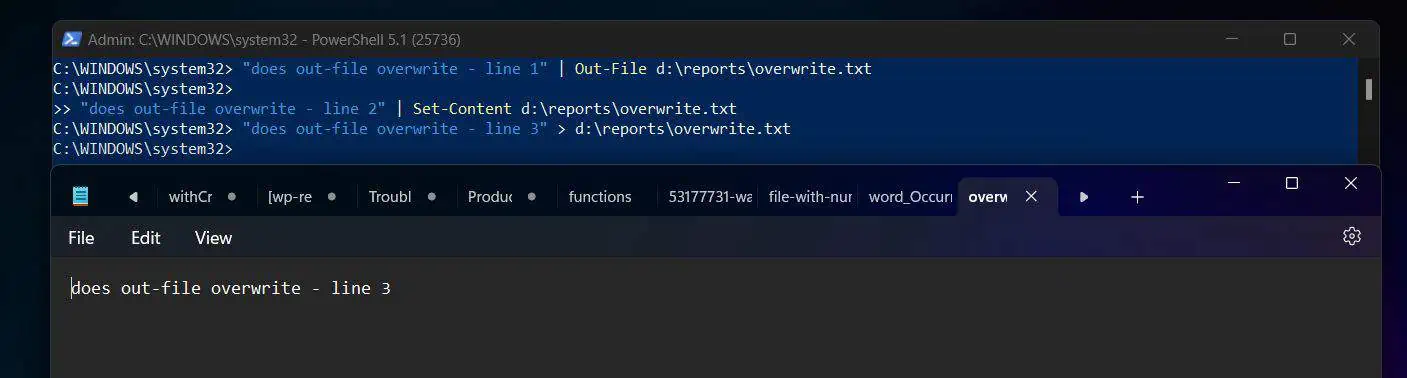
To give some examples, the commands below will overwrite the content of the text file, d:\reports\overwrite.txt:
"does out-file overwrite - line 1" | Out-File d:\reports\overwrite.txt
"does out-file overwrite - line 2" | Set-Content d:\reports\overwrite.txt
"does out-file overwrite - line 3" > d:\reports\overwrite.txt
The screenshot below shows the commands and the final content of the text file.
Option 10: Write to the PowerShell Console and a Text File
If you want to write a PowerShell output to a text file and display the output to the console as well, you can use one of these two Cmdlets – Add-Content or Set-Content.
The two Cmdlets have a parameter called PassThru. If you use the PassThru parameter, PowerShell writes the output to the specified text file path; then displays it to the console as well.
However, the Cmdlet you use depends on whether you want to append to the text file or overwrite the content of the text file. To append to the text file, use Add-Content.
However, if you intend to overwrite the content of the text file use Set-Content. I will illustrate with two examples.
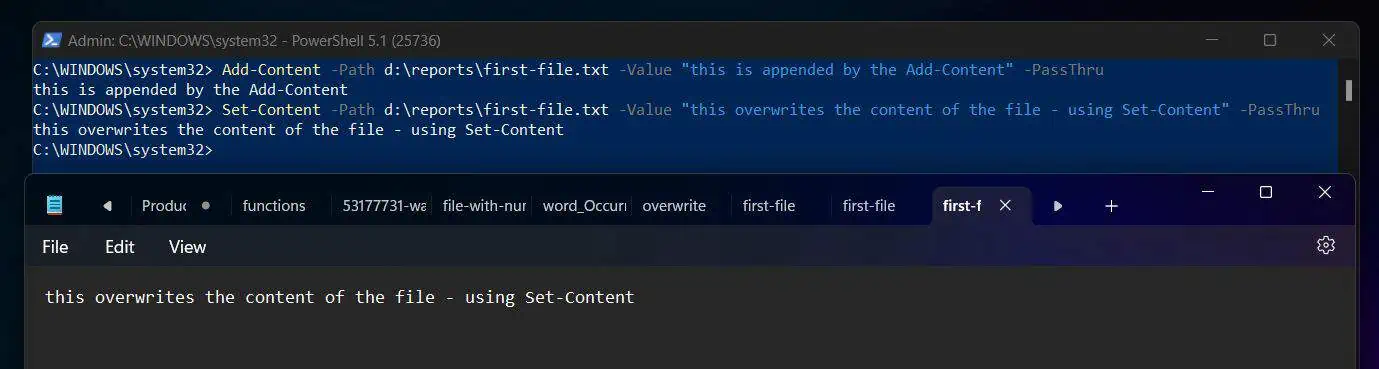
To append the sentence “this is appended by the Add-Content“, to the specified text file, and display the message on the console, run the command below:
Add-Content -Path d:\reports\first-file.txt -Value "this is appended by the Add-Content" -PassThru
The screenshot below shows the result of the command in PowerShell and the output of the text file.

On the contrary, to overwrite the content of the text file, and write the output to the console as well, use the command below…
Set-Content -Path d:\reports\first-file.txt -Value "this overwrites the content of the file - using Set-Content" -PassThru
Finally, here is the output of the PowerShell command displayed on the console and also written to the text file. However, this time, it overwrote the content of the text file.
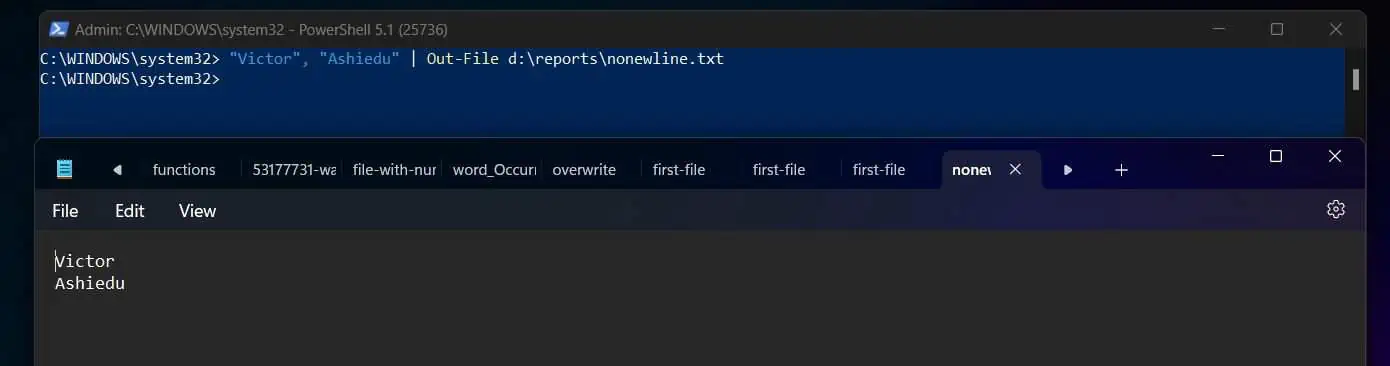
Option 11: Write to a Text File Without New Line
If you run this PowerShell command, instead of writing the output to the same line on the text file, it writes the two strings, “Victor”, and “Ashiedu” in two lines…
"Victor", "Ashiedu" | Out-File d:\reports\nonewline.txt
However, if you aim to write both strings on the same line, you have to include an Out-File Cmdlet parameter called NoNewline.
"Victor", "Ashiedu" | Out-File d:\reports\nonewline.txt -NoNewline
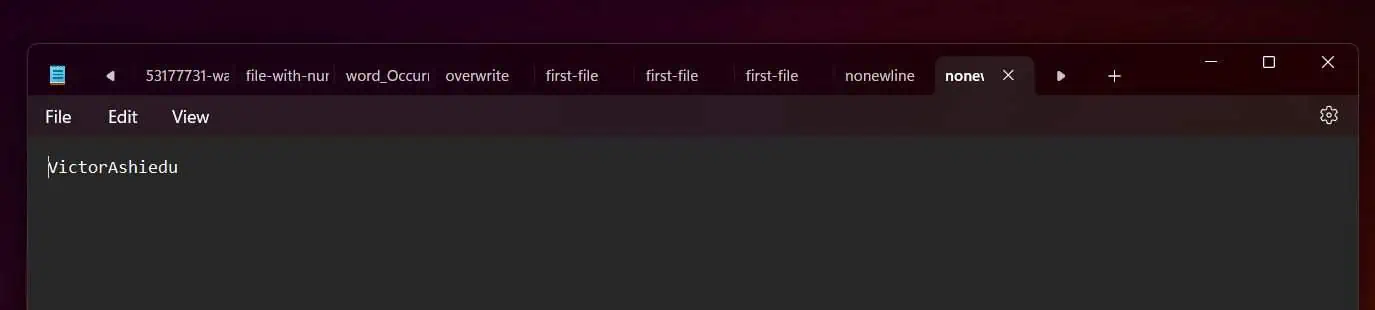
Now, the text file has both strings on the same line! However, there is no space between the two strings – which in this instance is a person’s first and last name.
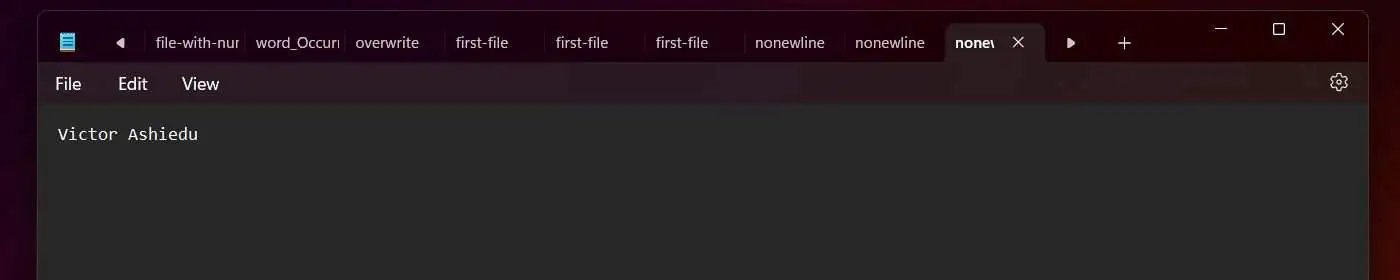
To include a space between the two names, add a space before the second string, “Ashiedu”. The command below is the same as the previous command except for the space before the second string.
"Victor", " Ashiedu" | Out-File d:\reports\nonewline.txt -NoNewline
Here is the text file now…
Option 12: Write to a Text File with UTF 8 Encoding
The Out-File Cmdlet has a parameter called Encoding. When you write PowerShell output to a text file, you can use this parameter to specify the file encoding.
Additionally, if you want to change the encoding of an existing text file, you can pipe the output of the Get-Content command to Out-File.
The Encoding parameter supports UTF8, ASCII, UTF32, and more. You can specify any of the encoding types.
So, since this sub-section is about writing PowerShell output to a text file with UTF8 encoding, here are examples of commands that can achieve this…
"Victor", "Ashiedu" | Out-File d:\reports\UTF8.txt -Encoding utf8
Get-Content d:\reports\nonewline.txt | Out-File d:\reports\nonewlineUTF8.txt -Encoding utf8
The first command writes the output to a text file with UTF8 encoding.
Similarly, the second command imports the content of a text file into PowerShell with Get-Content. Then, writes the same contents to another text file with UTF8 encoding.
Option 13: Fix Write to File “Access Denied” Error
Sometimes when you try to write PowerShell output to a text file, you may receive an “access denied” error message. This error may be caused by multiple reasons.
One reason you may receive an “access denied” error message is if you try to write to an open text file. Also, if you try to write to a text file that is in use by another Windows process, you may receive an access denied error message.
Another reason you may receive an access denied error is if you try to create a text file with an unsupported character. For example, if you try to create a text file that includes a “/” in its name, you may receive an access denied error message.
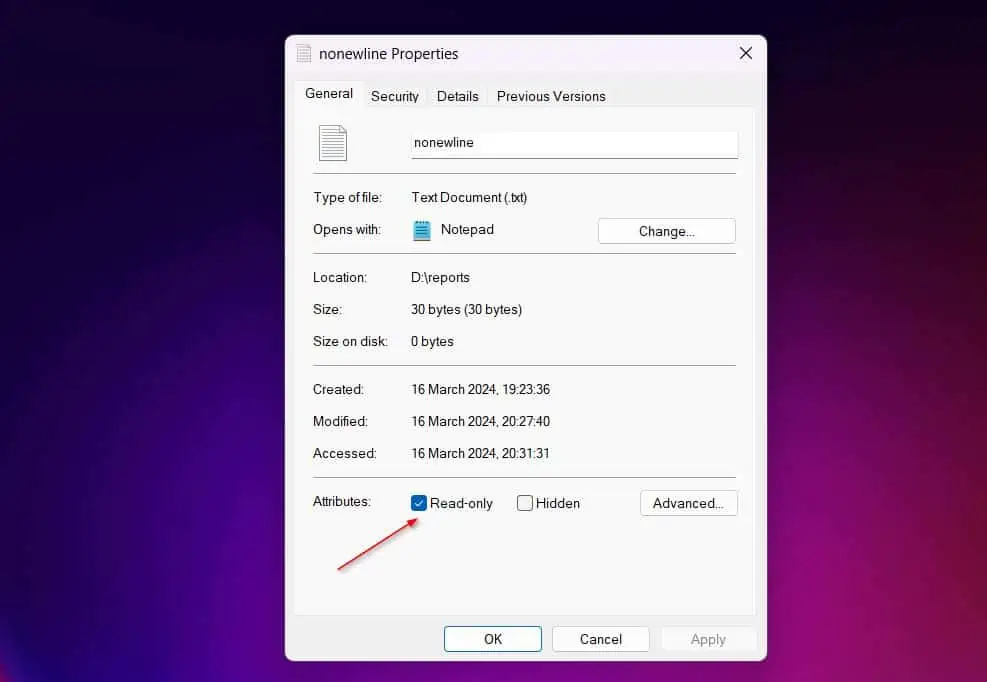
Finally, if a text file has a Read-Only attribute, you will also receive the access denied error message.
So, the solution to fix this problem is to identify the reason for the error message. Then, make changes.
In the next sub-section, I will teach you how to write PowerShell output to a text file that has a Read-Only attribute.
Option 14: Write to a Read-Only Text File
If you try to write PowerShell output to a Read-Only text file, you will receive an access denied error message. To test this, I have enabled the Read-Only attribute for one of the text files we created earlier.
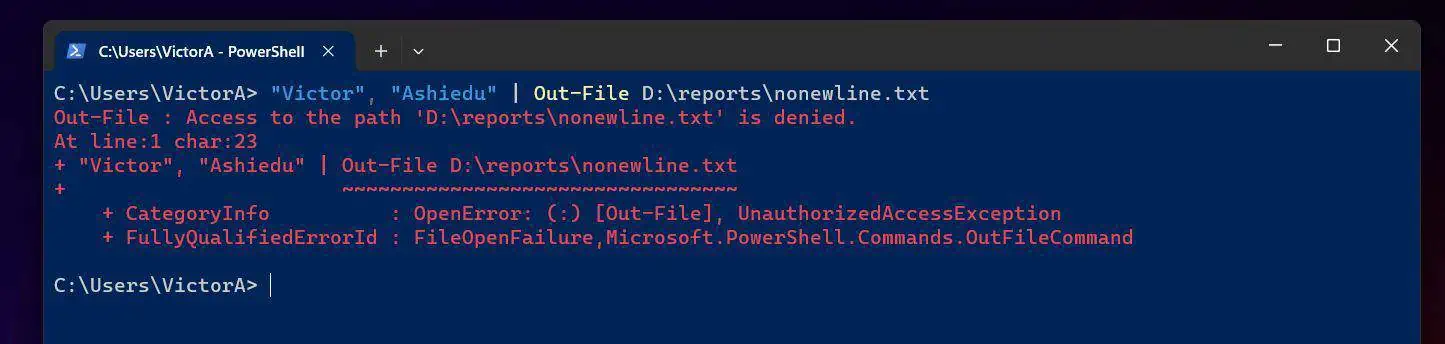
Now, if I try writing to the text file with the command below, I will receive an “access denied” error message.
"Victor", " Ashiedu" | Out-File E:\reports\nonewline.txt -NoNewline
The good news is that all the PowerShell commands that can write to a text file have a parameter called Force. If you include this command in Out-File, Set-Content, or Add-Content, you can write to a Read-Only text file.
For example, if we modify the last command as shown below, the command will not return any error message.
"Victor", " Ashiedu" | Out-File d:\reports\nonewline.txt -NoNewline -Force
This time, the command is successful and the text file is updated!
Option 15: Create a Folder Path and New File
By default, if you run Out-File, Set-Content, or Add-Content commands and specify a path to a text file that does not exist, the file will be created.
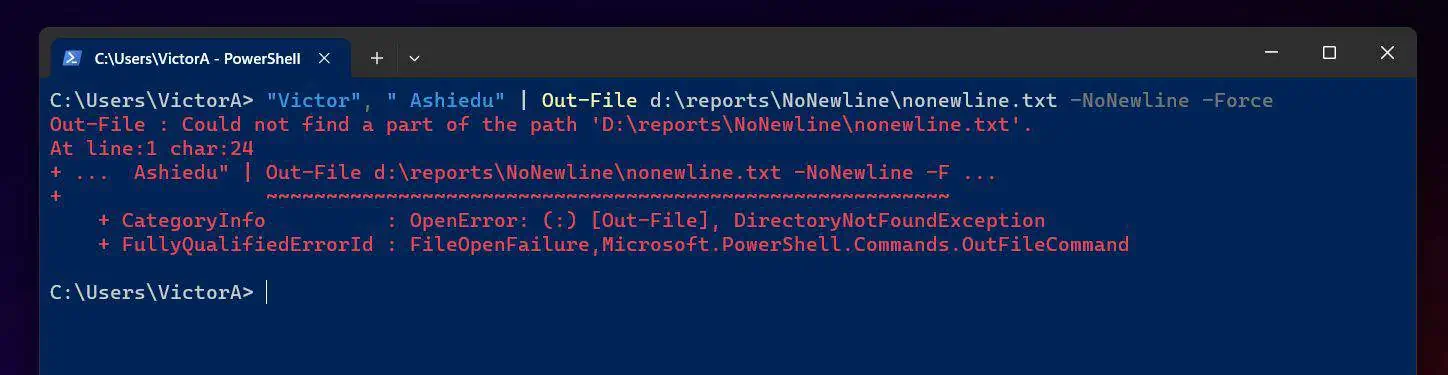
However, if the specified path includes a folder that does not exist, you will receive an error message. To test this, I will run the command below that includes a folder, NoNewline – this folder does not exist in the specified path…
"Victor", " Ashiedu" | Out-File d:\reports\NoNewline\nonewline.txt -NoNewline -Force
The command returns an error message.
To fix this problem, use the Test-Path command to check if the path exists. Then, if it does not exist, use the New-Item command to create it before running the Out-File command.
Here is the updated script. The last line is the most recent command in this guide…
$CheckFilePath = Test-Path d:\reports\NoNewline\nonewline.txt
  If ($CheckFilePath -eq $False) {
    New-Item -Path d:\reports\NoNewline\nonewline.txt -ItemType File -Force
}
"Victor", " Ashiedu" | Out-File d:\reports\NoNewline\nonewline.txt -NoNewline -Force
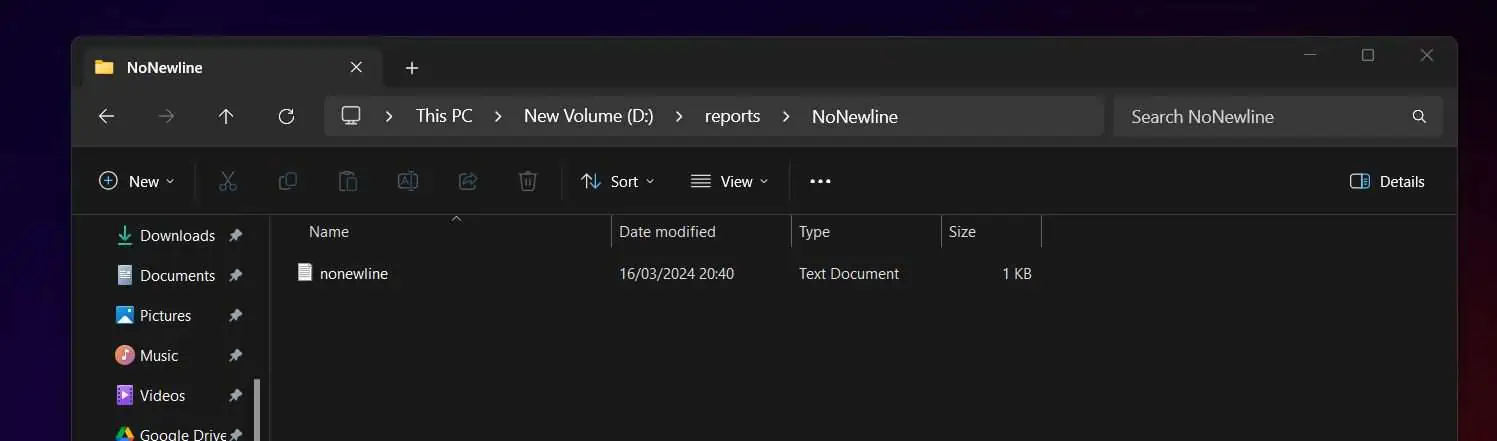
After running the script, the folder now exists in the path…
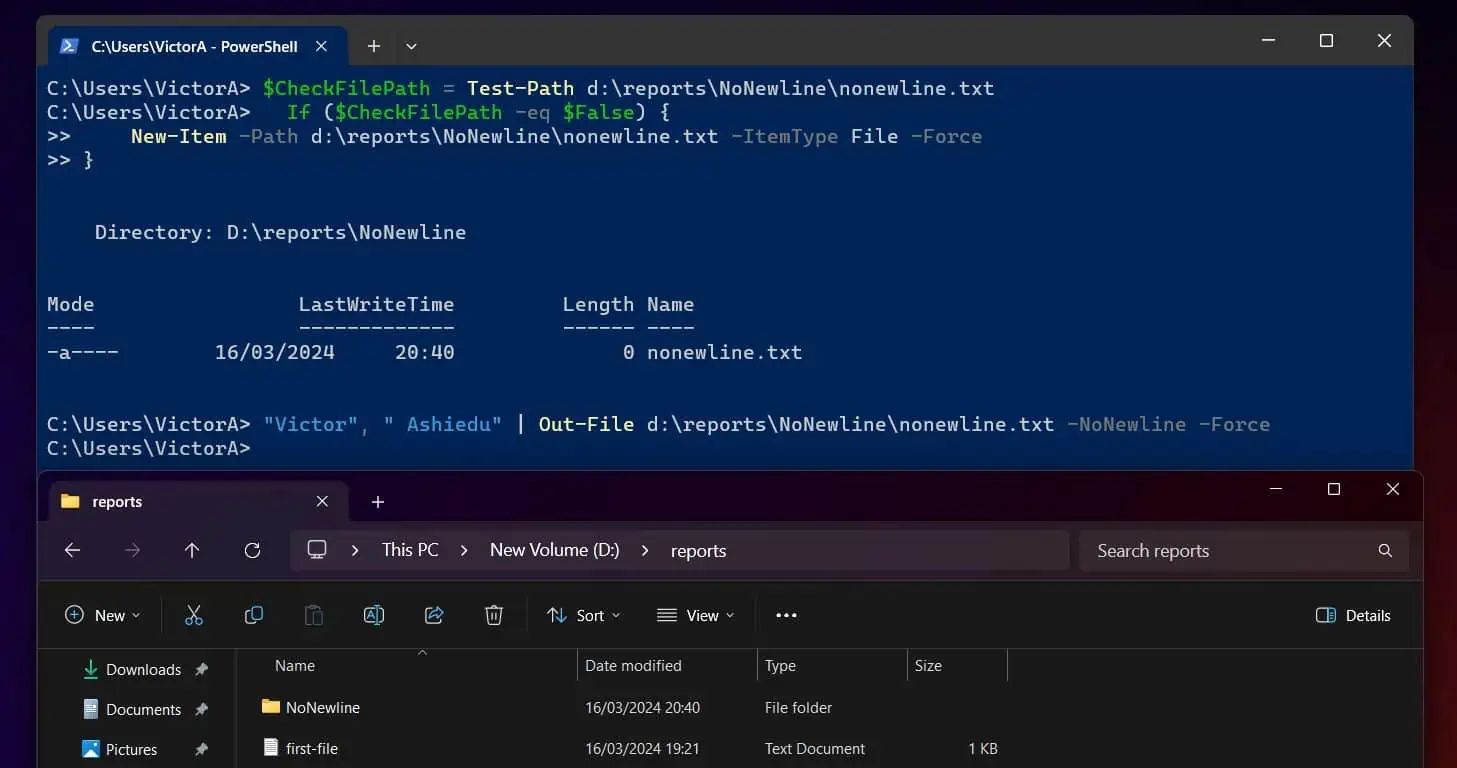
Finally, if you open the NoNewline folder, you will find the text, nonewline.txt.
Option 16: Use Concatenate to Write to Text Files
You can use PowerShell to join the content of two text files into a single text file. The process of joining two text files into one is called concatenation.
To give an example, I created two files, Processfile1.txt and Processfile2.txt. Then, I use Get-Content to concatenate the files.
Finally, I pipe the result of Get-Content to Set-Content and write the merged files into a single file. Here are the commands…
Get-Process | out-file d:\reports\Processfile1.txt
Get-Process | out-file d:\reports\Processfile2.txt
Get-Content d:\reports\Processfile1.txt, d:\reports\Processfile2.txt | Set-Content d:\reports\SingleProcessfile.txt
Option 17: Write Date and Time to Text Files
There are so many instances you may need to write the date and time to a text file. One example is if you want to generate an error log.
For example, if you use a PowerShell script to perform a task on a bunch of servers, it is a good idea to create a log file with servers the script could not connect to. These log files can then be used for troubleshooting.
Additionally, when you create such log files, it is also a good idea to include a date and time stamp. This way, you will know when the script attempted to connect to the server.
Enough of talks! Let me show you how to write date and time stamps to a text file with PowerShell. In this example, I have a list of non-existing computers on a text file.
In the script below, I use the Test-Connection command to ping a computer. Then, if the computer responds, my script will try to perform some tasks on the remote computer.
However, if the Test-Connection command does not receive a reply from the remote computer, the script generates an error message with the current date and time stamp.
Finally, the script writes the error logs with date and time stamps into a text file.
Here is the script. See below for a detailed explanation of each line…
$Servers = Get-Content d:\reports\Servers.txt
$logfilename = Get-Date -Format "dddd dd-MM-yyyy"
   $Servers.ForEach( {
        $PingTest = Test-Connection -ComputerName $_ -Count 1 -Quiet
          If ($PingTest -eq $True) {
              Get-EventLog -ComputerName $_ -LogName System
             }
             Else {
                     $dateandtimestamp = Get-Date -DisplayHint DateTime
                      "$dateandtimestamp               The server, $_ was skipped because it did not respond to ping" | `
                       Out-File d:\reports\$logfilename.txt -Append
              }
       }
    )
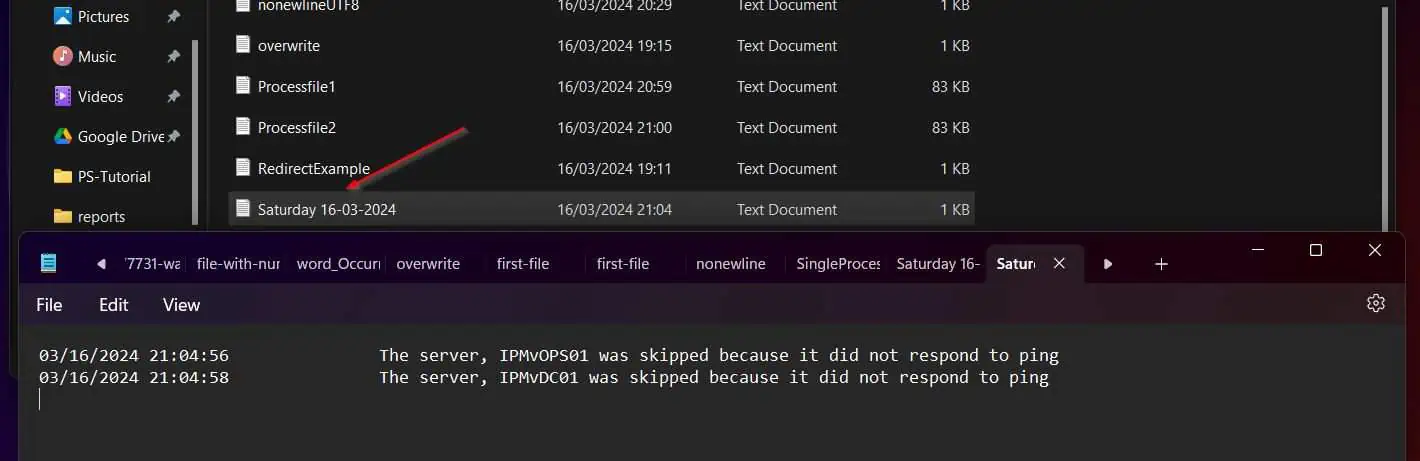
When I ran the script, it created a file called Saturday 16-03-2024.txt – today’s date.
Additionally, it created the entries in the text file, Saturday 16-03-2024.txt – see the screenshot below…
To explain the script, I have copied it below. I have also added line numbers to make them easy to reference.
Line 1 $Servers = Get-Content E:\reports\ITGServers.txt
Line 2 $logfilename = Get-Date -Format "dddd dd-MM-yyyy"
Line 3   $Servers.ForEach( {
Line 4      $PingTest = Test-Connection -ComputerName $_ -Count 1 -Quiet
Line 5          If ($PingTest -eq $True) {
Line 6                    Get-EventLog -ComputerName $_ -LogName System
Line 7      }
Line 8          Else {
Line 9                  $dateandtimestamp = Get-Date -DisplayHint DateTime
Line 10                   "$dateandtimestamp               The server, $_ was skipped because it did not respond to ping" | `
Line 11                       Out-File E:\reports\$logfilename.txt -Append
Line 12        }
Line 13    }
Line 14 )
Here is a breakdown of this seemingly complex PowerShell script:
- In Line 1, I used the Get-Content command to import my list of servers into PowerShell. The servers are saved in a text file – Get-Content E:\reports\ITGServers.txt. Finally, I saved the result of the list of servers in a variable called Servers.
- Then, in Line 2 I created the name of the text file that I will save my error messages. I used the Get-Date command to create the text file.
In line 10, I will write the PowerShell script to write the error logs into the text file – more on this later. Finally, to be able to use this file later in the script, I saved it to a variable called logfilename. - The script continues in Line 3. In this line, I introduce the ForEach Method. This Method allows me to iterate the content of the file saved in the Servers variable.
There are two important elements of the ForEach Method introduced in Line 3 – ( and {. The first opening bracket, ( opens the ForEach Method. Moreover, the bracket, { opens the ForEach command statement block. - Then, in Line 4, I ping each server saved in the Servers variable. During each cycle of the ForEach block iteration, it takes a server name from the Servers variable – and saves it in an automatic variable, $_ – and then, uses the server name saved in $_ as the computer name in the ping test.
Once again, to make it easy to access the result of the ping test, I save the result in another variable called PingTest. The result of the ping test will either be True or False. - In Line 5, I introduce the IF statement block. Then, in the condition part of the block (), for each server, I test if the result of the ping test, saved in the PingTest variable is True or False.
Furthermore, if the result of the ping test is True, the PowerShell script performs the task in the command block of the IF statement. The command block of the IF statement opens with a { bracket in line 5. - Then, in Line 6, I run the command in the IF statement block. In Line 7, I close the IF statement’s command block with a closing bracket, }.
- Line 8 introduces the Else statement part of the IF statement block. In this block, I run the command I want to run on all servers that returned False to the ping test.
- In Line 9, the script generates the current date and time. Then it saves the result in a variable called dateandtimestamp. The script will use this variable in line 10
- Then, in Line 10, the PowerShell script writes the current date and time stamp into the text file I created in Line 2. The command in line 9 is in 3 parts.
In the first part, the script generates a portion of the error message. This part includes the dateandtimestamp variable and some spaces.
Then in the part of the command (the message), the script includes an actual message – The server, $_ was skipped because it did not respond to ping. The automatic variable, $_ is the same variable generated by the ForEaxch statement in Line 4.
Finally, the entire message is piped to the Out-File command – this is in Line 11. - Line 12 closes the Else statement command block with a closing bracket, }.
- Then, in Line 13, the script closes the ForEach statement command block with a clock a closing bracket, }.
- Finally, in Line 14, the script closes the ForEach Method with the closing bracket, ). The ForEach Method was opened in Line 3.
Frequently Asked Questions
There are 3 ways to send PowerShell results to a text file.
Firstly, you can use the “>” operator next to the result you want to send to a text file, followed by a space, then the full path to the text file.
Additionally, you can use the Out-File command Cmdlets. To use Out-File, pipe (|), the output of the PowerShell result to Out-File followed by a space, then the full path to the text file.
Finally, you can append PowerShell results to an existing text file using the Add-Content. The use is similar to Out-File explained earlier.
You can use the New-Item cmdlet to create a new text file in PowerShell. To add items to the text file and save it automatically, use the Add-Content cmdlet.
Use the Get-Content cmdlet to read the content of a text file in PowerShell. For example, to read the content of D:\text.txt, use the command Get-Content D:\text.txt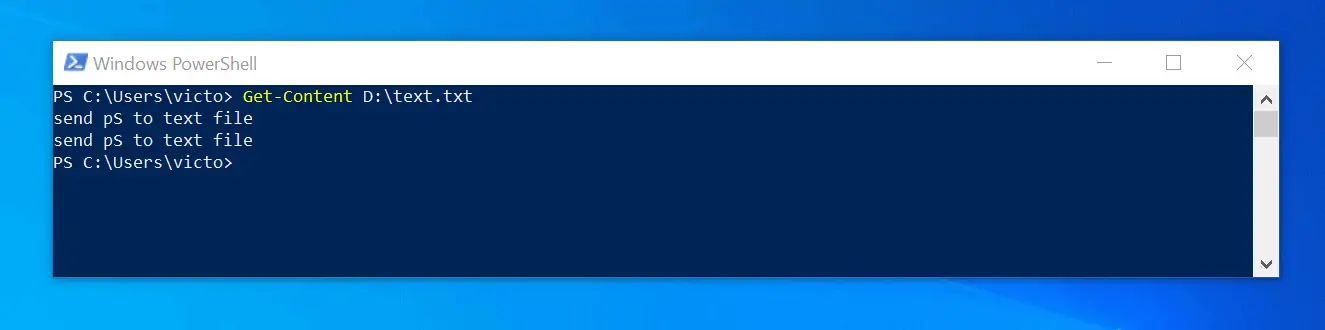
Enter the name of the variable in PowerShell and press the enter key. The value stored in the Powershell variable will be displayed in the console. For example to display the values stored in the $Content variable, simply enter $Console in PowerShell and press the enter key.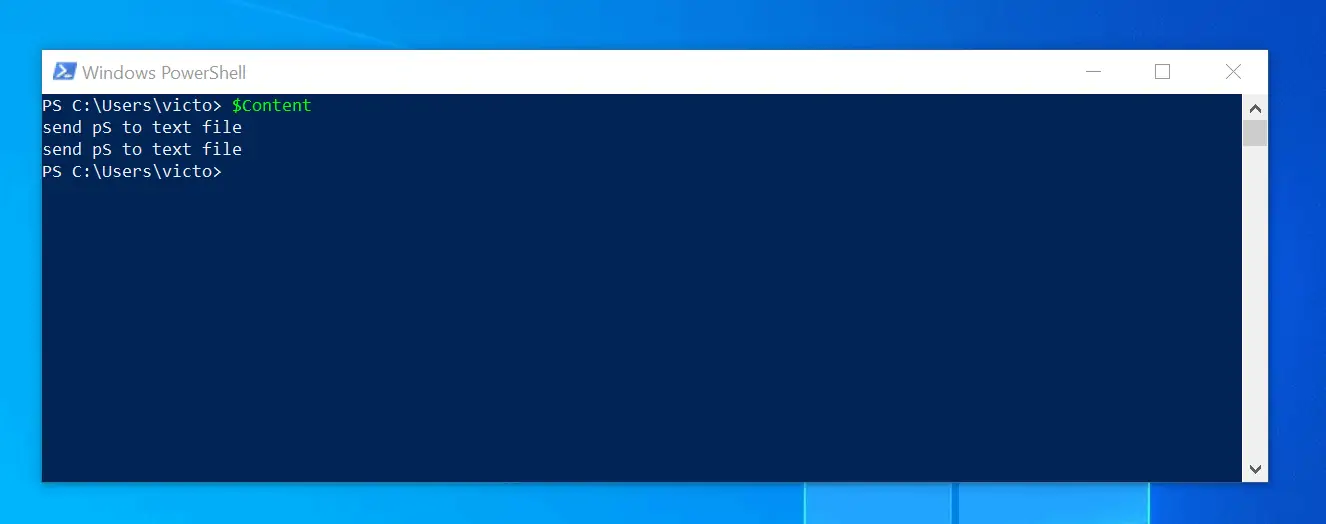
The easiest way to add in PowerShell is to enter the numbers separated by the addition sign (+), then press enter key. For example, to add 2 and 5, enter 2 + 5, then press enter. The answer will be displayed in the console. 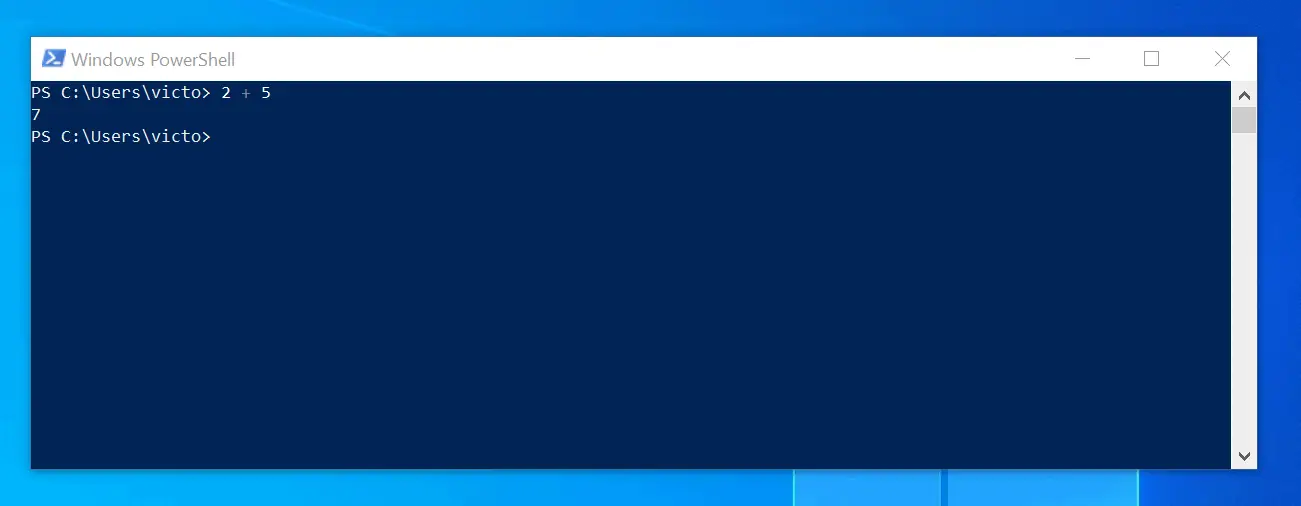
Conclusion
I shared 17 examples and scenarios of using PowerShell to write output to text files. I am confident that the examples cover most situations you’ll encounter.
Let me know your thoughts by responding to the “Was this page helpful?” question below. You may also share your experience with our community by leaving a comment using the “Leave a Reply” form at the bottom of this page.
Before you go, you may want to browse our Windows PowerShell how-to page for more of my PowerShell hands-on guides.
Thank you for visiting Itechguides, we hope to see you again, soon!