This Itechguide teaches you how to make two columns in Google Docs.
As at the time of writing this Itechguide, the Google Docs App does not support the option to make columns in a document.
Option 1: Make two Columns
- Open Google Docs home page (Docs.Google.com) from your PC or Mac. Then, if you have not yet signed in, sign in with your Google Account.
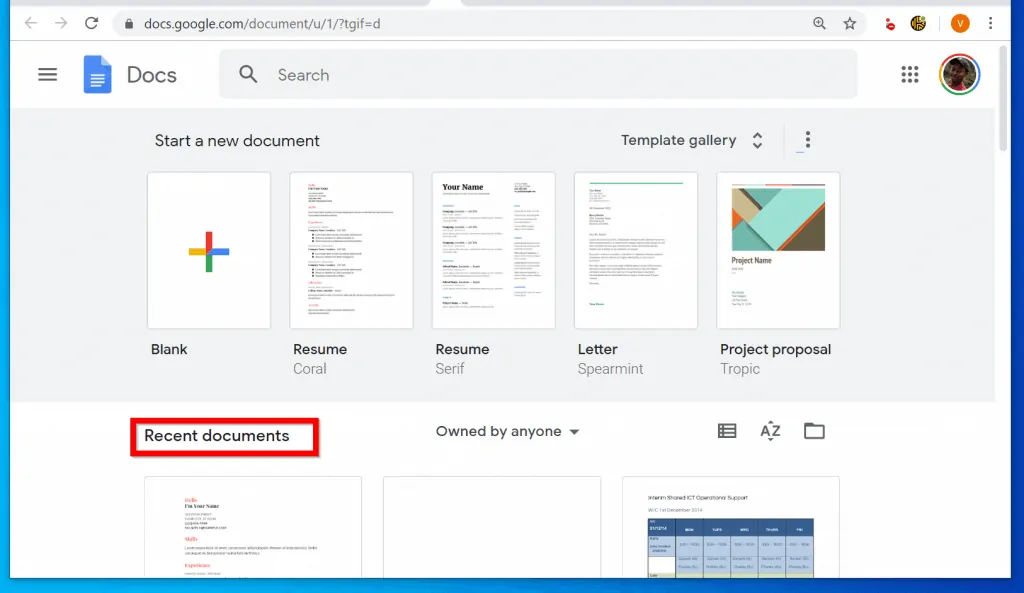
- Open the Google Docs document you want to make two columns. You can open a saved document from your Recent documents lists. You could also open your document directly from Google Drive.
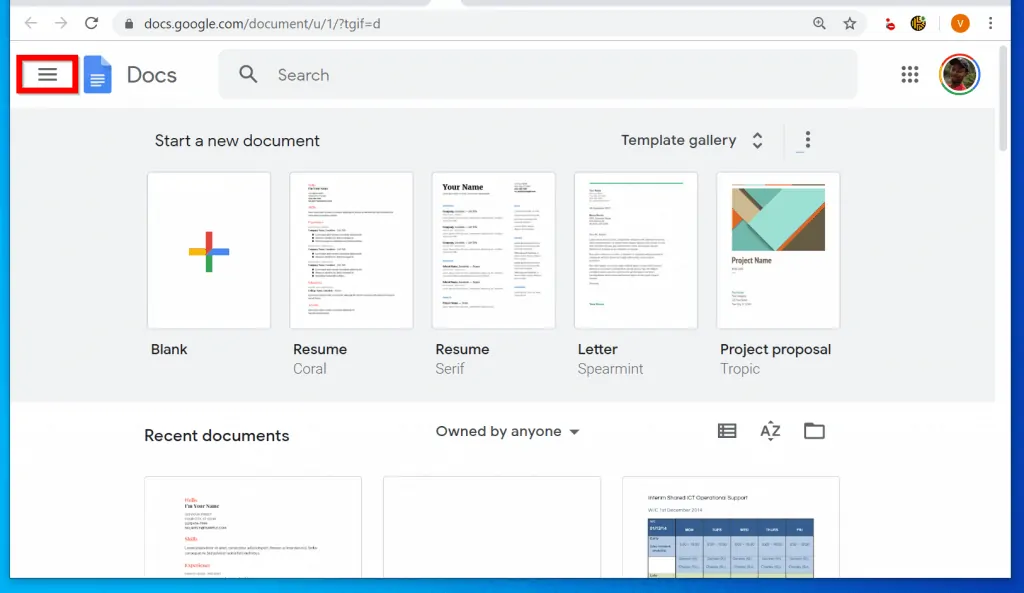
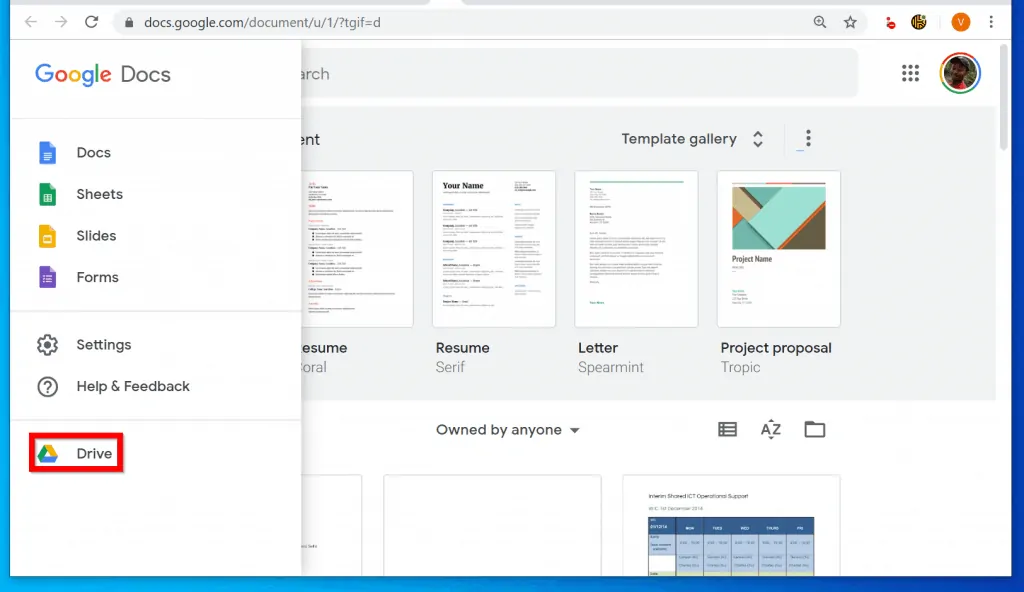
- To access Google Drive from Google Docs home page, click the 3 lines on the top left of the page. Then, from the list of displayed options, click Drive.
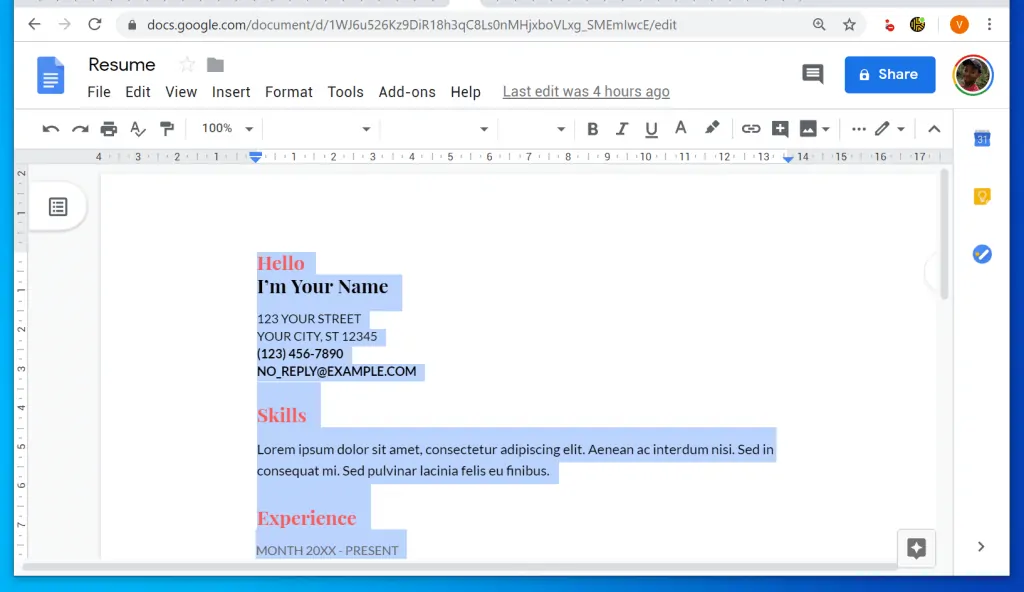
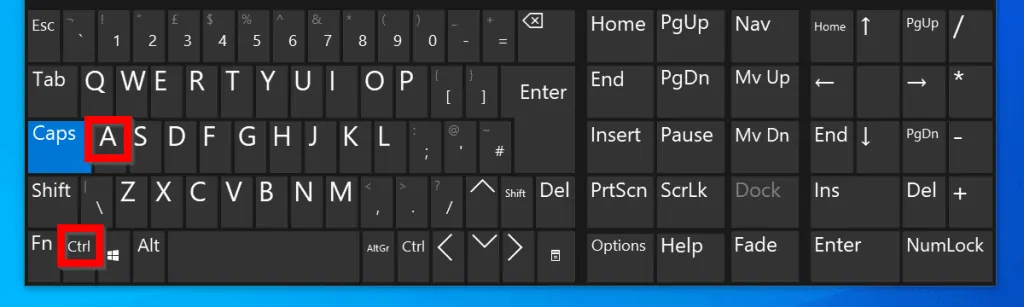
- Once the document is open, the select all existing text in the document you want to make 2 columns. To select all texts in the document, press the Ctrl and A keys on your keyboard at the same time.
- You could also click Edit then click Select all.
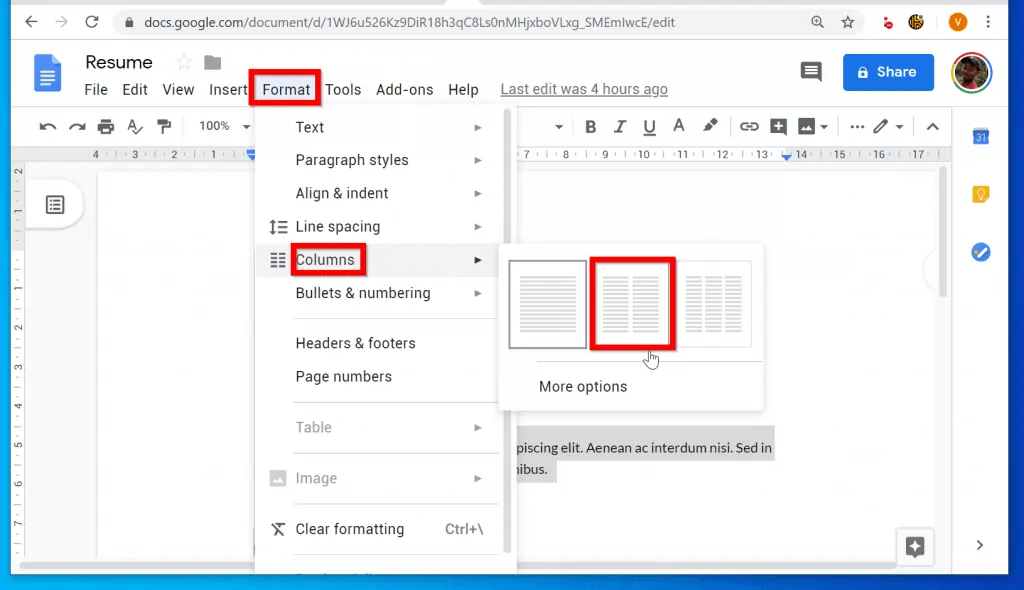
- With all texts select, click Format and point to Columns. Then, from the columns options, click the 2 columns option.
- The document will be divided into two columns!
Option 2: Modify two Columns
After you have made two columns in Google Docs, you may want to adjust the column settings. Here are the steps….
- Click Format and point to Columns. Then click More options.
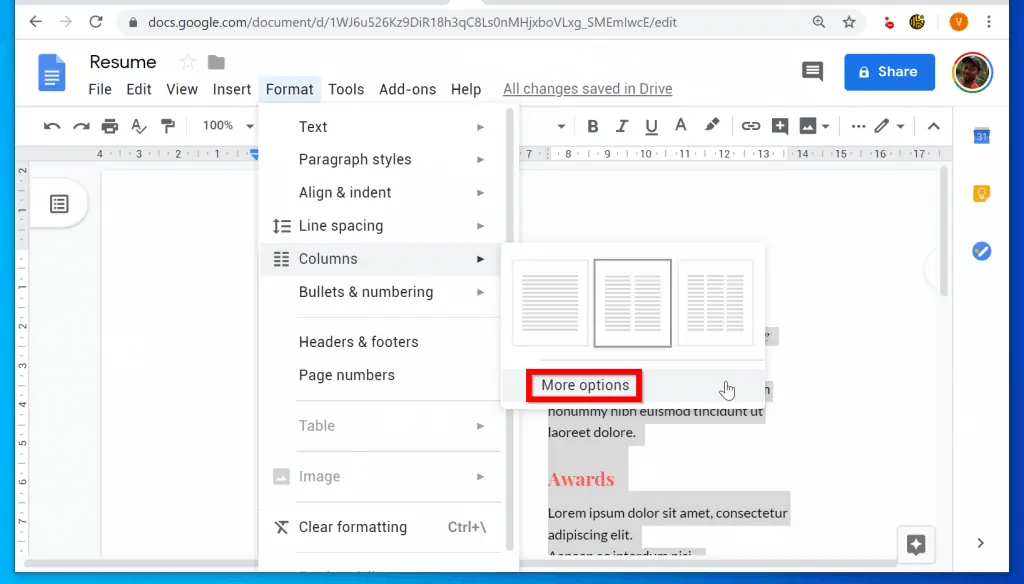
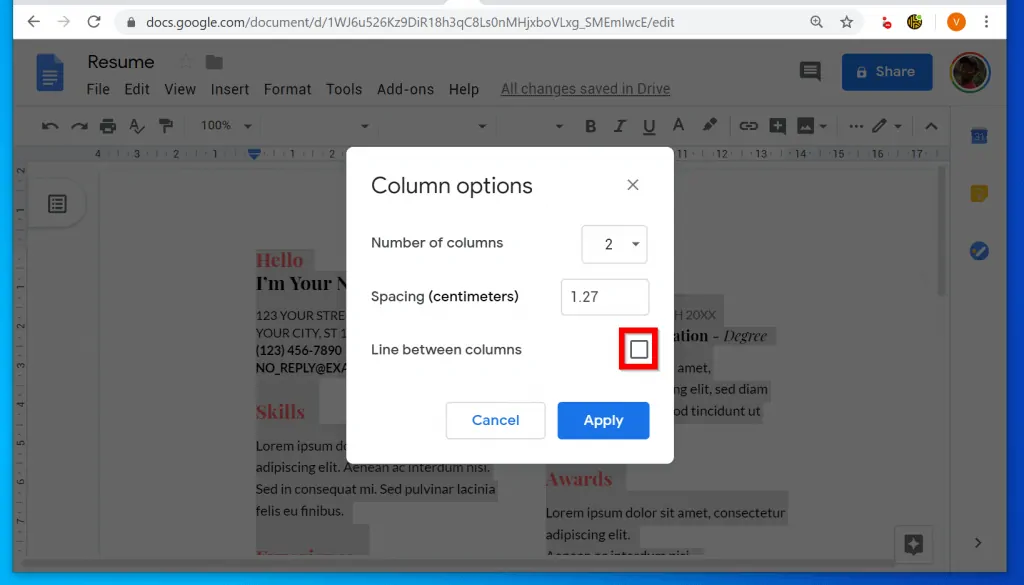
- On the Column options pop up window, make changes as you wish. Because you are making 2 columns, leave the Number of columns as 2.
- To adjust the spacing between the columns, type a number (in cm) to the Spacing (centimeters) field.
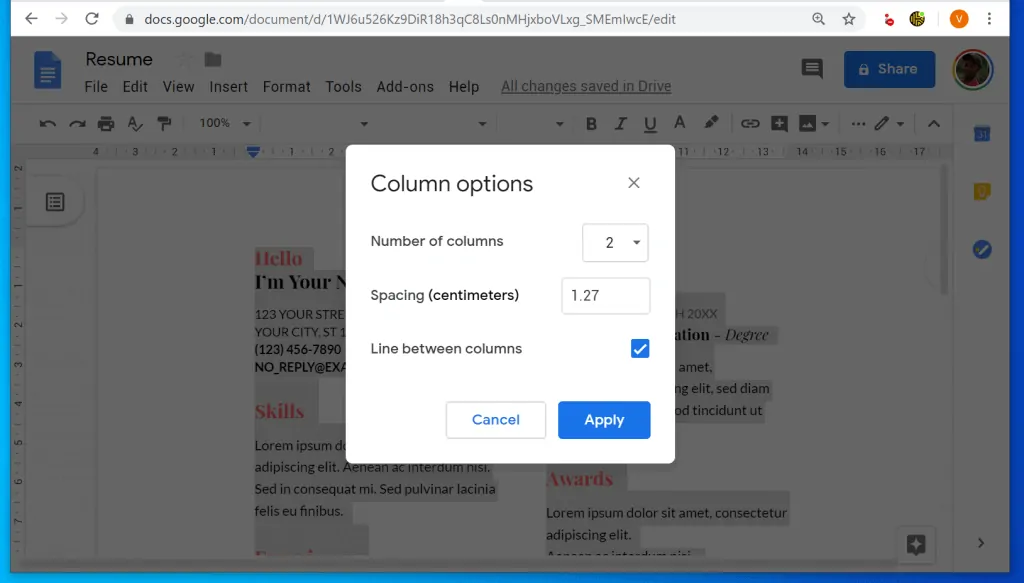
- Finally, if you want to add a line between the two columns, check the Line between columns box.
- When you finish making your changes, to save click Apply.
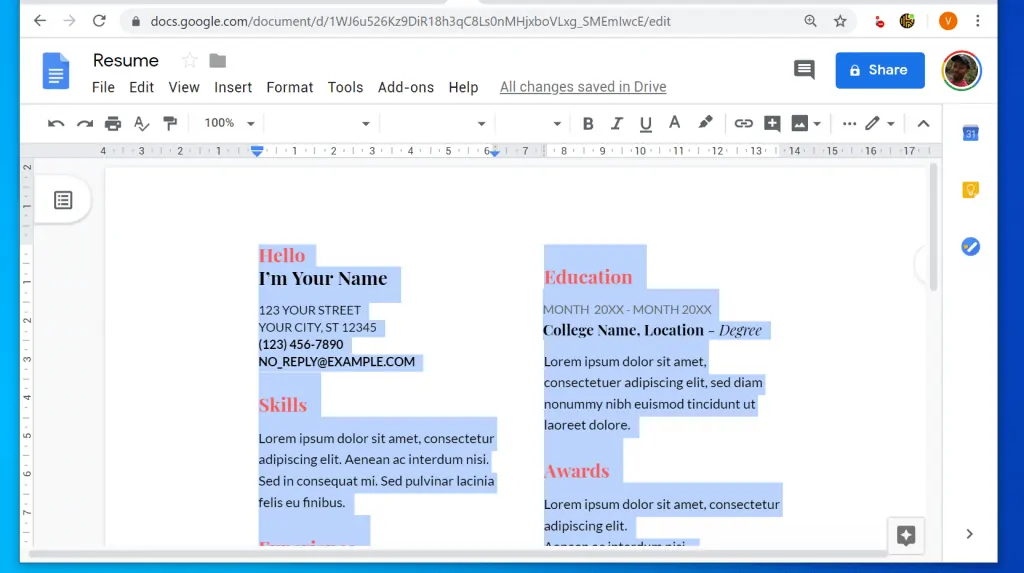
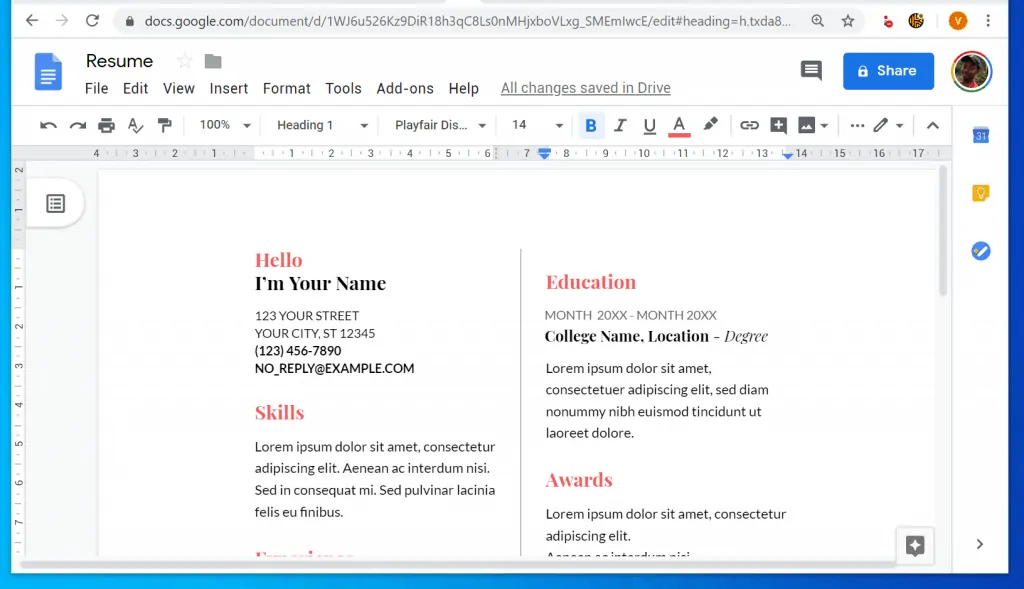
- Here is my modified document with 2 columns and a line between the columns.
It is this easy to make two columns in Google Docs! I hope you found this Itechguide helpful. To help other readers, click on “Yes” beside the “Was this page helpful” question below.
You may also express your thoughts and opinions by using the “Leave a Comment” form at the bottom of this page.
Finally, for more Google Itechguides, visit our Google How To page.