Did you run the “git clone” command on a remote repo only to discover that the command just fetched the default branch and omitted all other branches? I have outlined how I fixed this problem when I experienced it recently.
Overview
I had a similar problem when I was trying to clone all remote branches of a git repository in my DevOps Bootcamp.
The Git repo I was trying to clone had two branches and I wanted to fetch both. Unfortunately, as you probably experienced, running “git clone” is not enough.
When I figured out how to do this, I decided to share.
Specifically, I’ll show how to clone the two branches in my reference Git repo to my local repo. After that, I will create a Git Project in my GitLab account.
Finally, I will push all the Git branches from my local repo to my GitLab Git repo.
Step 1: Prepare a Local Directory for the Git Repo
The first step to copying a Git repo is to prep the local folder to save the cloned repo. All that is required here is to create a folder on your computer.
If you prefer running commands, you can create a folder on Windows using any of these commands:
mkdir <path to directory>
New-Item -name <folder-name> -path <path to directory>
Once you have created the folder, cd to the directory before proceeding to the remaining sections.
Step 2: Create a Git Project for the Repository
In this section, you’ll create a Git Project on your Git Account. We require this to push the repo in the last section of this article.
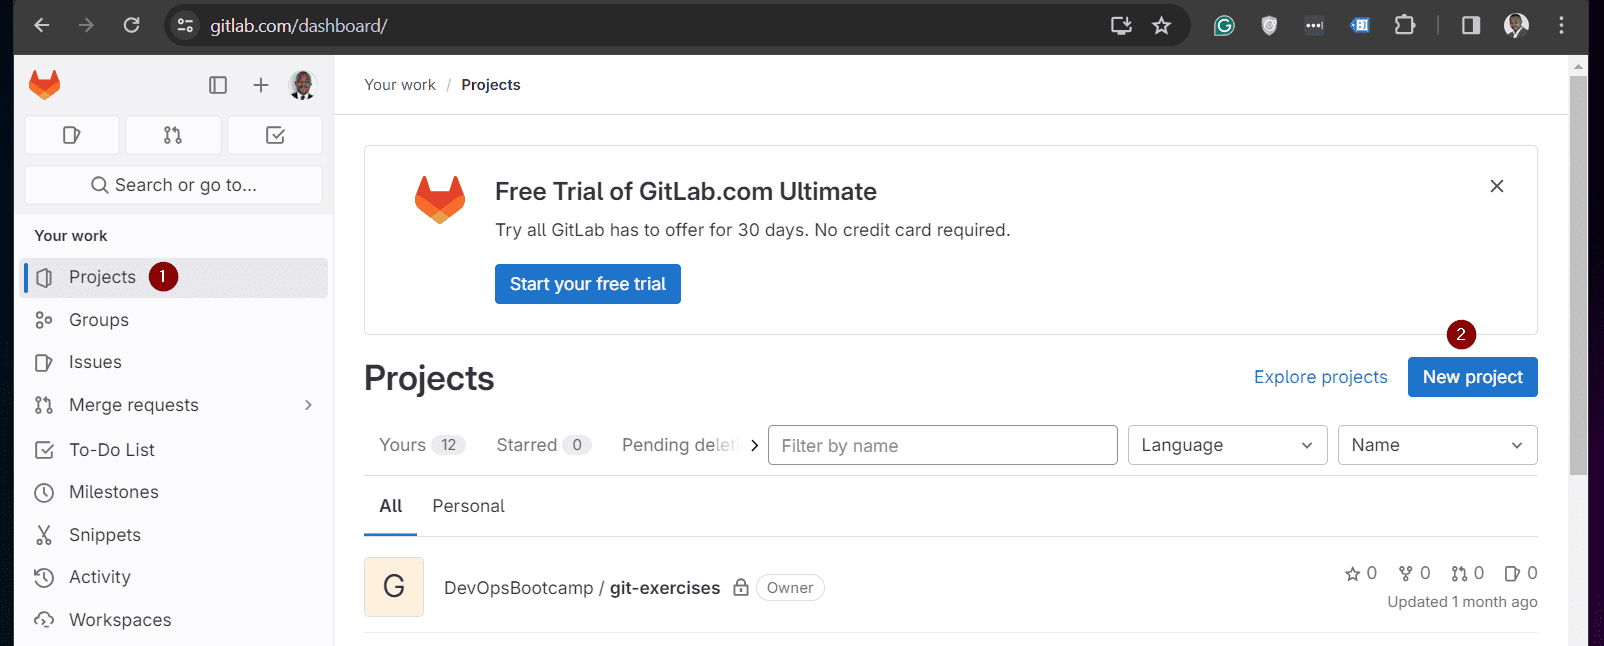
- Sign in to your Git account. I am using my GitLab account for this demo.
- On the left menu, click “Projects” then, select “New project.”
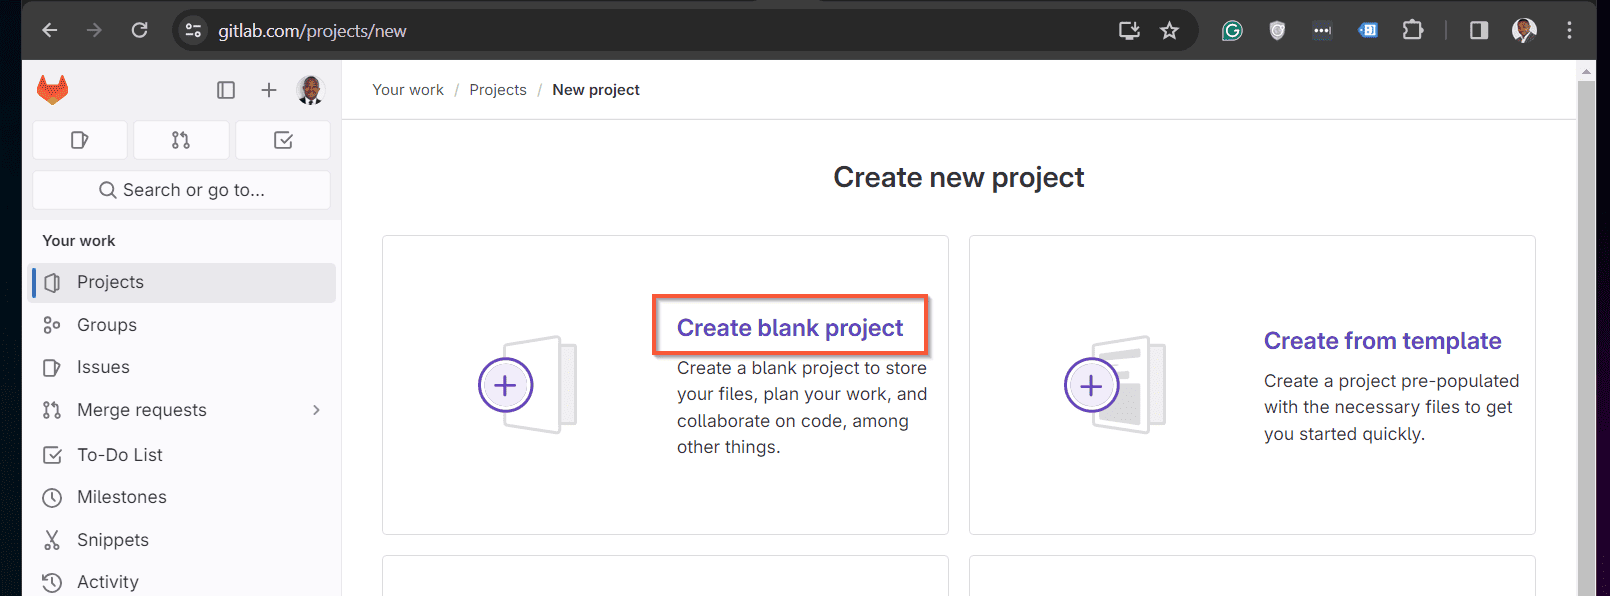
- On the next page, click the “Create blank project” link.
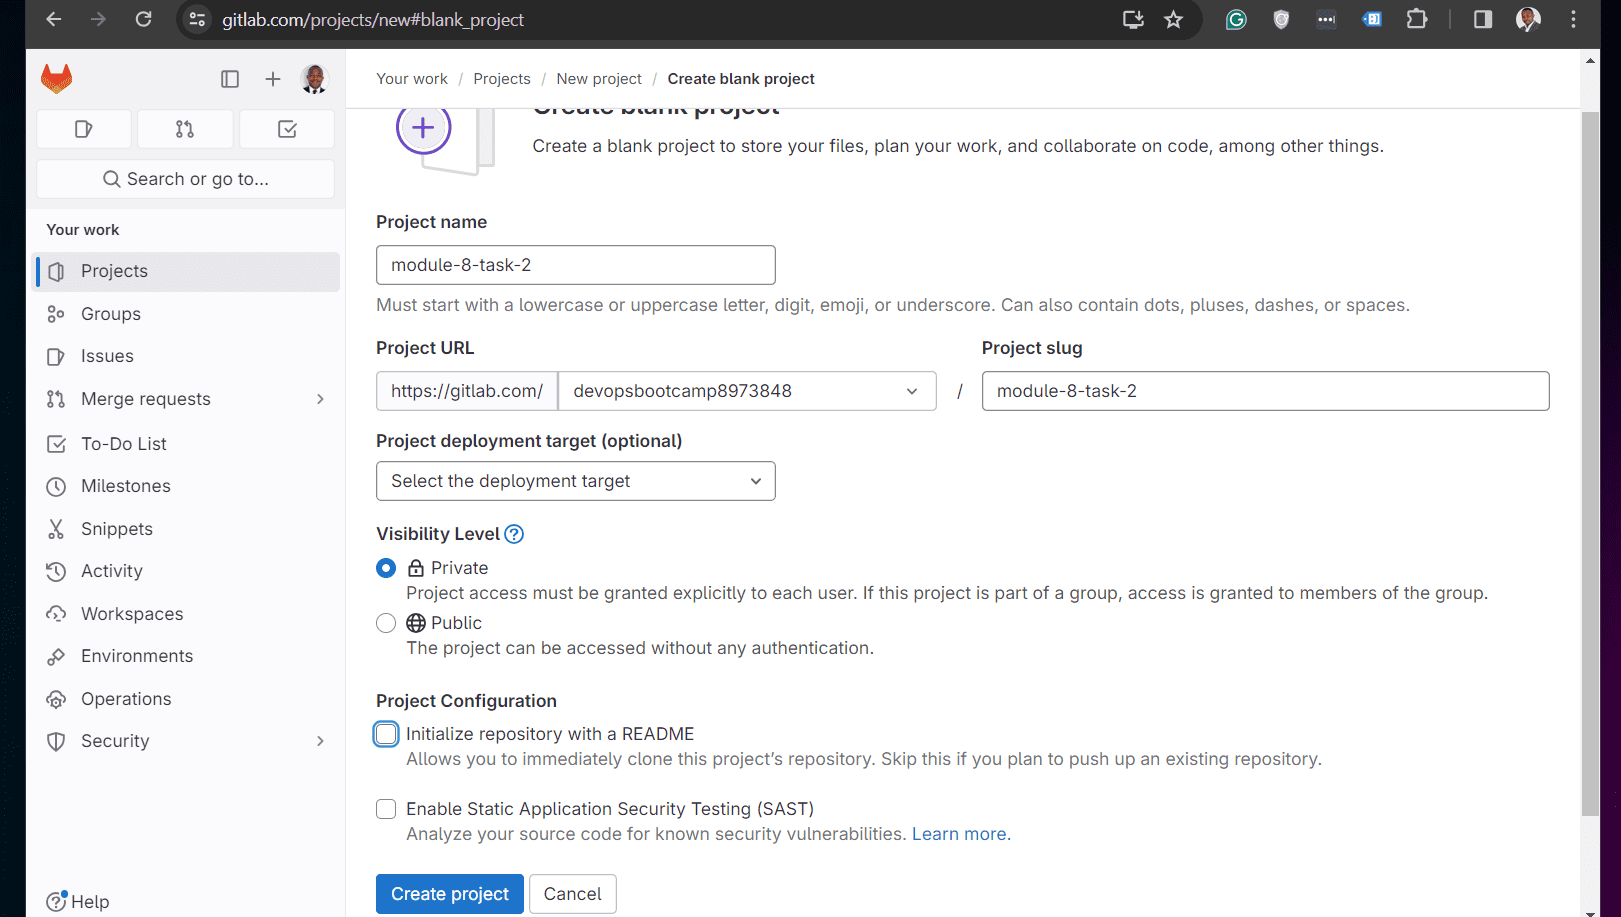
- Finally, complete the new project details as shown in the screenshot below and click “Create project.”
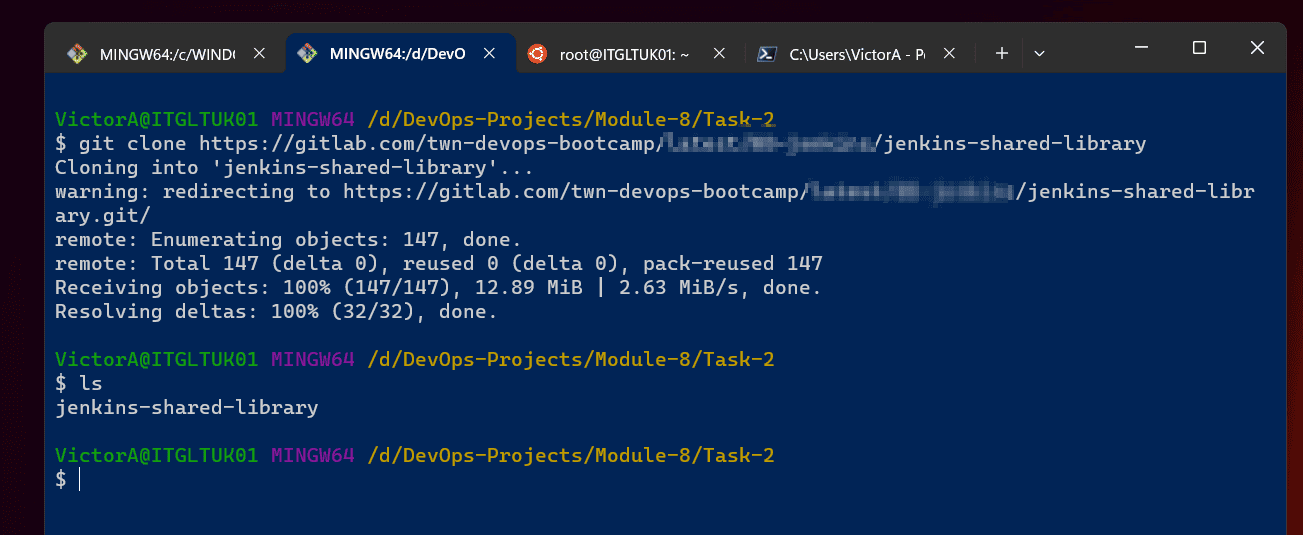
Step 3: Clone the Remote Git Repo
Return to the command prompt and ensure you’re on the directory for the folder you created in step 1. Then, proceed with the steps below.
- Run the “git clone” command to fetch the default branch of the Git remote you’re cloning.
Git clone <full URL of the Git repo>
- The command fetches the remote Git repo but like I mentioned earlier, it only clones the default repo. To confirm this, let’s see the repo’s folder by running the “ls” command.
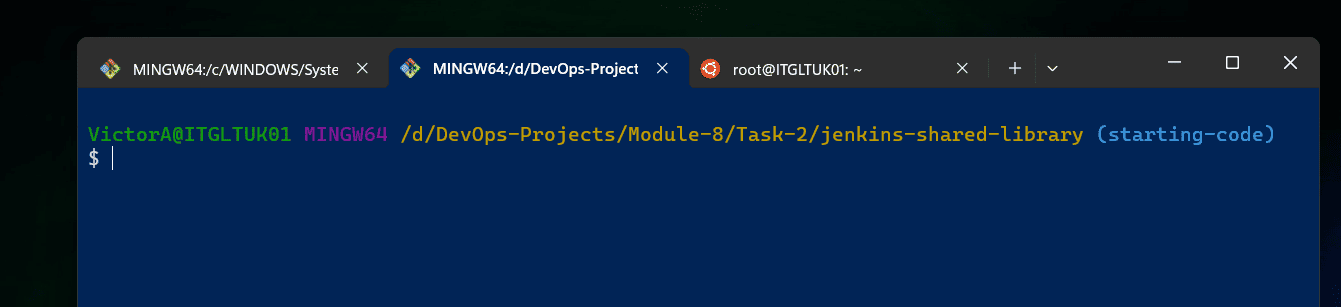
In my example, the repo’s directory is called “jenkins-shared-library”.
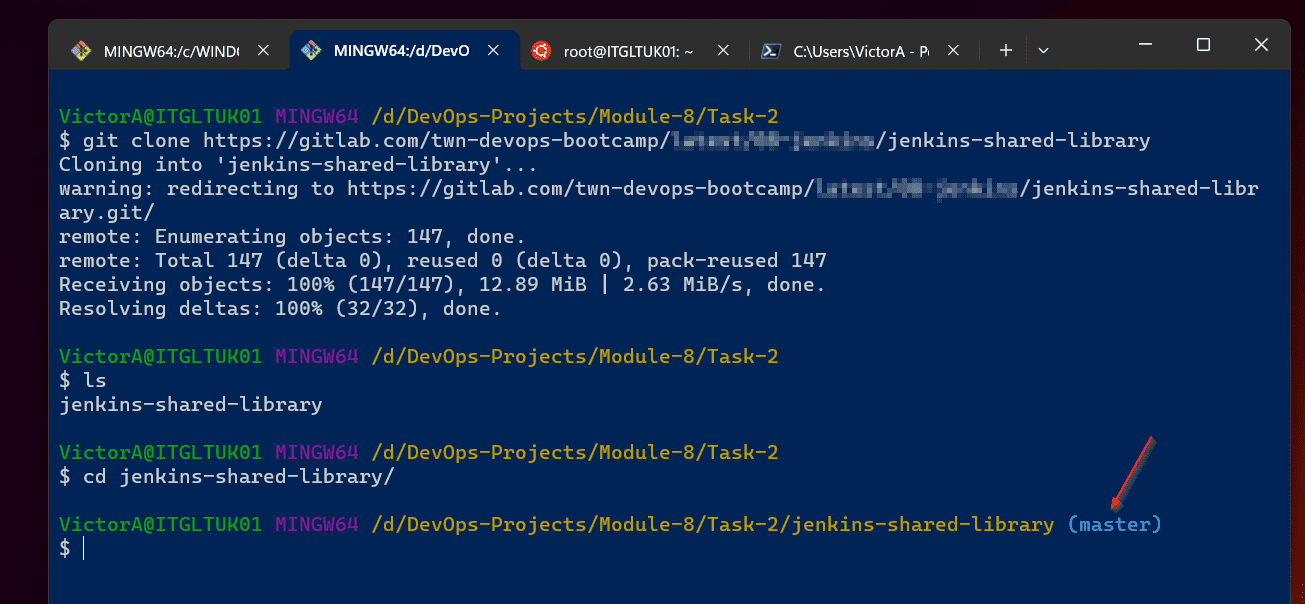
- Next step, cd into the directory. Once you’re in the repository’s folder, you’ll know because it will show the branch name.
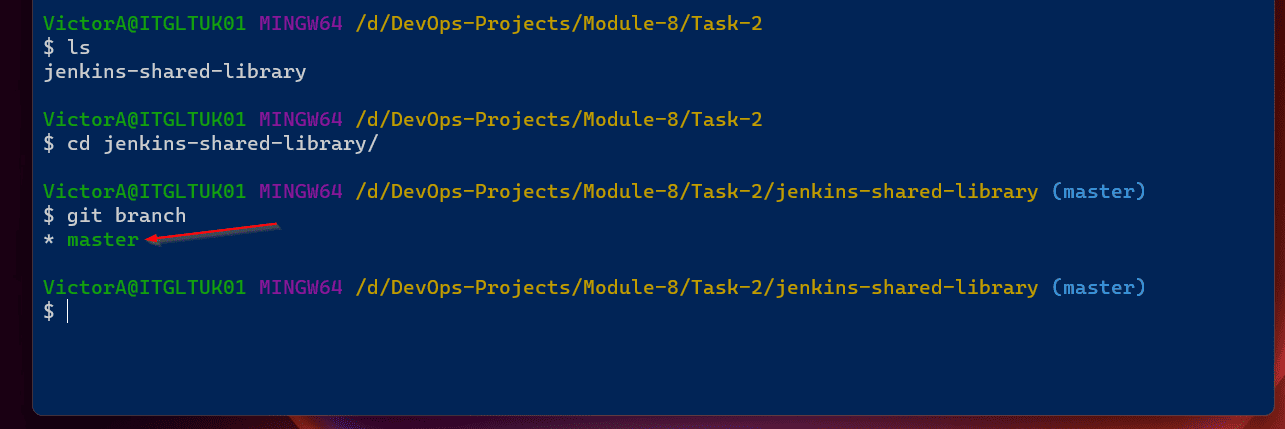
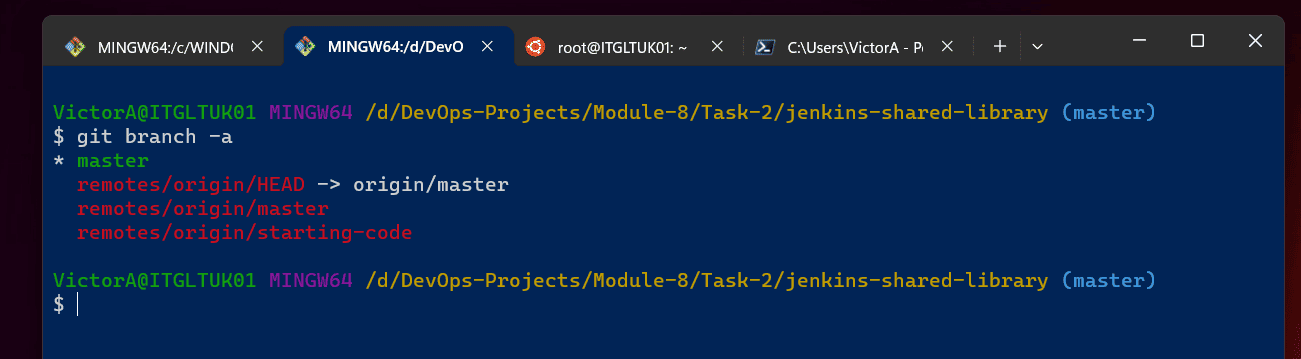
- Let’s confirm that this is the only branch with the “git branch” command. As you can see, I have just the “master” branch.
- Now, we’ll fetch all the branches in the remote Git repository we cloned earlier. This is done with the command below:
git fetch --all
- Once the command completes, check the available branches on the remote repo with the “git branch -a” command. The command shows that I have two branches (apart from the HEAD branch) – “master” and “starting-code.”
However, as shown in the screenshot, the “master” branch (the default branch) was already affected when we ran the “got clone” command earlier. This means that this branch is already being tracked locally.
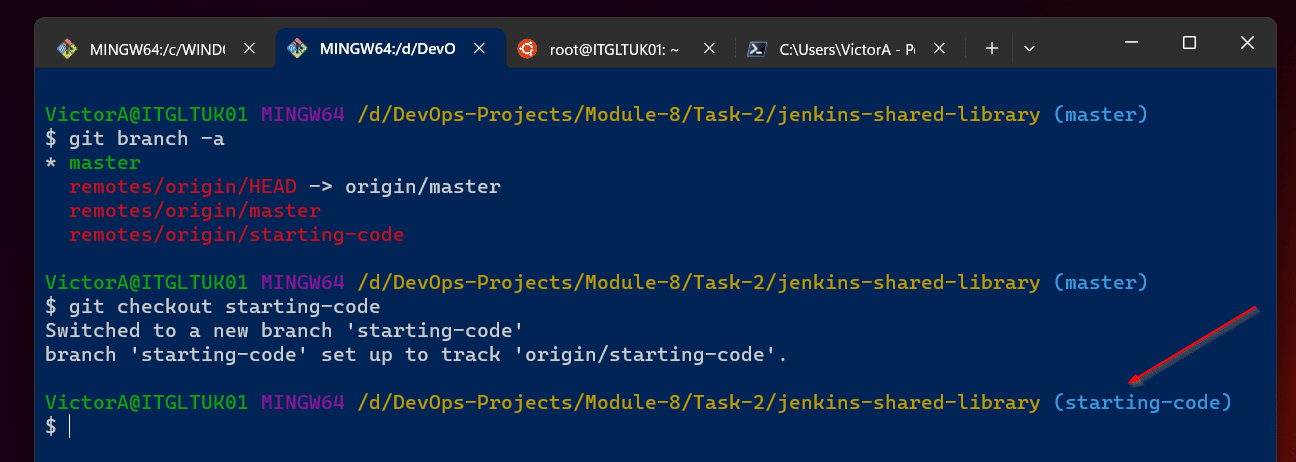
To get the second branch, “starting-code” to be monitored locally, you need to create the branch with the “git checkout” command. Here is my command.
git checkout starting-code
The command creates a local tracking for the branch checks out to the branch.
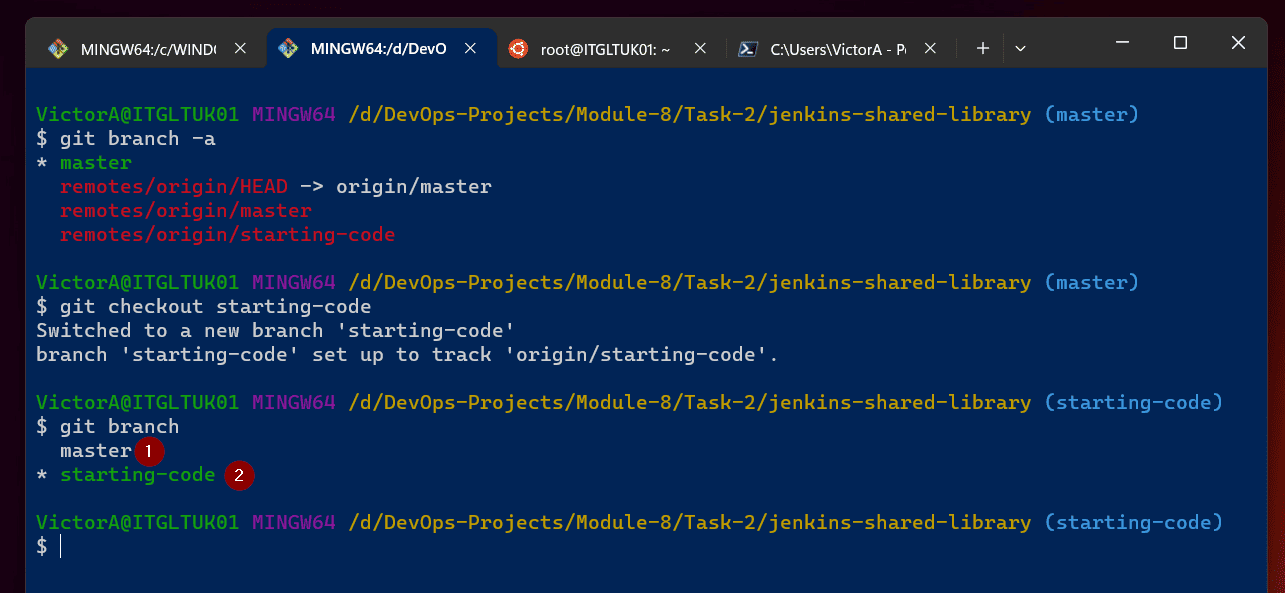
- At this point, let’s re-run the “git branch” command to confirm that all the branches are now tracked locally.
Now, we have both branches locally and are ready to push them to the Git repo in our own Git account!
Step 4: Replace the Remote Origin and Push the Git Repo
In this last step, we will push the cloned repo to our repo. However, before we do that, we must replace the remote origin with our own Git origin.
Here are the steps…
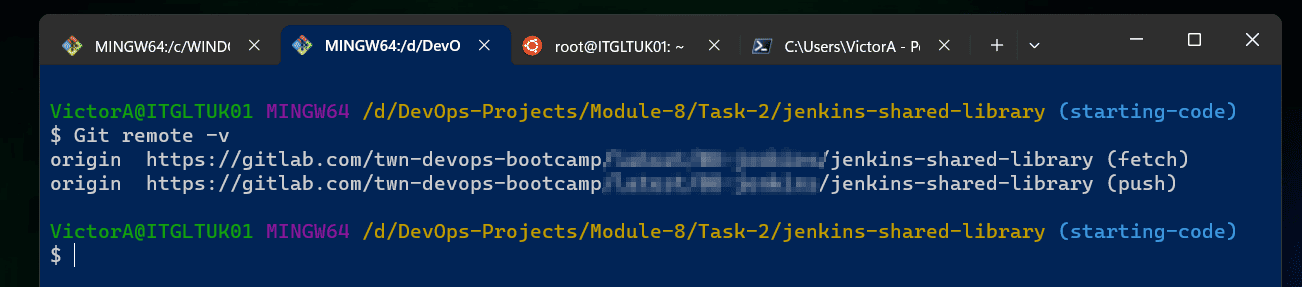
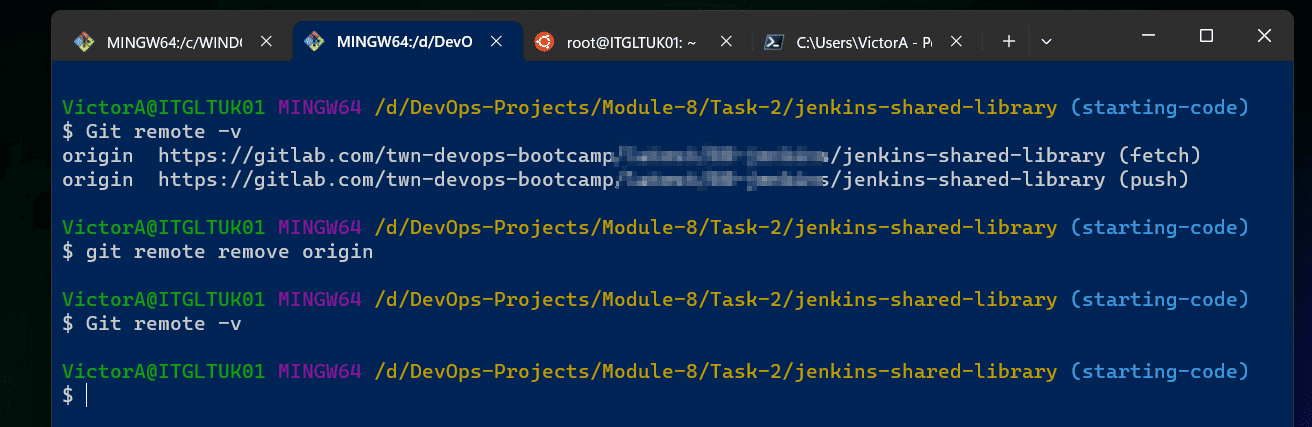
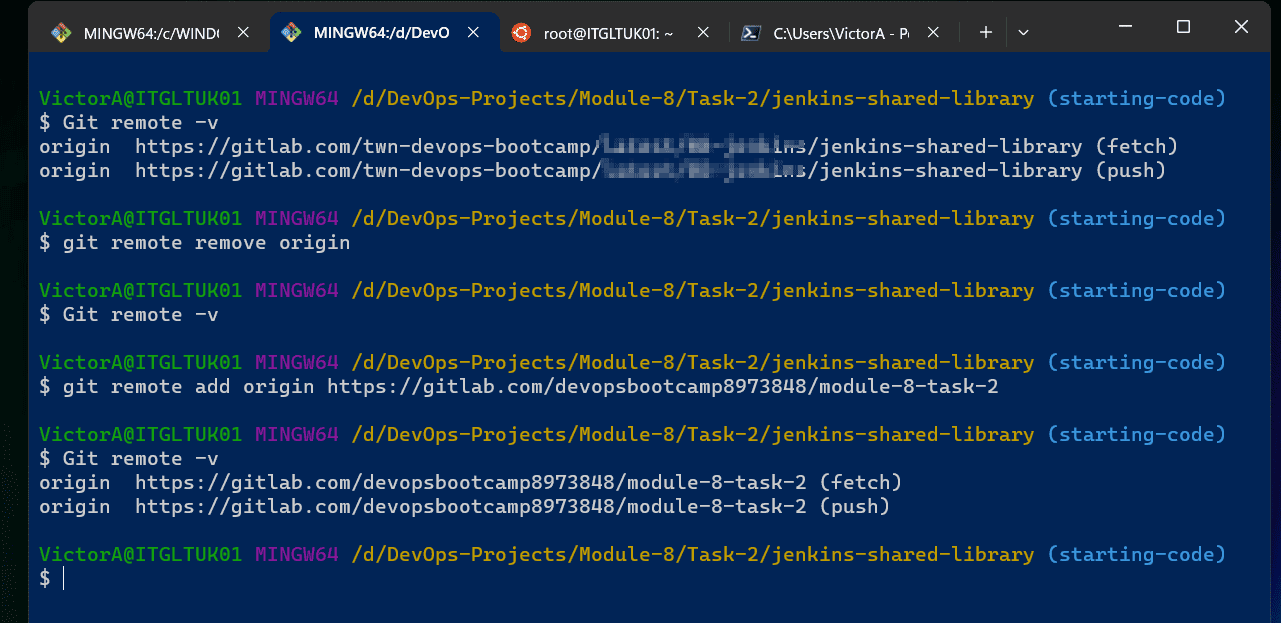
- Firstly, view the current remote origin with the “git remote -v” command.
git remote -v
The command confirms that I am still connected to the source remote origin.
This is normal, and you’ll see how to switch to the remote origin of your Git repository shortly.
- Before switching to your Git’s remote origin, you must remove the current one. Here is the command.
git remote remove origin
After executing the above command, running “Git remote -v” confirms that there is no current remote origin in the local git repo.
- To set your origin as the remote origin, run the “git remote add origin” command, specifying the remote repository you created in step 2.
git remote add origin https://gitlab.com/devopsbootcamp8973848/module-8-task-2
After that, confirm the remote origin with the “Git remote -v” command.
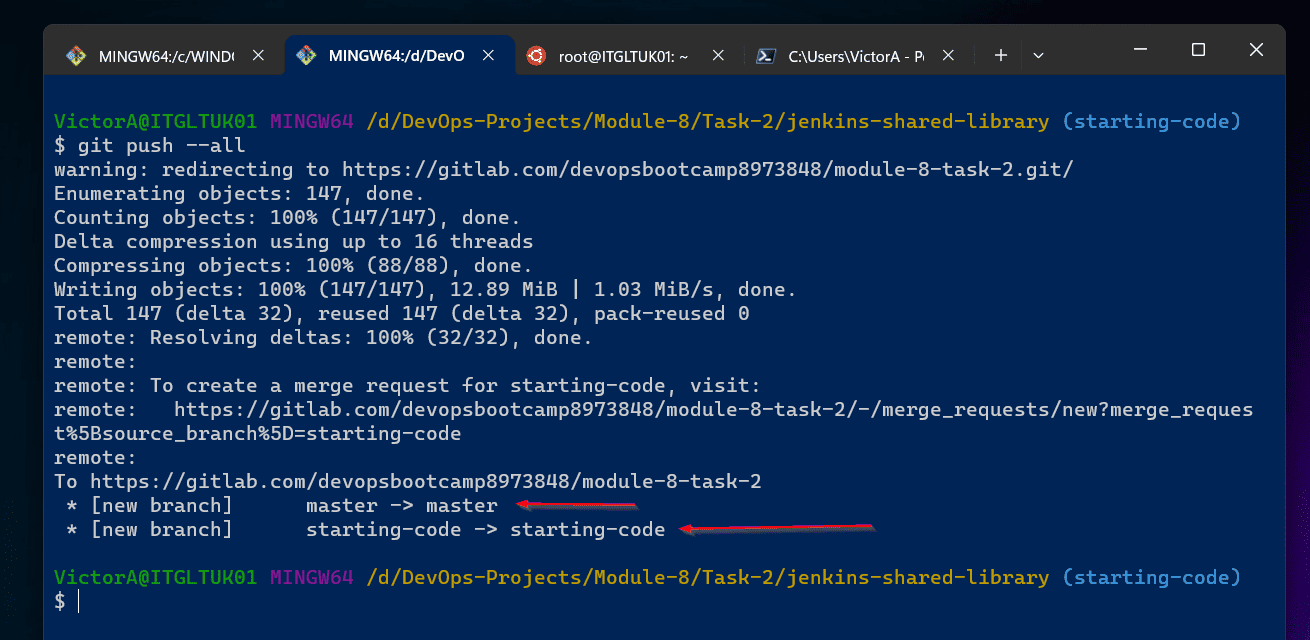
- Now that you’ve added your Git remote repo as the origin of your local repo, it is time to push the local repository to your remote repo. This is achieved with the “git push –all” command.
git push --all
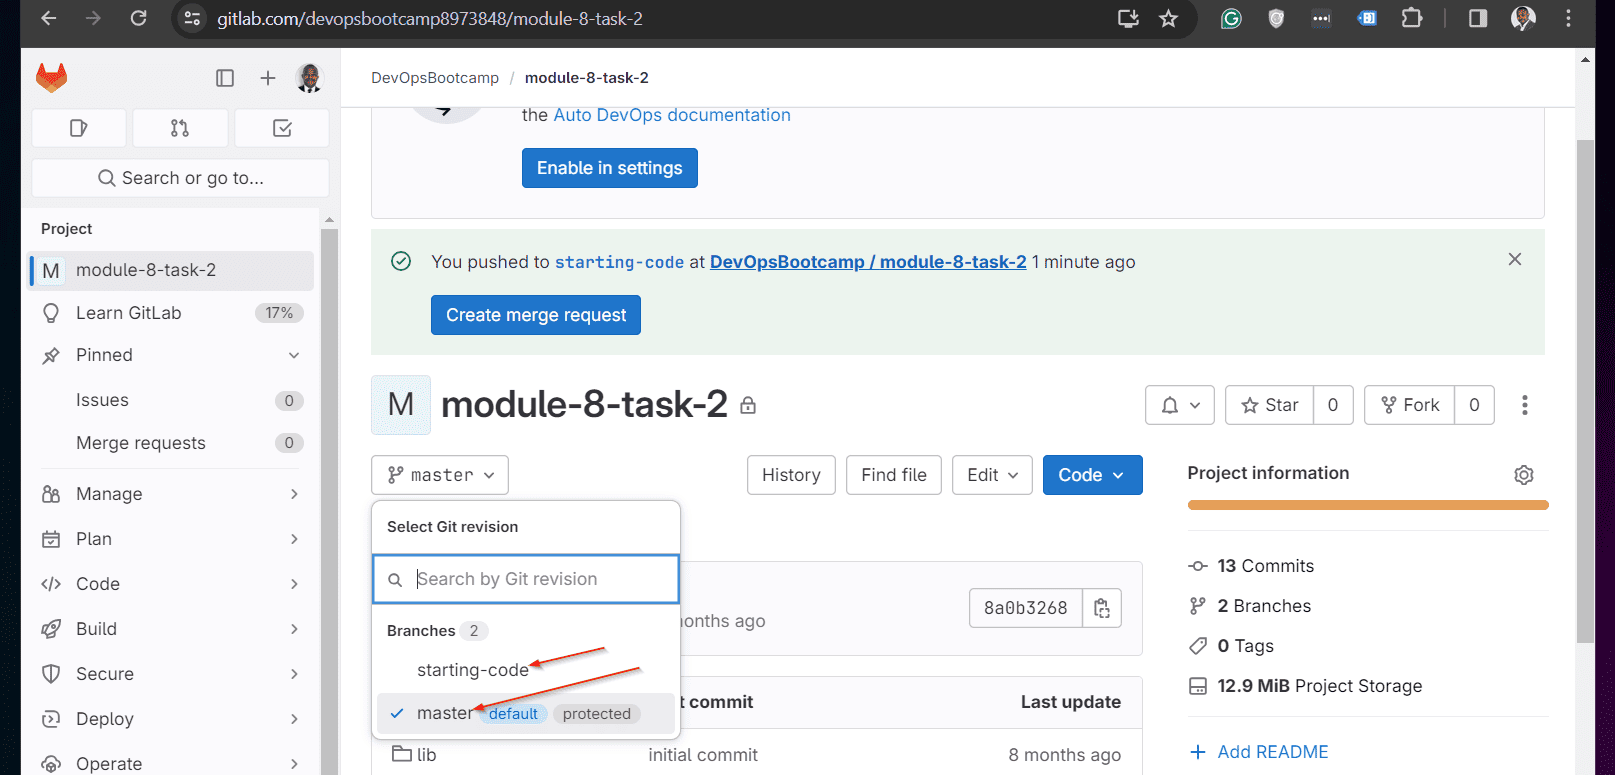
When the command is completed, it confirms that the two branches were successfully pushed to the remote repo. However, to confirm this, refresh your remote Git repository.
Here is my remote repo showing the two branches. It also shows that the “master” branch is the default, just like the original Git repository we cloned.
Frequently Asked Questions
To pull all branches from a remote git repo:
a) Run “git clone” to fetch the default branch and create a local repository
b) After that, execute “git fetch –all” to fetch all the other remote branches
c) Then, check all the available remote branches with the “git branch -a” command
d) Finally, create a local copy of all remote branches using the “git checkout remote-branch-name” command.
Replace “remote-branch-name” with the name of each remote branch you want to make available for local monitoring.
To get a list of all remote branches in the git repo, run the “git branch -a” command. The command displays both the local and remote origin branches.
“Git clone” creates a local copy of a remote repository on your computer. On the other hand, “git fetch” updates the local repo with all changes in the remote repo.
The “git clone” command copies the default branch of a remote git repo to your local machine. However, to get all the branches in the remote repository, you must run the “git fetch” command.
After that, make the remote branches trackable with the “git checkout branc_name” command.
Use “git fetch” to synch the remote repo with the local repo.
Conclusion
Cloning all the available branches of a remote Git repository is easy but it requires some minor tricks. I hope I succeeded in making it a walk in the park for you!
Let me know by sharing your feedback – or asking a question – with the comments form at the end of this page.
Alternatively, you can respond to the “Was this page helpful?” question below.