Does your PC time out too quickly and make you go through the stress of repeatedly inputting your password at regular intervals? This article shows you how to change your Windows 11 screen lock timeout in order to overcome this problem.
Step 1: Change Screen Timeout from Desktop
As time-wasting as it can be, when your screen locks too quickly, it can also be very annoying. The steps below show you how to change the screen lock timeout on your Windows 11 PC:
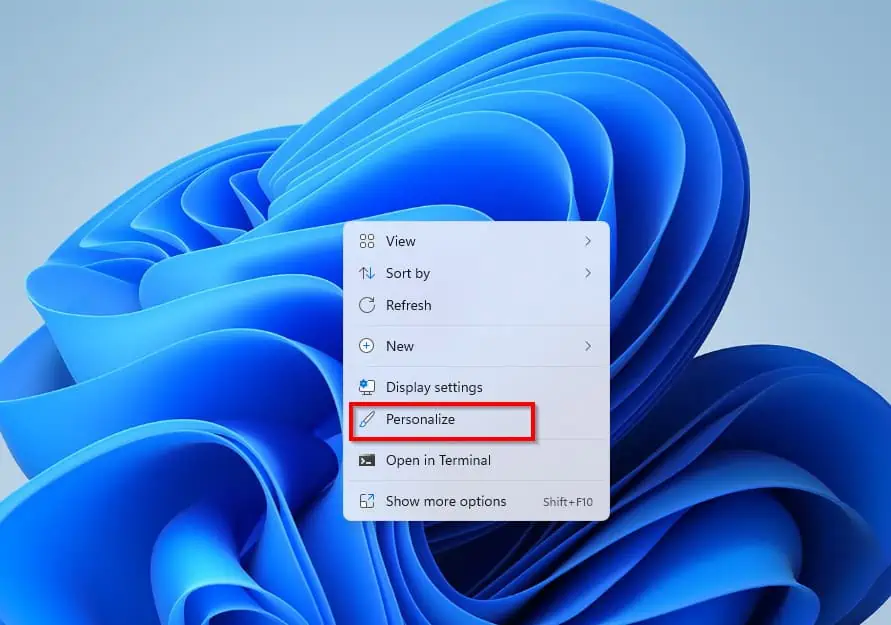
- Right-click an empty space on your desktop and click on Personalise. This action will open the personalization settings page.
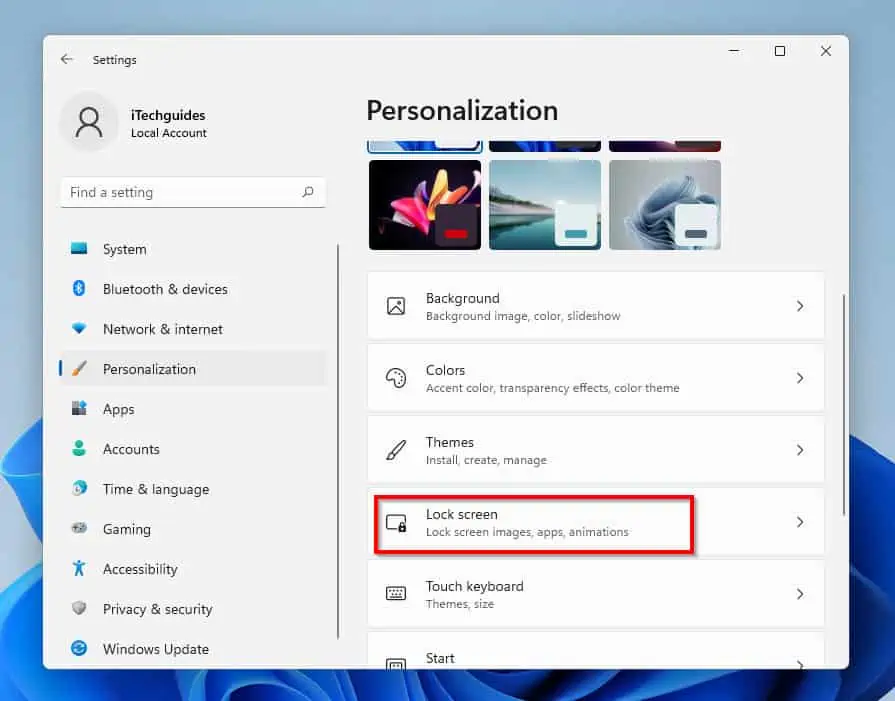
- Then, on the right pane of the personalization settings page, scroll down and click on the Lock screen option.
- When the Lock screen settings opens, scroll down and click on the Screen timeout option. This can be found under the Related settings sub-menu.
- When the Screen timeout menu opens, scroll down and click on the screen and sleep option under the Power sub-menu. See the screenshot below for more details.
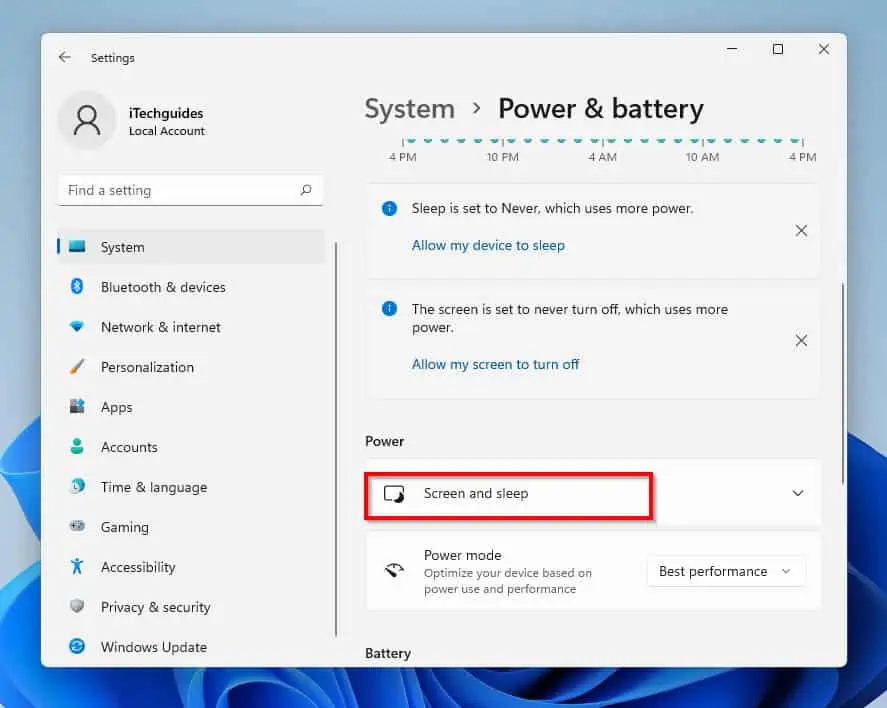
- Clicking on the Screen and sleep option opens a drop-down menu that gives four different settings. Click on the drop-down button and select your desired time.
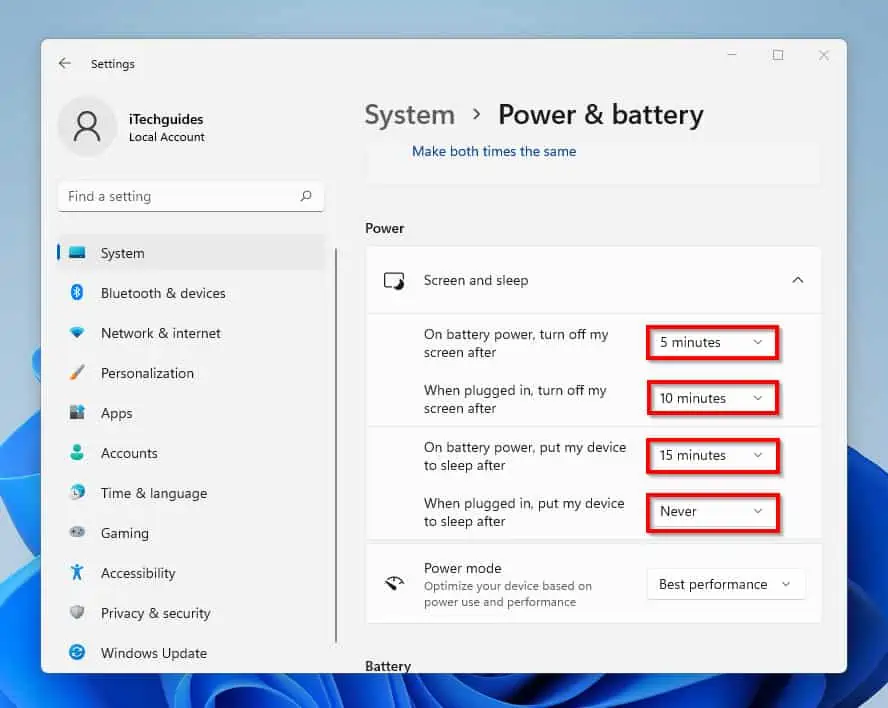
Then, use the last two set when your computer Sleeps.
The settings in the screen section will lock your screen (turns your display off) if you are inactive for the specified period of time.
On the other hand, the settings in the Sleep section put your PC to sleep if you are inactive for a specified period of time.
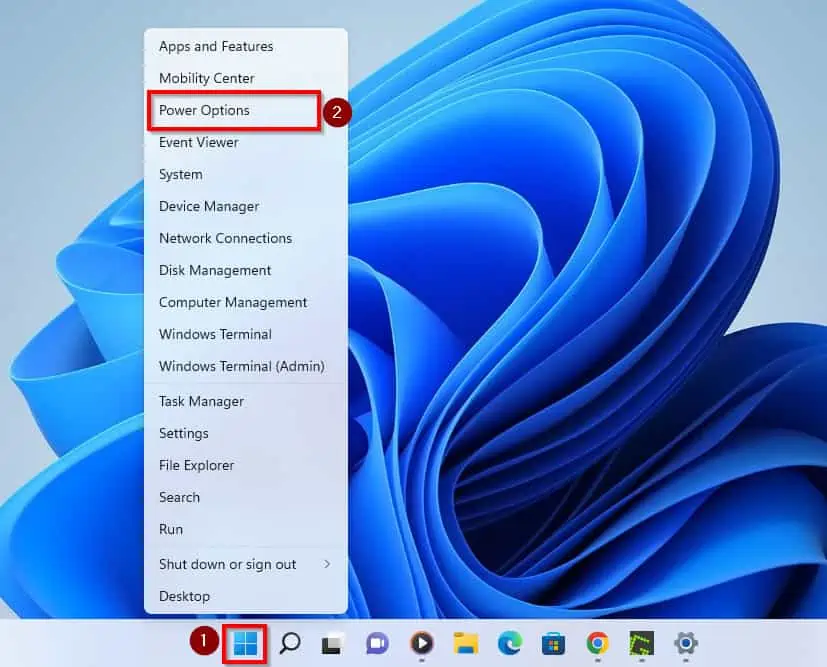
Alternatively, you can get to the Power and sleep settings by following the steps below:
- Right-click on the Windows start menu and select Power Options.
Option 2: Change Screen Timeout from Control Panel
You can also change your Windows 11 lock screen timeout settings from Control Panel. The steps below will show you how to perform the said task from Control Panel:
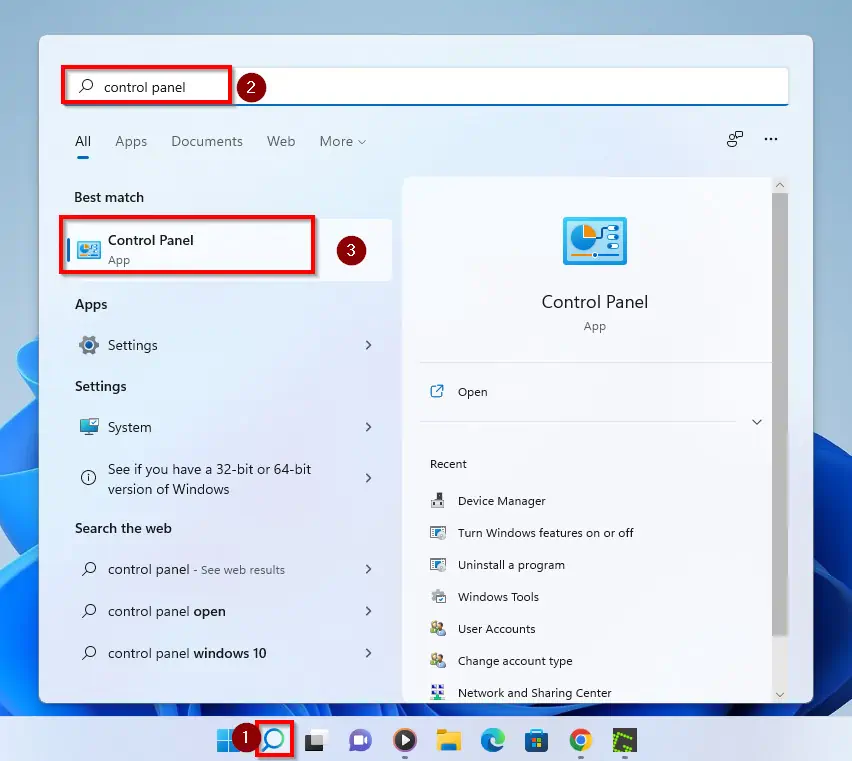
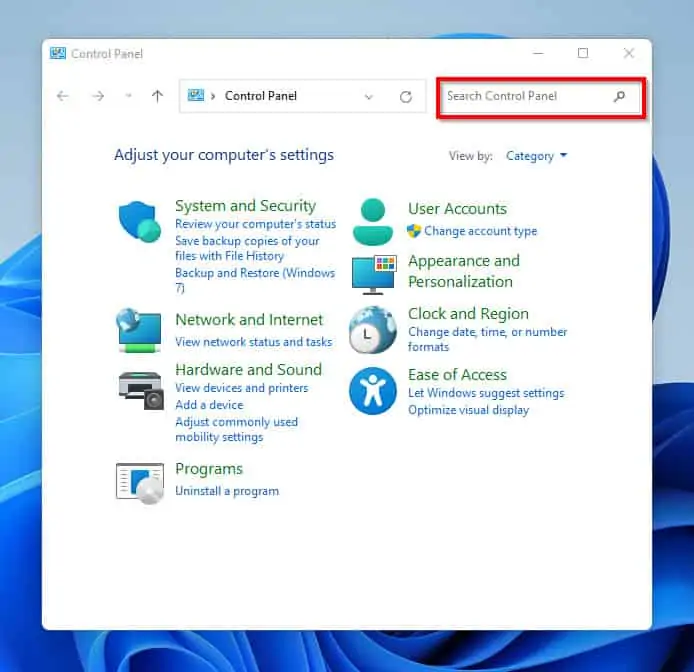
- To start with, click on the search icon on your Taskbar and type control panel in the search field. Then, from the result of your search, click on Control Panel.
- In Control Panel, click on the Control Panel search box at the top right corner of the page.
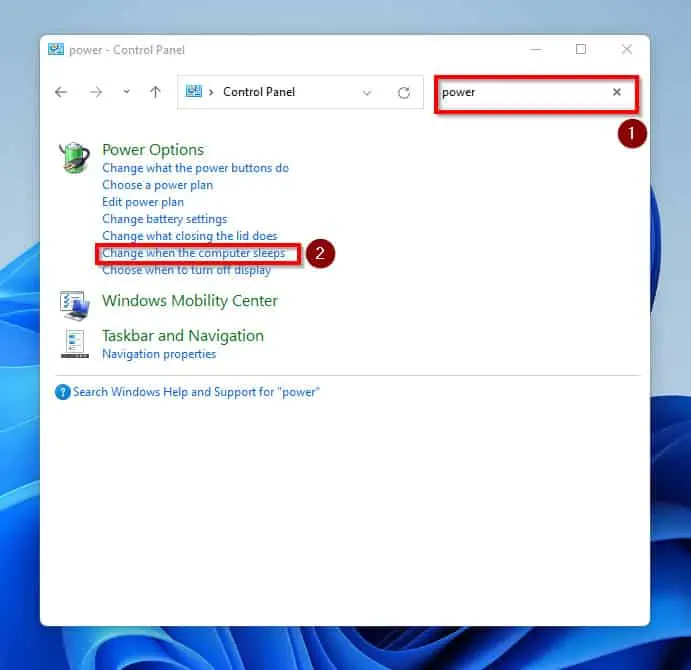
- Then, type the word power. From the results of your search shown on the left pane, click on the Change when the computer sleeps.
- Moving on, you will be directed to the Edit Plan settings page. On this page, you can modify the settings as you please.
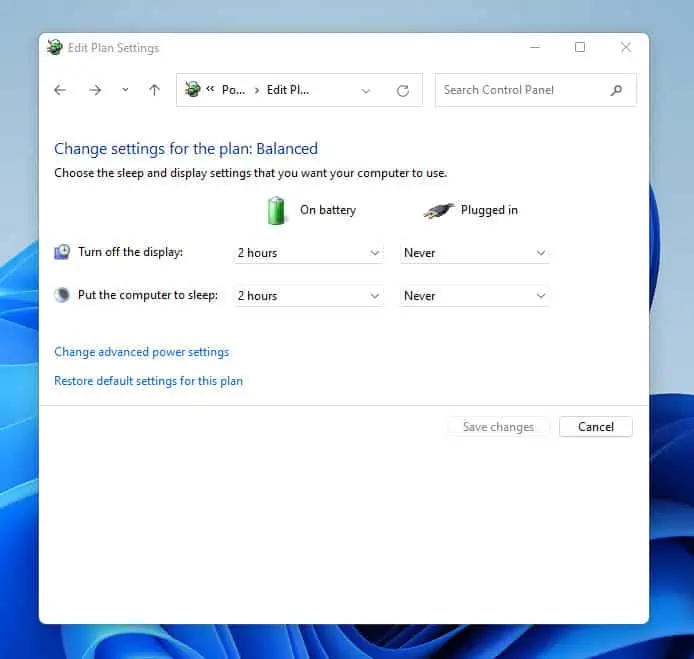
Also important, the first column controls the settings when the laptop is on battery. On the contrary, the second column controls the behavior when the laptop is plugged to power.
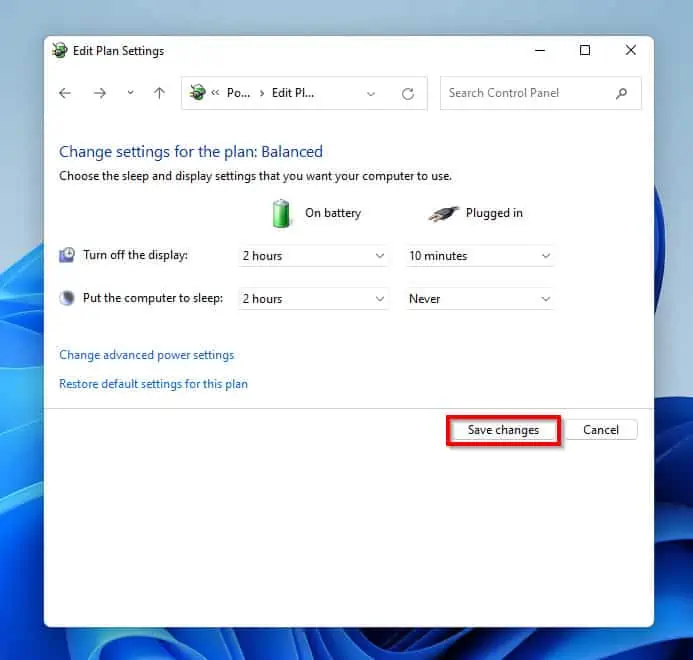
- To save the changes you made, click on the Save changes button at the lower right corner of the page.
Frequently Asked Questions
Your computer screen turns off very fast because your screen lock timeout is set that way. However, you can change these settings either from Control Panel or from the personalized settings in Desktop.
To adjust the Screen and Sleep settings,
a) Navigate to settings. Then, on the left pane of the settings page, click on Personalization.
b) Then, on the right pane of the page, click on Lock screen. Still on the right pane of the page, click on Screen timeout.
c) When the Screen timeout menu opens, click on the Screen and sleep option and change the screen timeout as you wish.
To stop your Windows 11 PC from locking when idle, go to Settings-> on the left pane, click on Personalization-> on the right pane click on Lock screen-> then, click on Screen timeout-> Furthermore, click on Screen and Sleep-> change the values in the screen and sleep settings to “Never“.
You can lock your Windows 11 computer with the keyboard by pressing the Windows and the L keys together.
Your laptop will sleep automatically if it is inactive for a period of time. However, the rate at which it goes to sleep can be controlled by changing the lock screen timeout.
Conclusion
Your computer’s lock screen can be a thing of joy, especially because it helps prevent others from accessing your PC. However, the rate at which the lock screen times out can be worrisome when working on your system.
Some people prefer their lock screens to timeout fast, while others prefer it to stay longer before timing out. Regardless of the reason for such preference, you can change the lock screen time out on your computer to what works for you.
This guide showed you two methods to change the lock screen timeout of your Windows 11 computer. Specifically, this article teaches you how to change the lock screen time from Personalized settings and Control Panel.
I hope you found this post helpful. If you did, click on “Yes” beside the “Was this page helpful” question below.
You may also express your thoughts and opinions by using the “Leave a Comment” form at the bottom of this page.
Finally, for more guides on how to do stuff on Windows 11, please visit our Windows 11 How-To page.