Have you received DISM error 267, “unable to access the image,” but are not sure how to fix it? This guide explains what causes DISM error 267, then explains how to fix the error.
Why Did You Receive DISM Error 267 “Unable To Access The Image?”
If you run the DISM command with the /image switch directly on a WIM, VHD, or VHDX file, you will receive error 267. This error is because DISM expects a mounted image.
In my case, I received error 267 when I ran the DISM command below.
DISM /image:"F:\sources\install.wim" /?
Here is the result of the command.
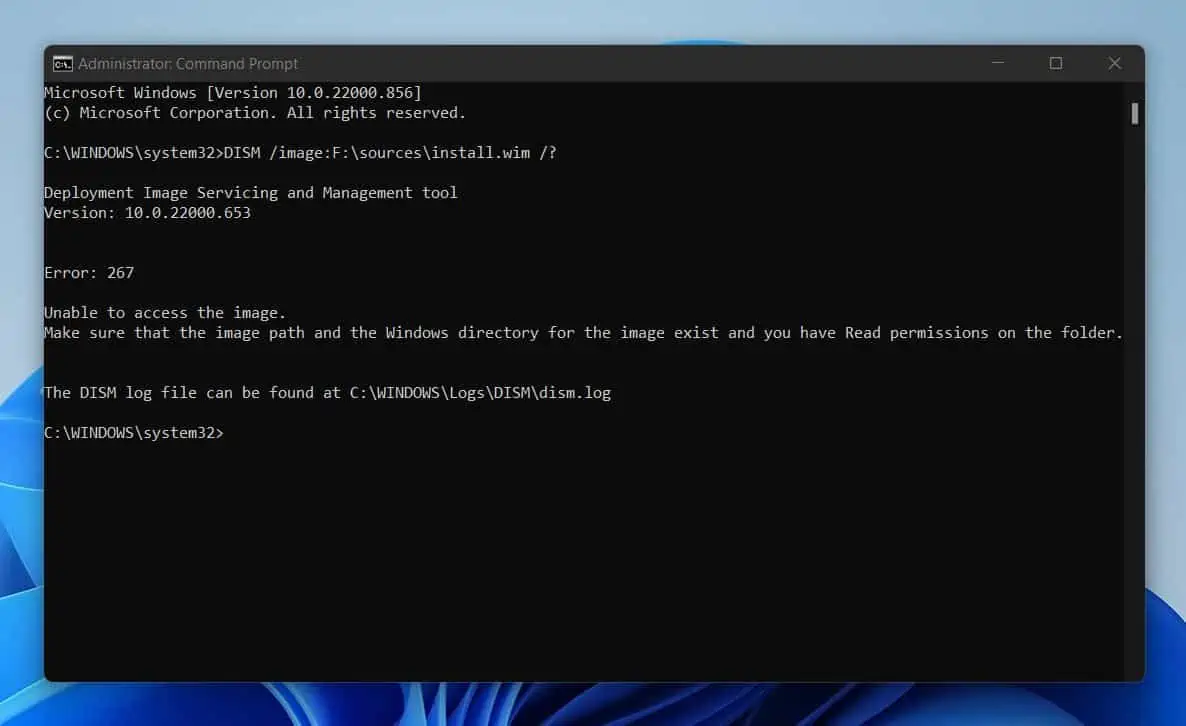
The solution to this error message is to mount the WIM, VHD, or VHDX file. Then, run the above DISM command and specify the folder you mounted the image file.
In the next section, I have detailed the steps to fix DISM error 267.
Steps to Fix DISM Error 267 Unable to Access the Image
To fix DISM error 267, “unable to access the image,” follow the steps in this section. Each step is detailed in a subsection in this section.
Step 1: Perform Required Pre-Task Actions
Before you proceed, complete the following:
- Copy the Windows image (WIM, VHD, or VHDX) to a folder. If you’re working with a WIM file, Microsoft stores the file in the Windows installation media \sources folder.
Microsoft calls the WIM file install.WIM. I recommend that you copy the install.WIM from the \sources folder to another folder because if you try to mount the file from its original folder – which is read-only – you may receive an access denied error. - Secondly, create a folder you will mount the Windows image. I will call my folder Windows11MountDir.
I am performing the example in this guide using a Windows 11 install.WIM file.
Step 2: Get the Index of the Windows Image
Before you can mount a Windows image, you need the index number or the name of the image. To get the index of a Windows image, open Command Prompt as administrator; then, run the command below:
DISM /Get-WimInfo /WimFile:D:\WIMfiles\install.wim
The command displays the details of all Windows images in the WIM, VHD, or VHDX file. Note the index number of the edition you want to mount.
In this example, I’ll mount “Windows 11 Pro”; its index number is 6.

Step 3: Mount the Windows Image, Then Re-run the DISM /Image Command
The final step to fix DISM error 267, “unable to access the image,” is to mount the Windows image. To mount the Windows image with the index number you noted in the last subsection, run a command similar to the one below:
DISM /Mount-image /imagefile:D:\WIMfiles\install.wim /Index:6 /MountDir:"D:\Windows11MountDir"
When you run the command, it will take a little while to complete.

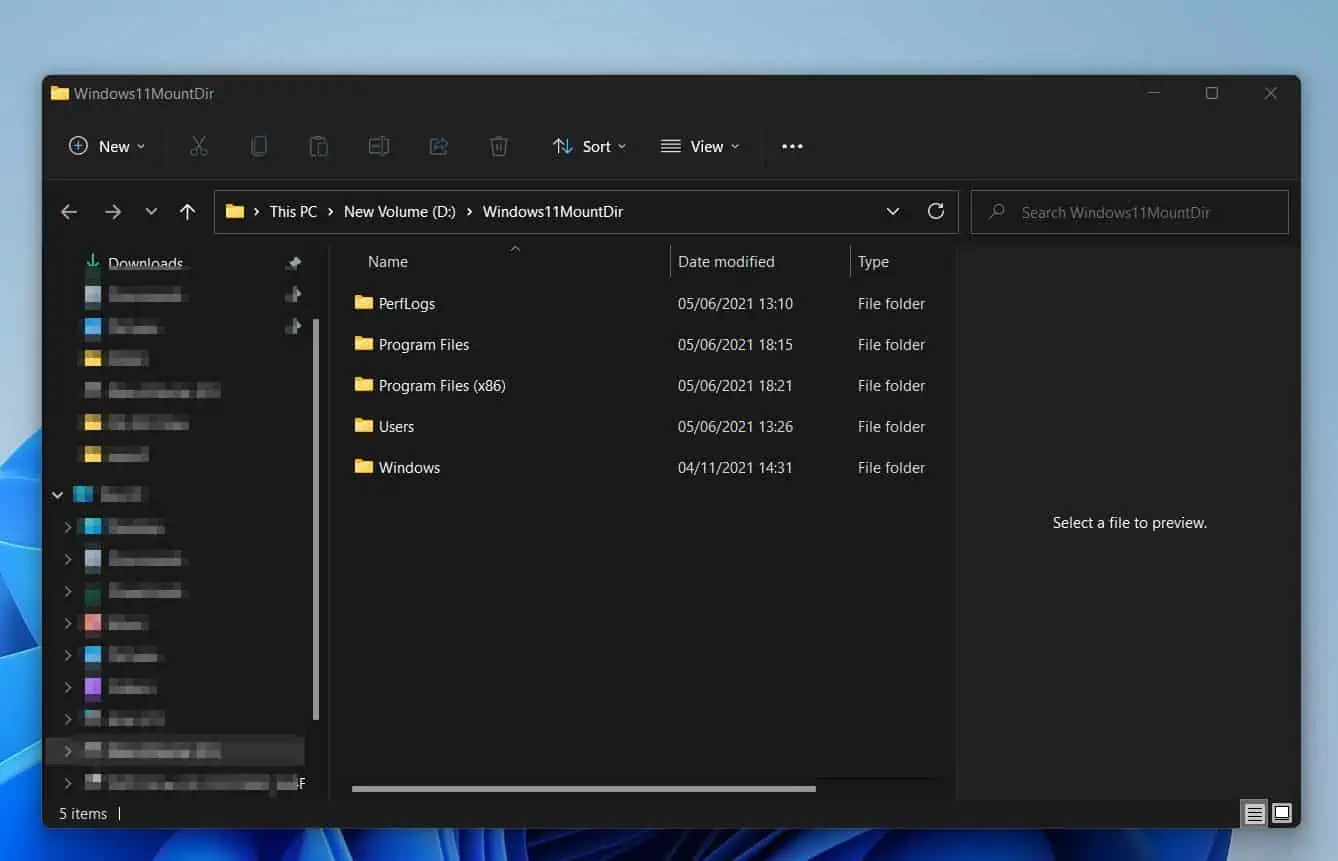
When the command completes, open the folder you mounted the image. The folder structure will look like a normal Windows installation folder.
Finally, to fix DISM error 267, “unable to access the image,” run your DISM command with the /image switch. However, this time, specify the folder path you mounted the Windows image instead of specifying the path to the Windows image.
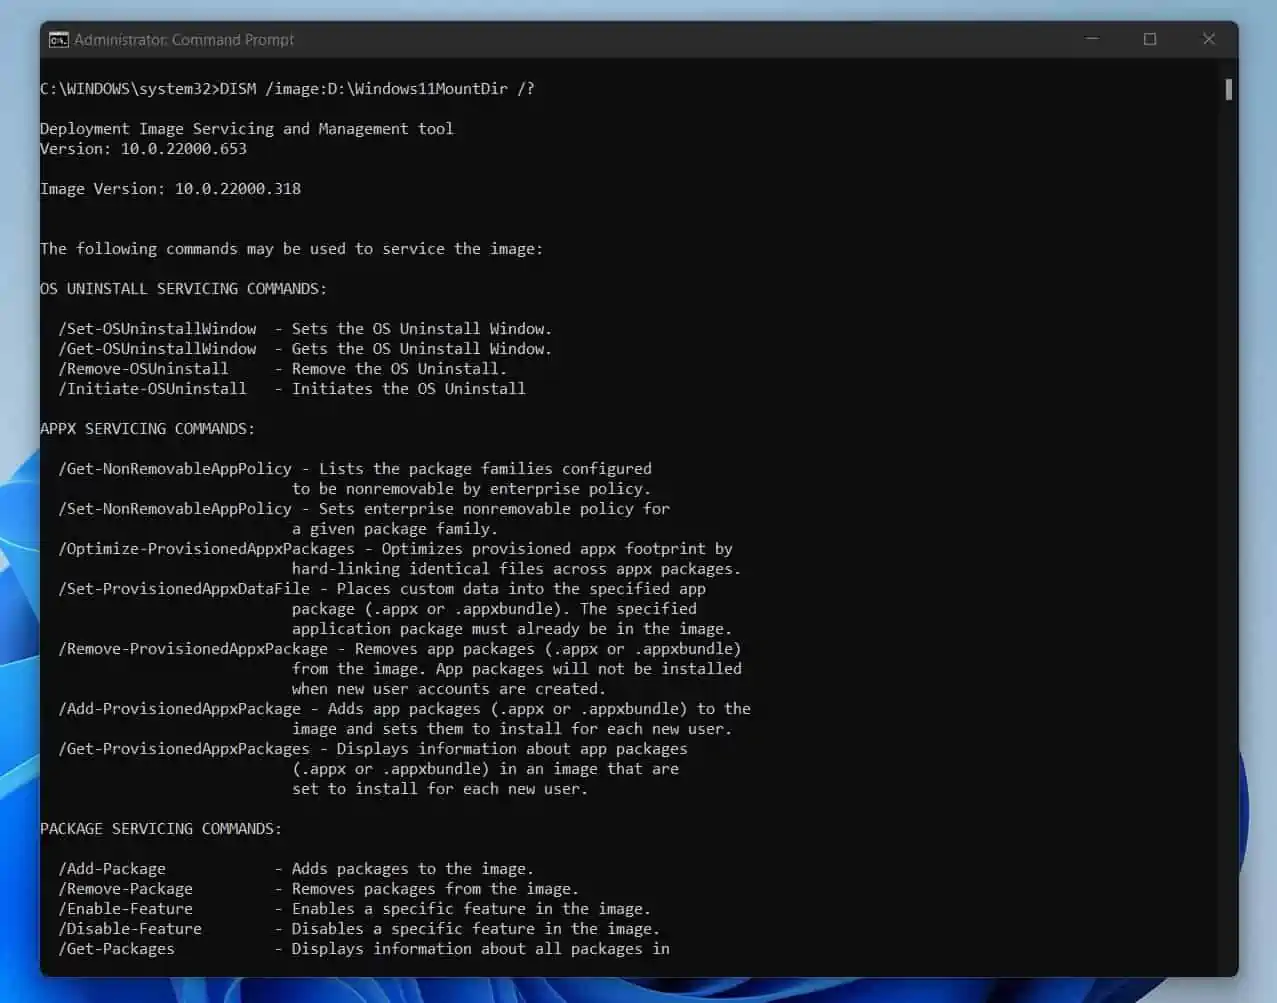
I mounted my Windows image (WIM file) in D:\Windows11MountDir, so I will run the command below.
DISM /image:D:\Windows11MountDir /?
As you can see from the screenshot below, this time, the DISM command completed successfully without error 267!
When you finish working with the image you mounted, it is a good idea to unmount the image. To unmount the image and save the changes you made, run the command below.
DISM /Unmount-image /MountDir:D:\Windows11MountDir /commit
However, if you wish to discard any changes you made to the image or you did not make any changes, run the command below.
DISM /Unmount-image /MountDir:D:\Windows11MountDir /discard
Frequently Asked Questions
DISM is a Windows command-line tool you can use to service and prepare Windows Operating System images. You can use DISM to service both a running Operating System and a Windows image.
Since DISM has a lot of possible errors, the best way to fix any DISM error is to start by looking at the DISM error log – C:\WINDOWS\Logs\DISM\dism.log
When you open the dism.log file, scroll to the bottom to see the latest logs. When you read through the logs, you’ll be able to figure out what caused the DISM error.
When you run DISM with the /ScanHealth argument, DISM scans the Windows image for component store corruption. To run the DISM with the /ScanHealth switch, you must specify the /Cleanup-Image switch.
Here is the full command to scan a running Operating System for component store corruption…
DISM /Online /Cleanup-Image /ScanHealth
Not necessarily. Some DISM commands may require a reboot, while others may not.
The /Online switch tells DISM to run the /Cleanup-image /Restorehealth on the running Operating System. In addition to that, the /Cleanup-image switch with the /Restorehealth argument scans the image for component store corruption.
With the /Cleanup-image /Restorehealth switch and argument, it automatically performs a repair operation on the image after DISM scans the Windows image for component store corruption.
Conclusion
DISM error 267 – unable to access the image – is one of the many DISM error messages. As I explained in this guide, DISM throws error 267 when you run the DISM command with the /image switch on an unmounted image.
Also, as I have shown in this guide, the solution to DISM error 267 is to mount the Windows image before you run the DISM command with the /image switch.
I hope you were able to use this guide to fix DISM error 267 and successfully run your DISM command! If you did, click on “Yes” beside the “Was this page helpful” question below.
You may also express your thoughts and opinions by using the “Leave a Comment” form at the bottom of this page.
Finally, to read more Windows Command Line guides, visit our Windows Command Prompt Guides page.