Microsoft does not recommend disabling IPv6 but if for any reason you want to disable this feature, use one of the options below.
Option 1: Disable IPv6 From Network Settings
Here are the steps to disable Internet Protocol Version 6 (TCP/IPv6) from Network Settings:
- Press Windows logo + R keys to open Run command.
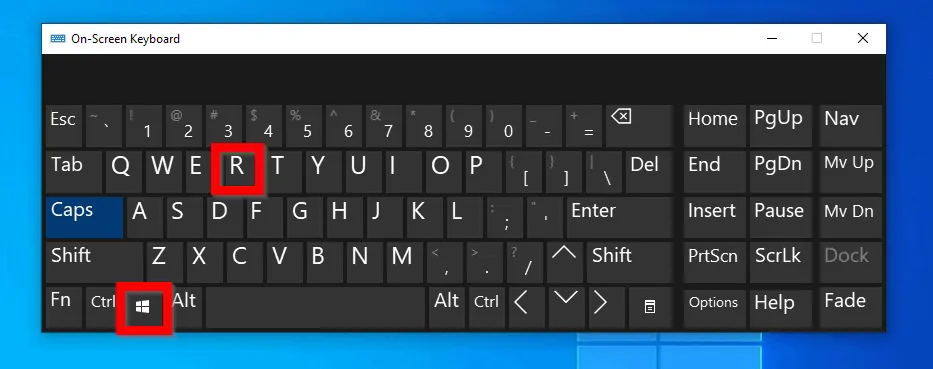
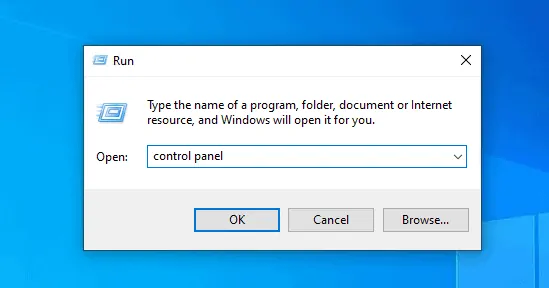
- At the Run command, type control panel. The click OK.
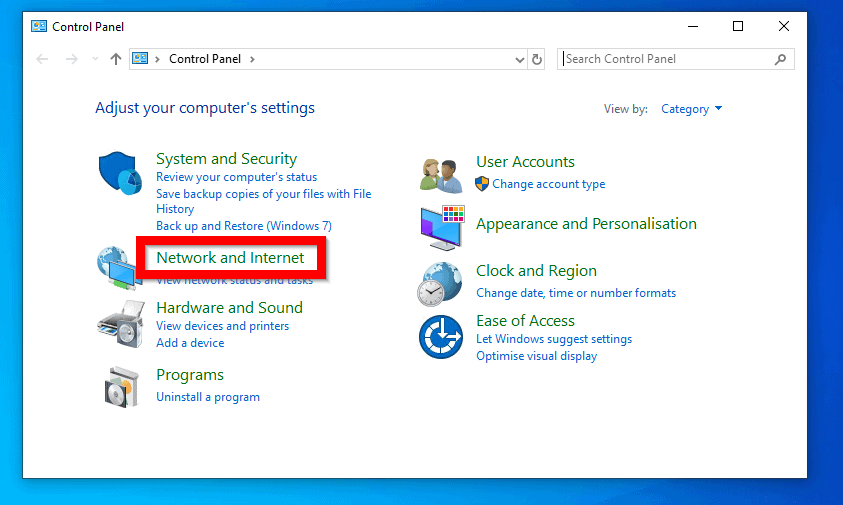
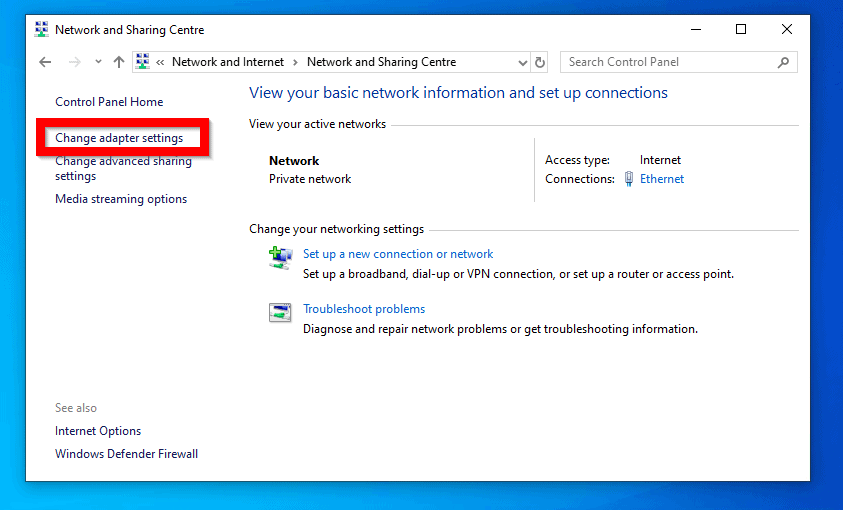
- When Control Panel opens, navigate to Network and Internet
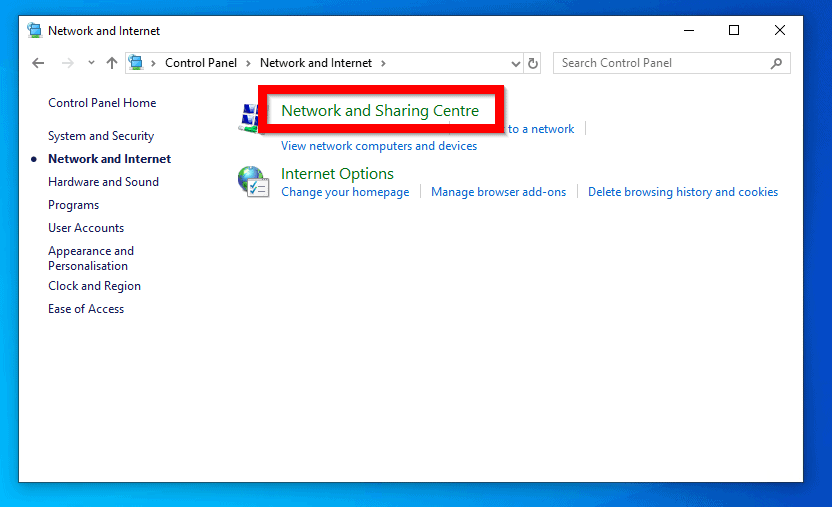
- Then click Network and Sharing Centre.
- Finally, click Change Adapter Settings.
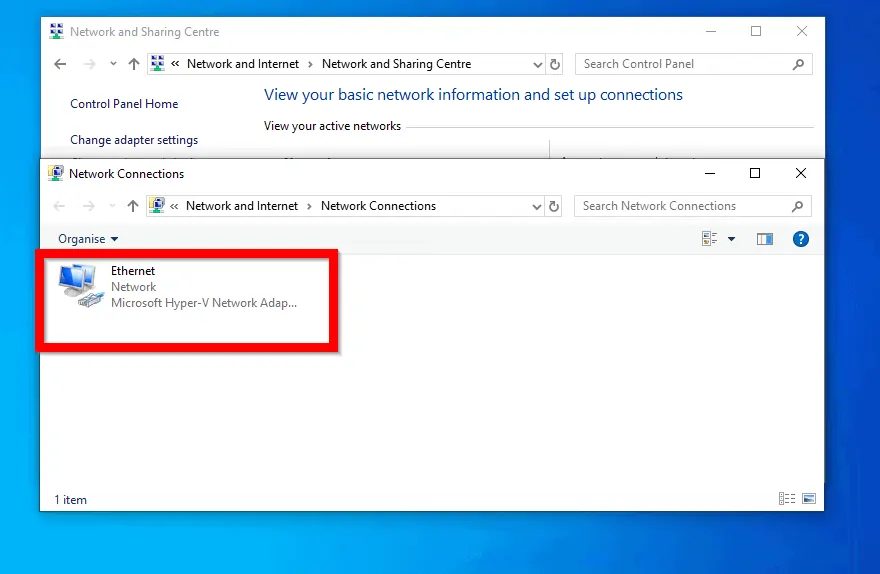
- At Network Connections, double-click the network adapter you want to disable IPv6 on.
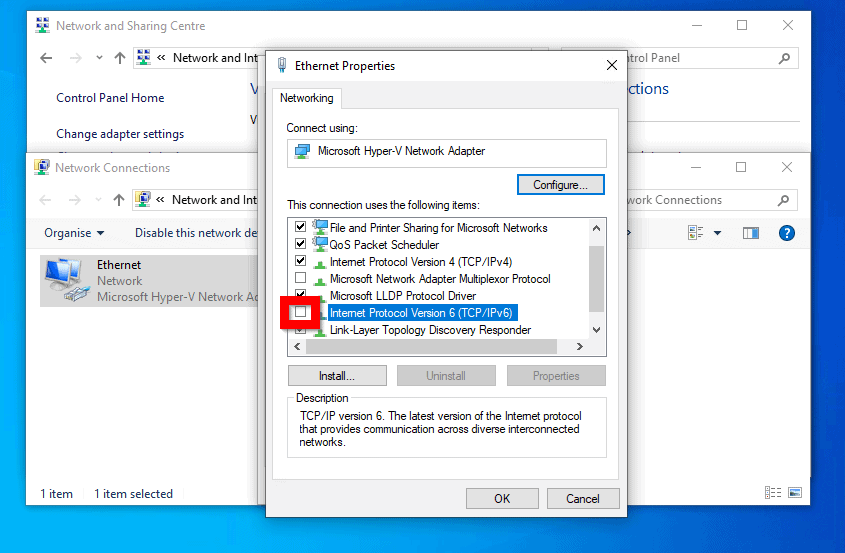
- When the Network status of the network adapter opens, click Properties.

- Finally, to disable IPv6, uncheck the box beside Internet Protocol Version 6 (TCP/IPv6). Then click OK.
Option 2: Disable IPv6 with PowerShell
For those who would rather use the command line, here are the steps to disable Internet Protocol Version 6 (IPv6) with PowerShell:
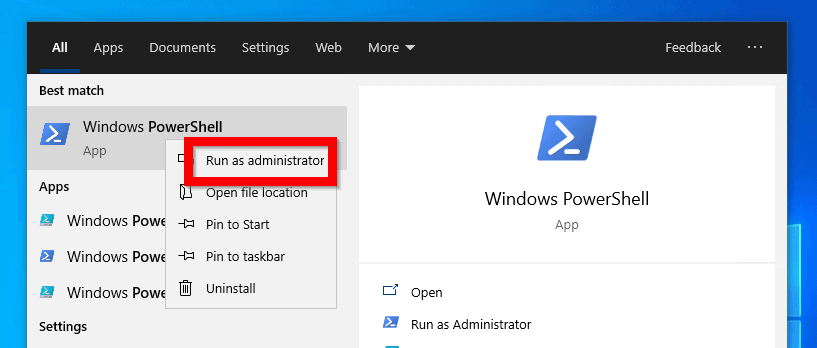
- Type PowerShell in the search bar. Then right-click it and select Run as administrator.
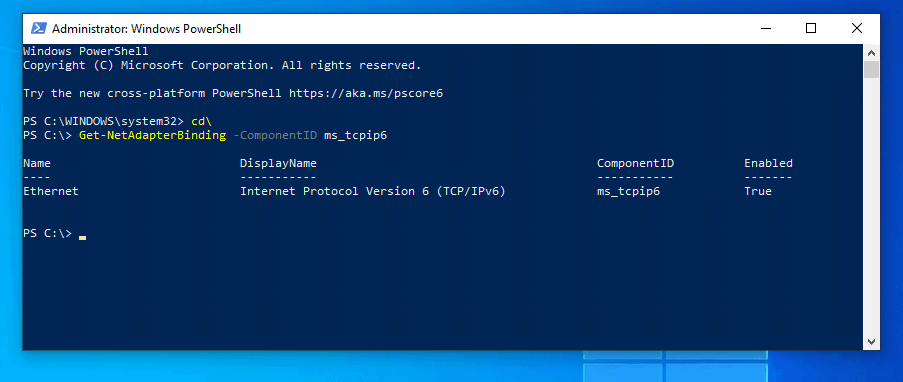
- At PowerShell command prompt, type this command. Then press enter.
Get-NetAdapterBinding -ComponentID ms_tcpip6
Here is the result in PowerShell. This command confirms that IPv6 is enabled (See Enabled column, it is True).
Note the Name of the adapter you wish to disable IPv6 on. In this example, mine is Ethernet.
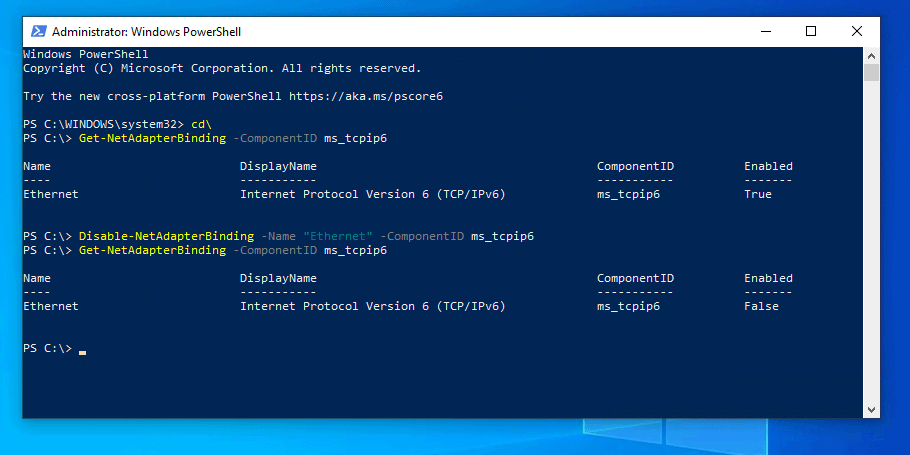
- To disable IPv6 in Windows 10 type this PowerSehell command. Then press enter.
Disable-NetAdapterBinding -Name "Ethernet" -ComponentID ms_tcpip6
Change “Ethernet” to the name of your network adapter card.
- To confirm that it is disabled, run the previous command.
Get-NetAdapterBinding -ComponentID ms_tcpip6
See the result below – Enabled now displays False.
Option 3: Disable IPv6 with the Netsh Command
You can also use the netsh command line to disable IPv6. Here are the steps:
- Type Command prompt in the search bar. Then right-click it and select Run as administrator.

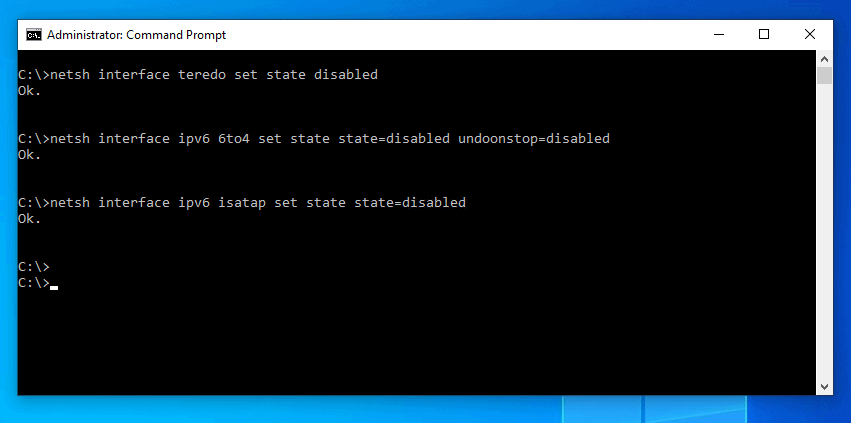
- At command prompt, to disable IPv6 from all interfaces, type these commands. Then press enter – one command at a time.
netsh interface teredo set state disabled
netsh interface ipv6 6to4 set state state=disabled undoonstop=disabled
netsh interface ipv6 isatap set state state=disabled
Conclusion
Whatever your reason for wanting to disable IPv6 in Windows, one of these 3 methods should do the job for you.
Let me know the method you used and why by responding to the “Was this page helpful?” question below.
Lastly, for more Windows 10 guides, visit our Windows 10 How-To page.


netsh interface ipv6 6to4 set state state=disabled undoonstop=disabled
Ok.
C:\Users\XtreemPc>netsh interface teredo set state disabled
ok
netsh interface ipv6 isatap set state state=disabled
ok
netsh>int
netsh interface>ipv6
netsh interface ipv6>show mode
online